


I haven’t quite finished with my Halloweeny cookies just yet!

These spooky spiders are really easy and would be great to make with your kids or to dish out to “Trick – or – treaters”!
What you need:
- Pre-baked and cooled oval cookies
- Sugarpaste in white, black, orange and purple.
- Cutters: Oval and circle, two small circle plunger cutters.
- Tools: rollign pin, non-stick board sharp knife, paint brush + small cup of water, curved tool.
- Corn flour for dusting.
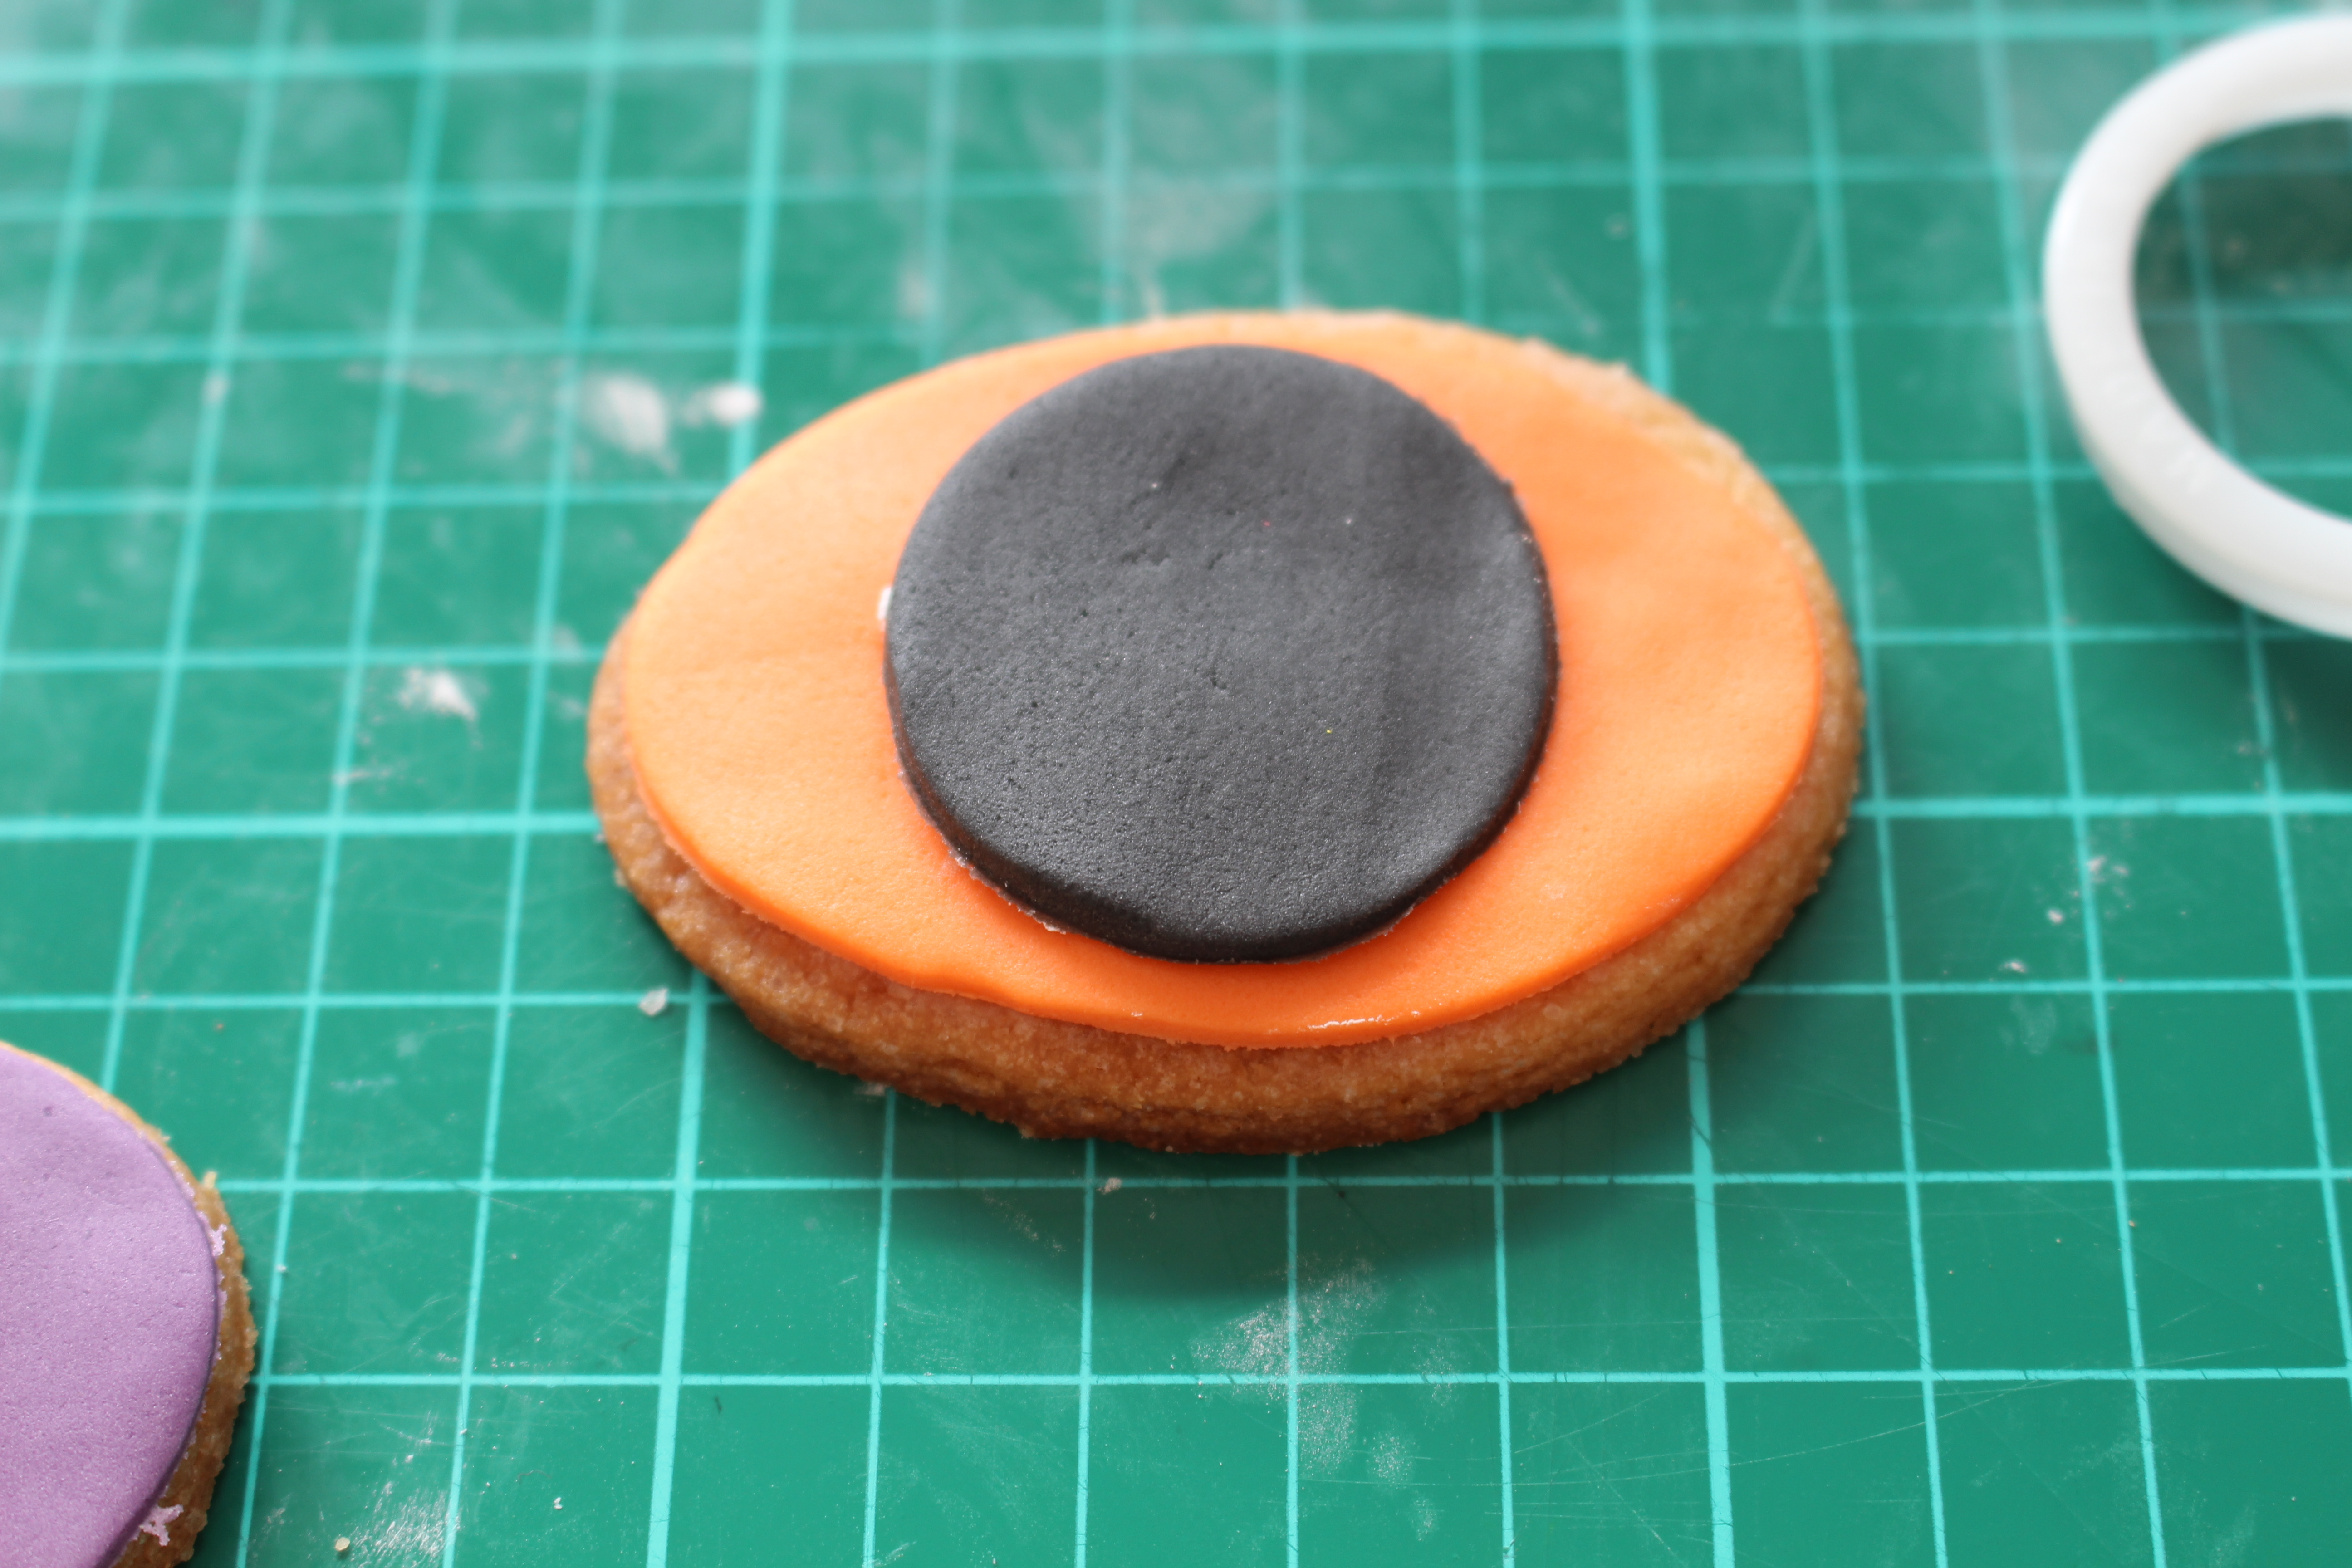
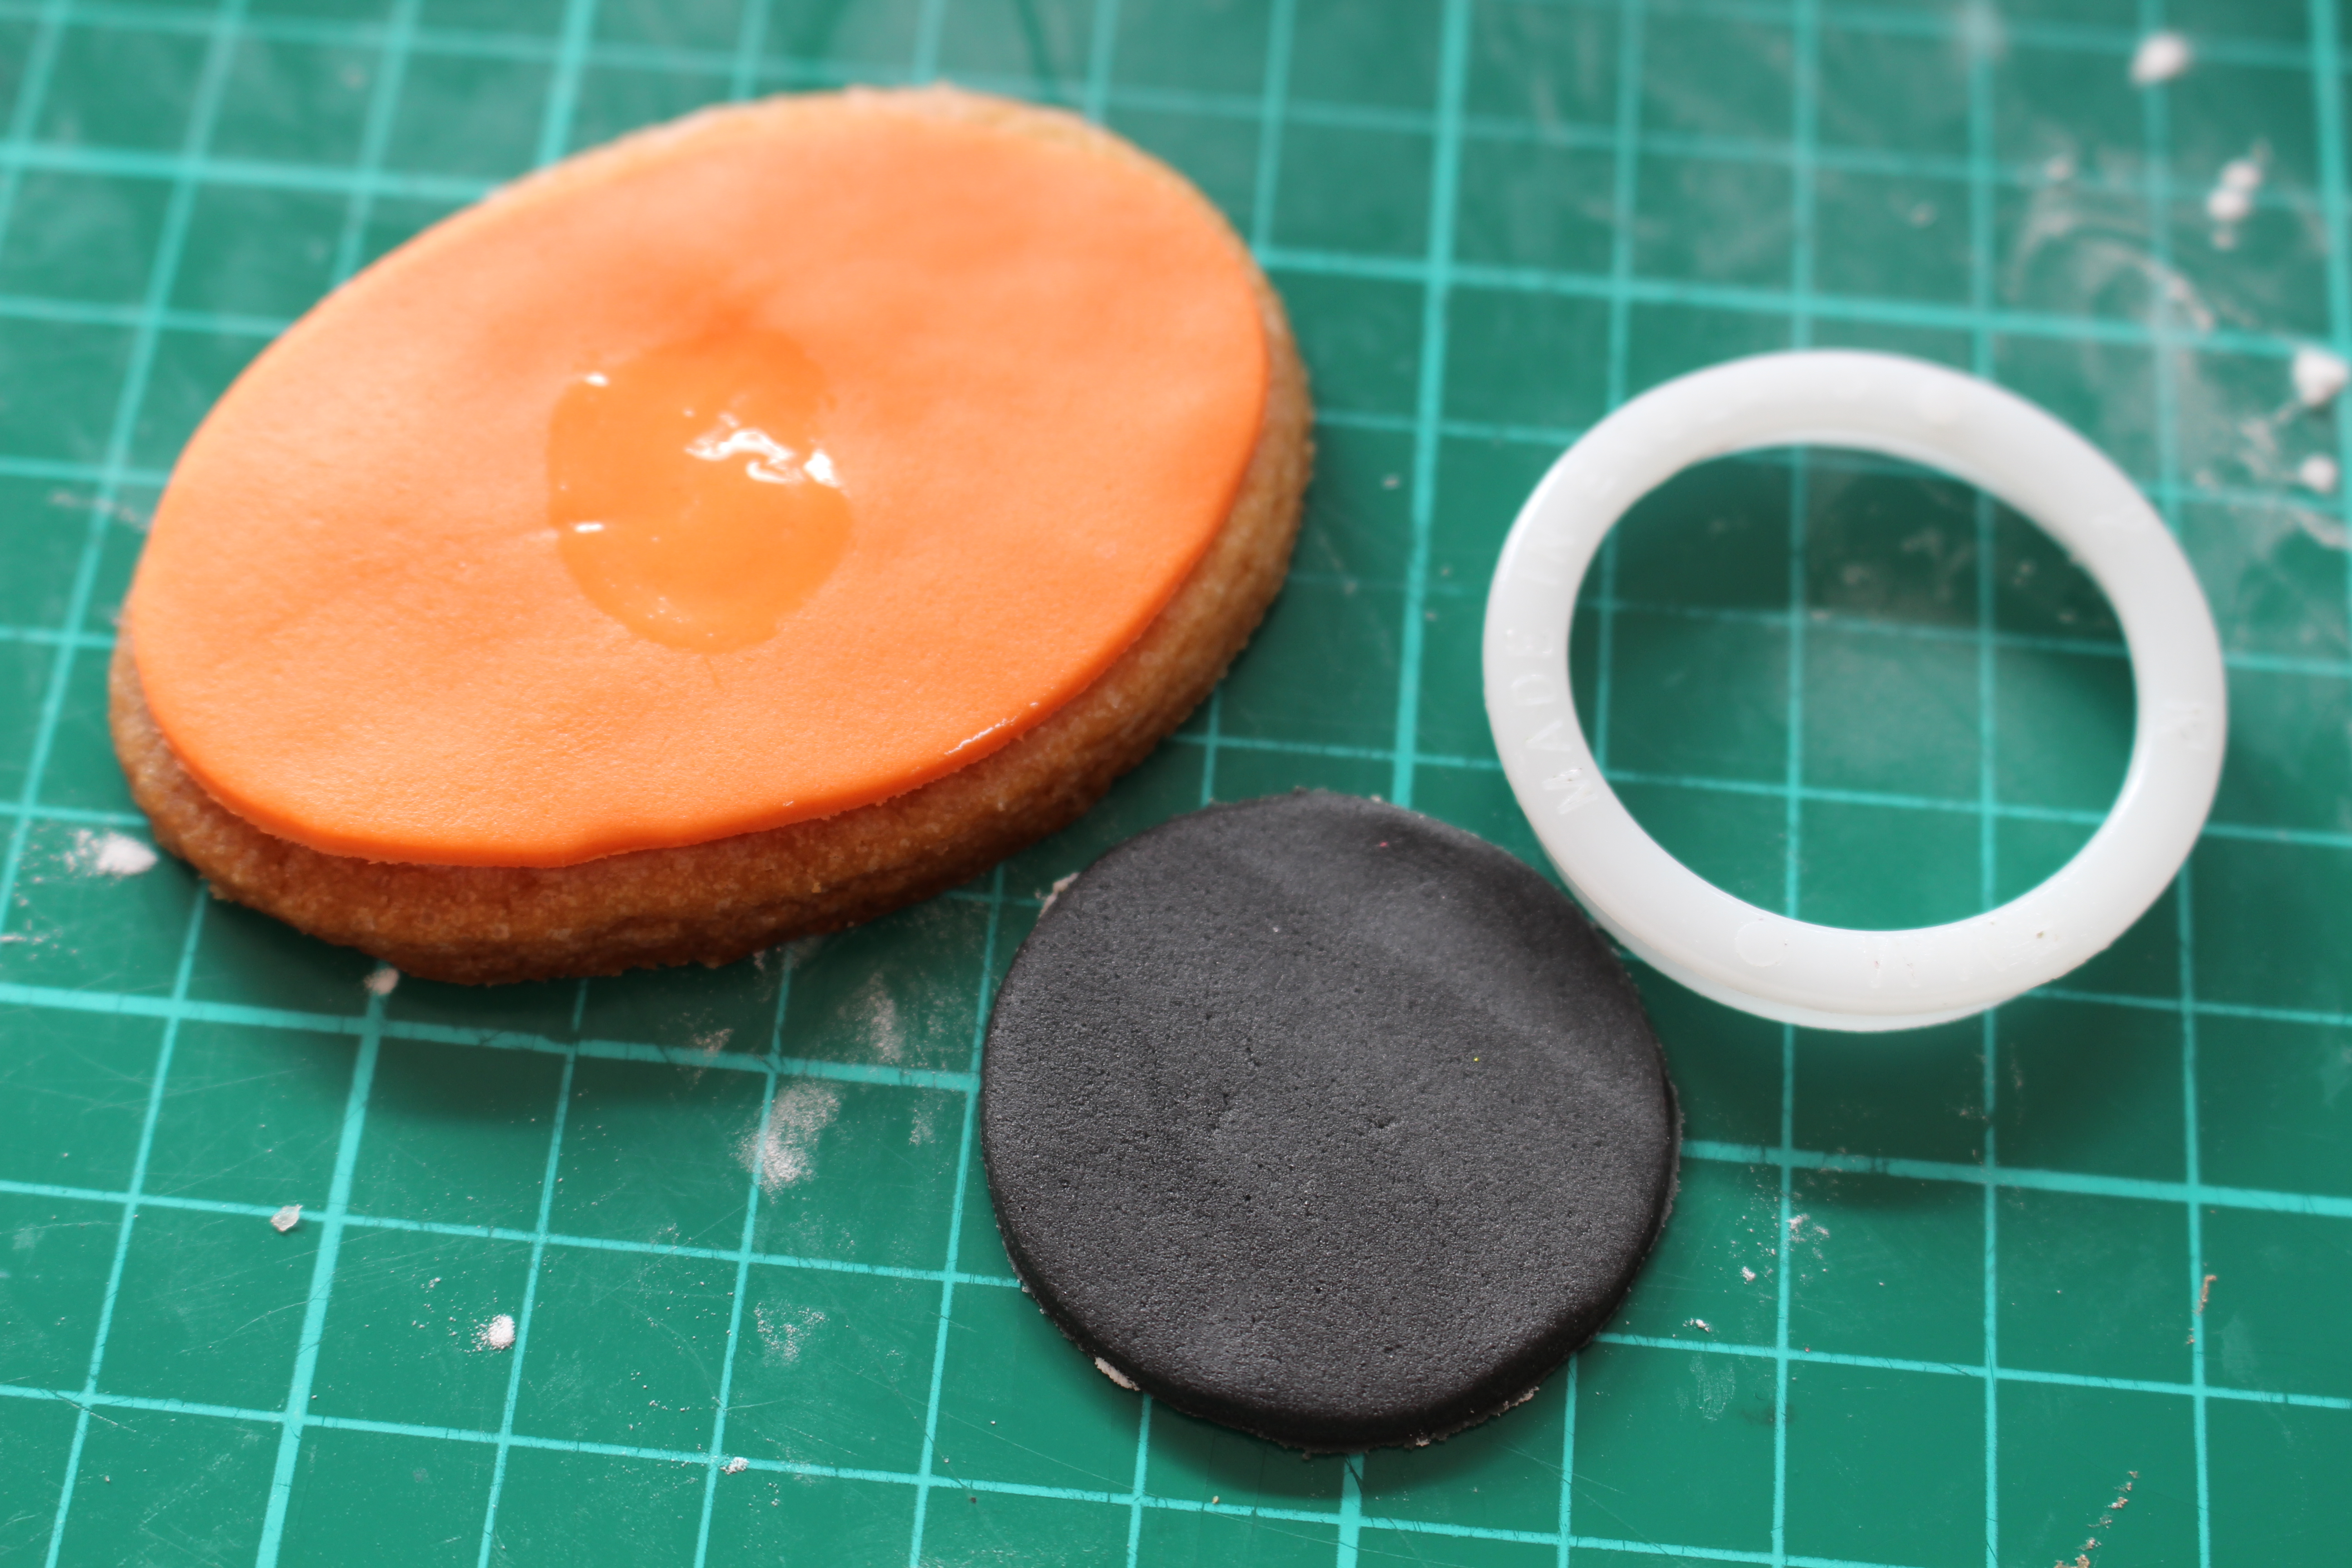 Start by cutting out your sugar paste for the top of your cookie. I used the same cutter as I used to make the cookies for this.
Roll out and cut out your black sugar paste. Cut out a small circle, with a drop of water attach this to the top of your cookie.

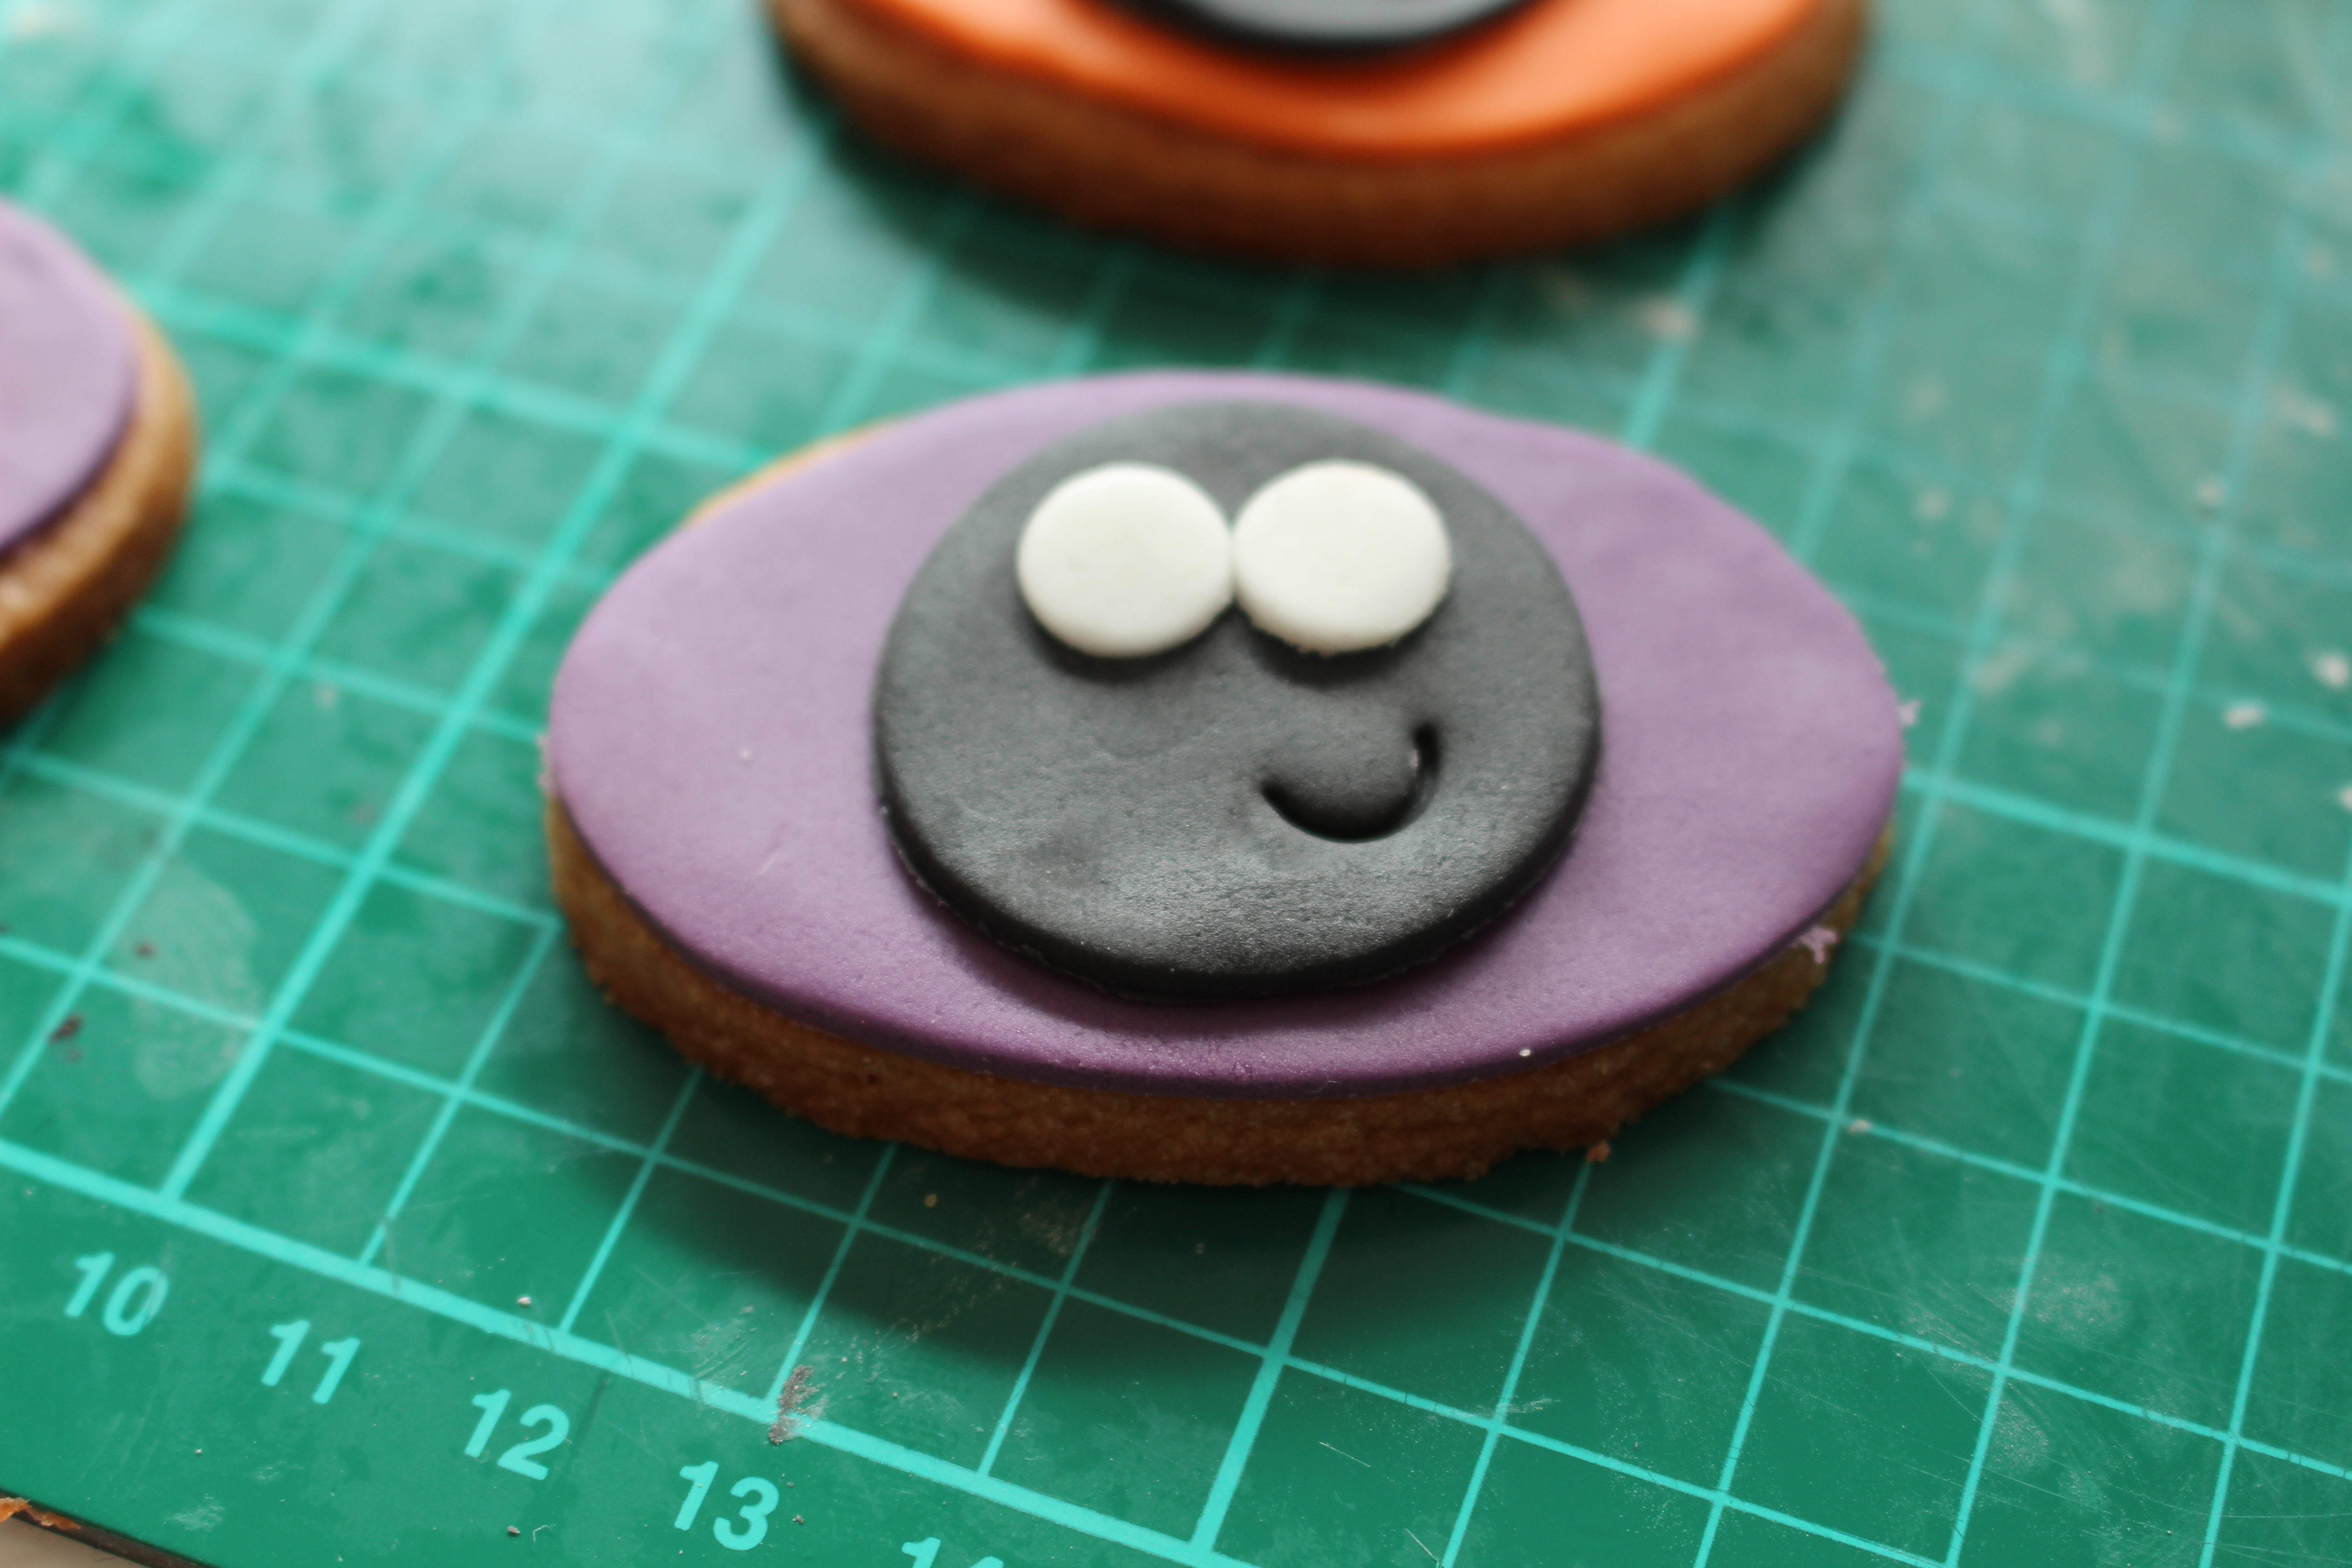
Whilst your sugar paste is still soft, using your curved tool give your spider a little mouth. I like to do this slightly off to the side as it makes your spiders look more cute than scary.
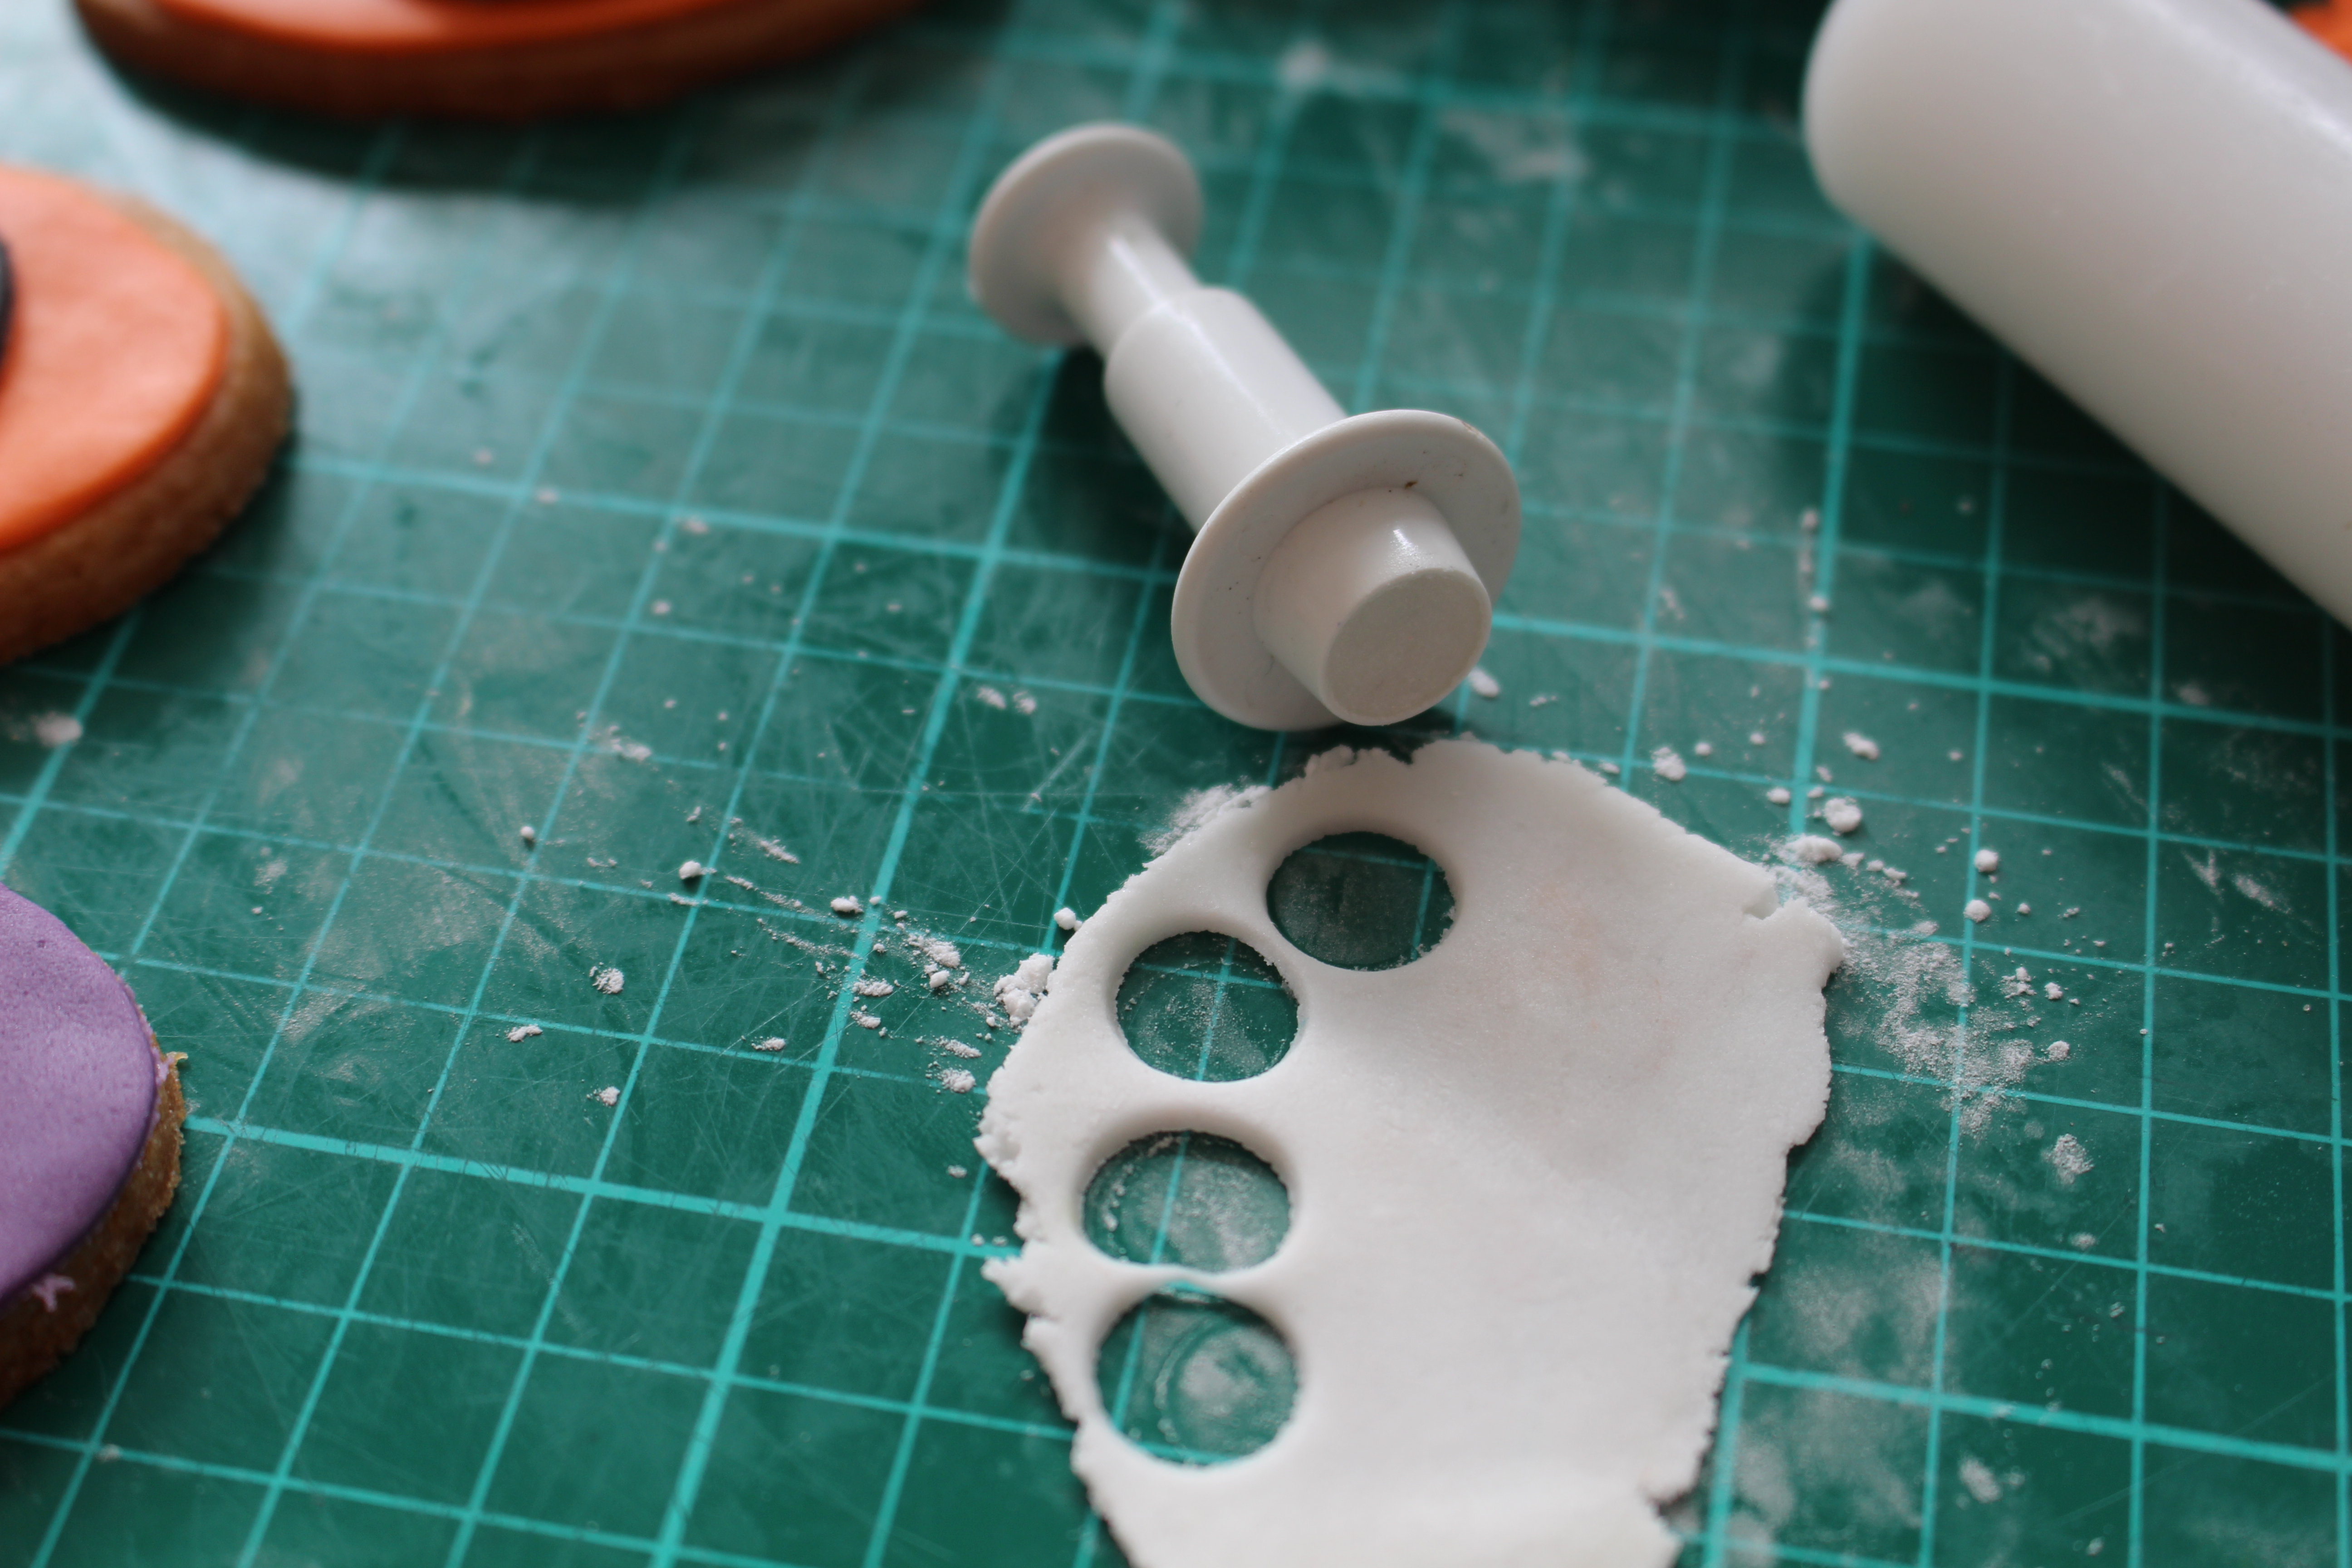
Now for your eyes, roll out your white sugar paste quite thinly. Using the larger of the plunger cutters, cut out your eyes – 2 for each cookie. Fix these to the top of the black sugar paste using a drop of water. 

Repeat with the black sugar paste and the smallest plunger cutter.


You can have a little fun with your placement of your pupils, I like to have a mixture so that they are not all the same!

With your remaining black sugar paste, roll in your fingertips to create a long string. I found that using less cornflour on your board works best.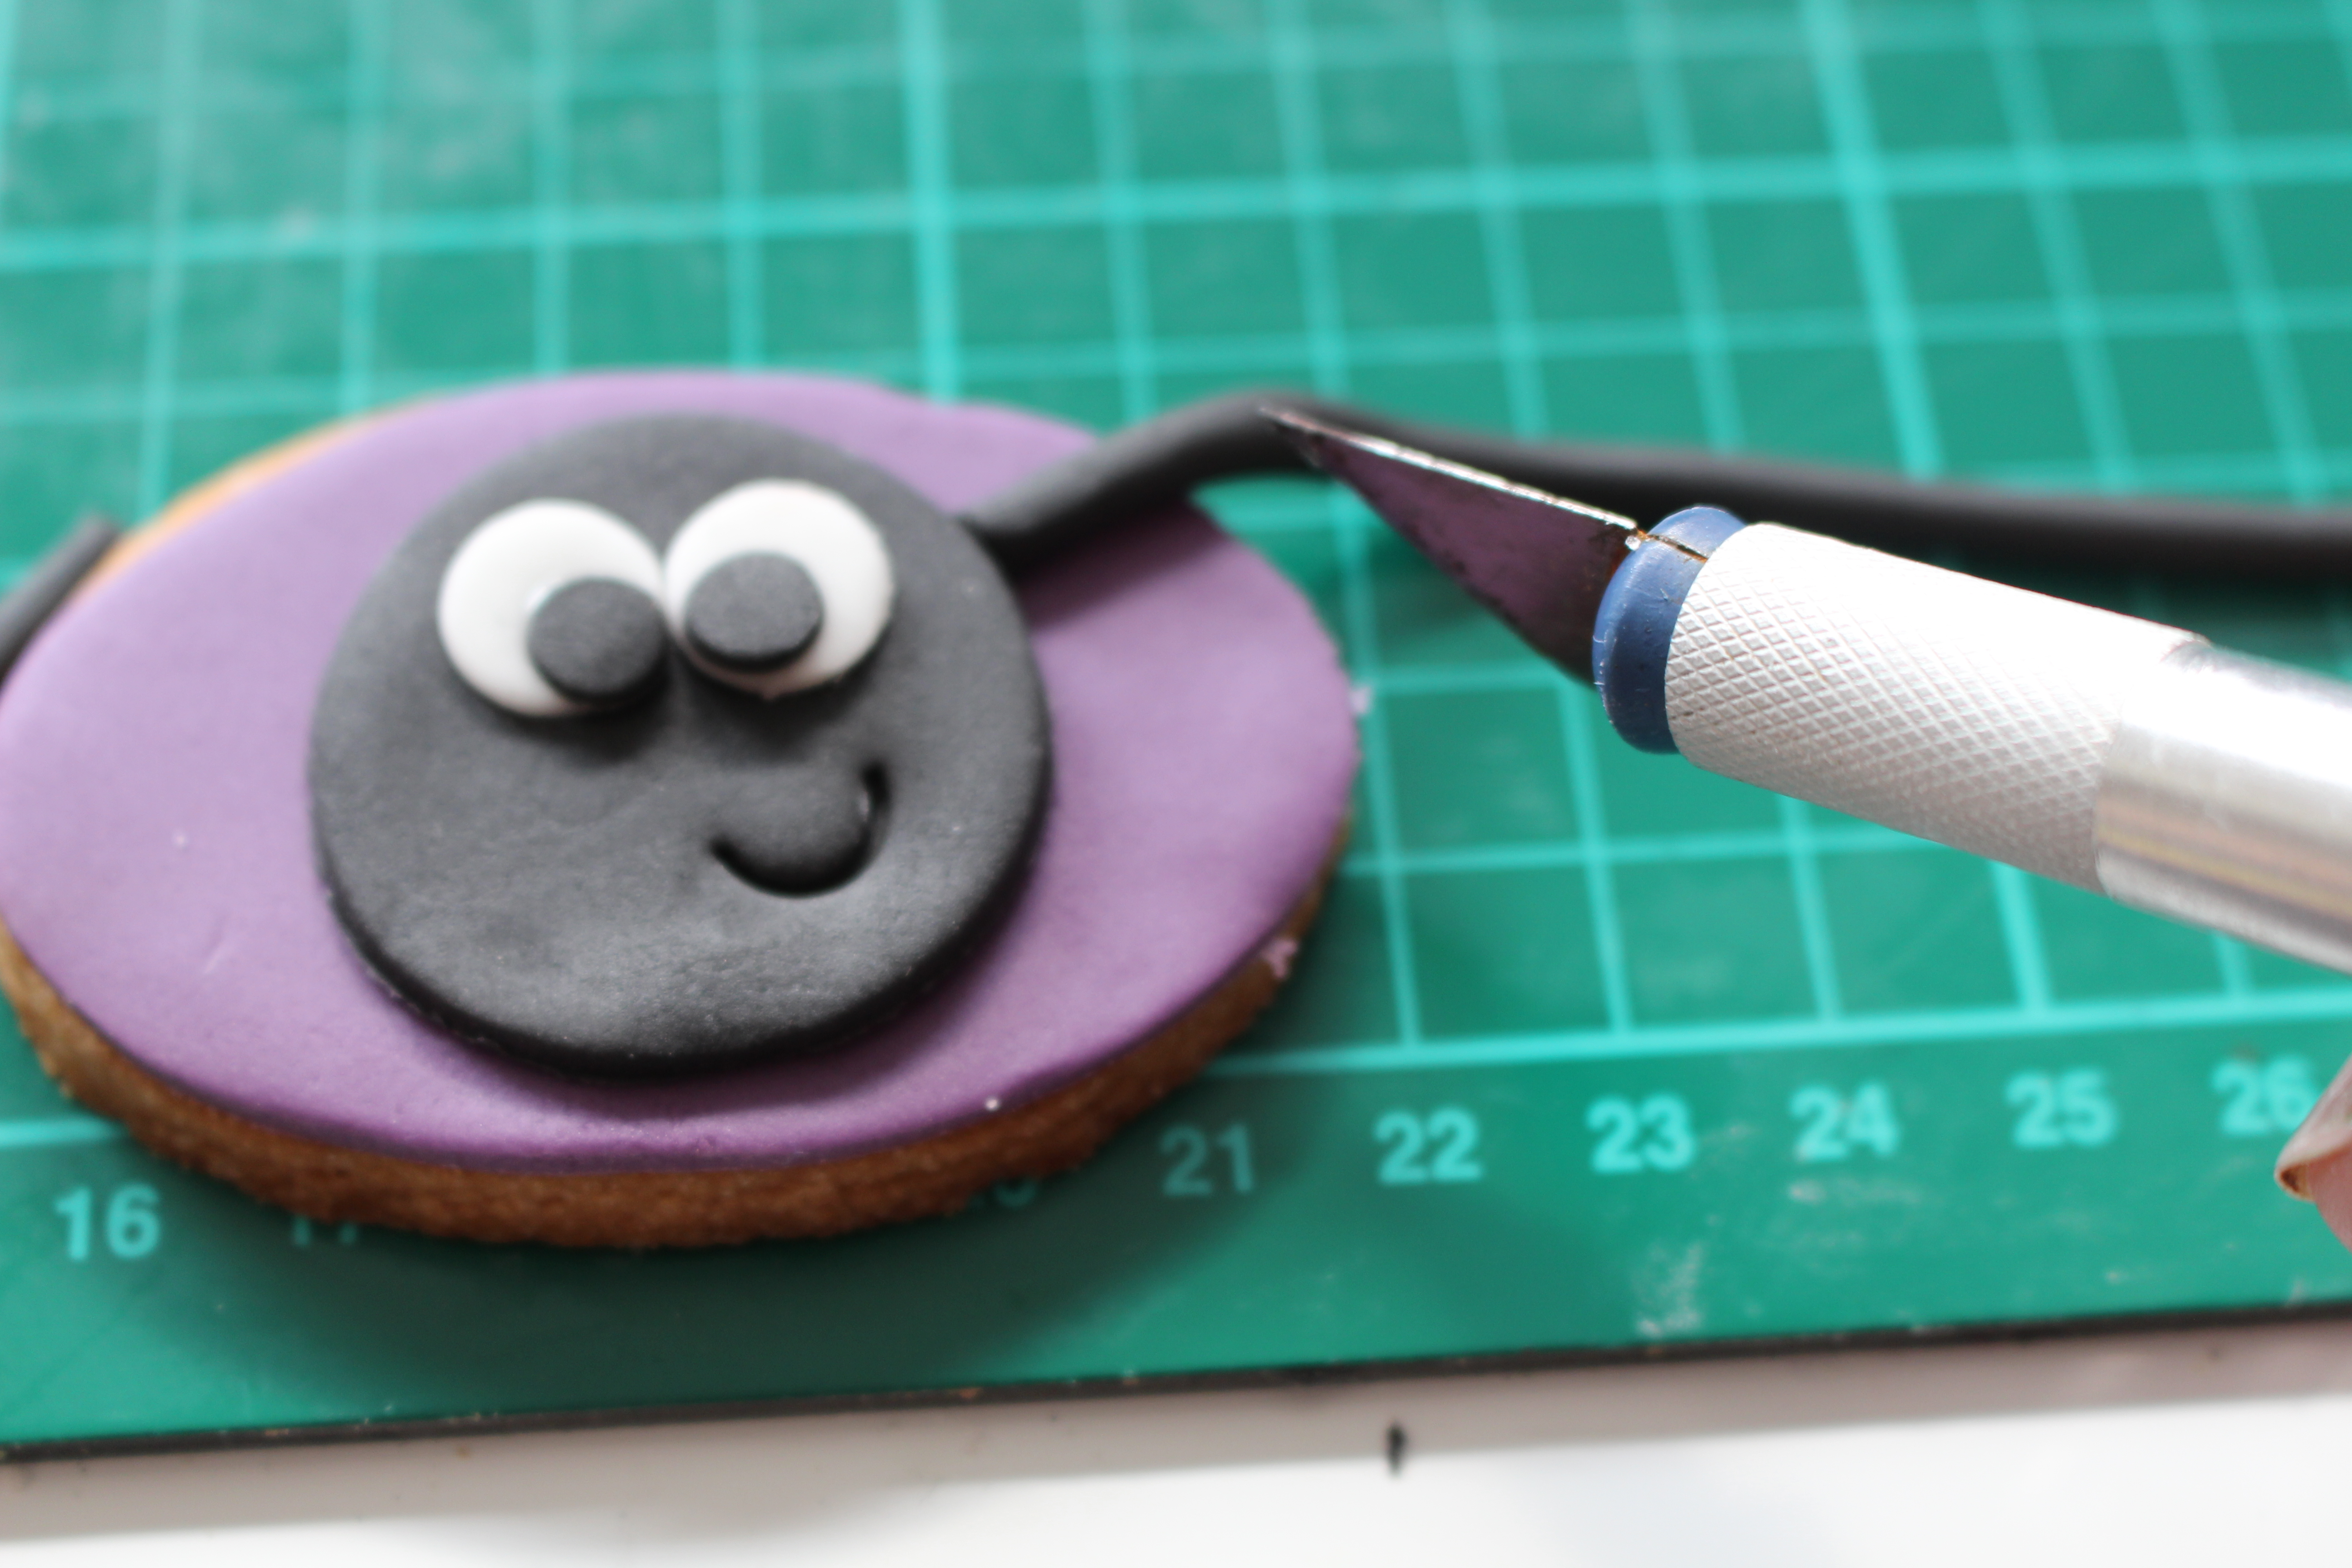
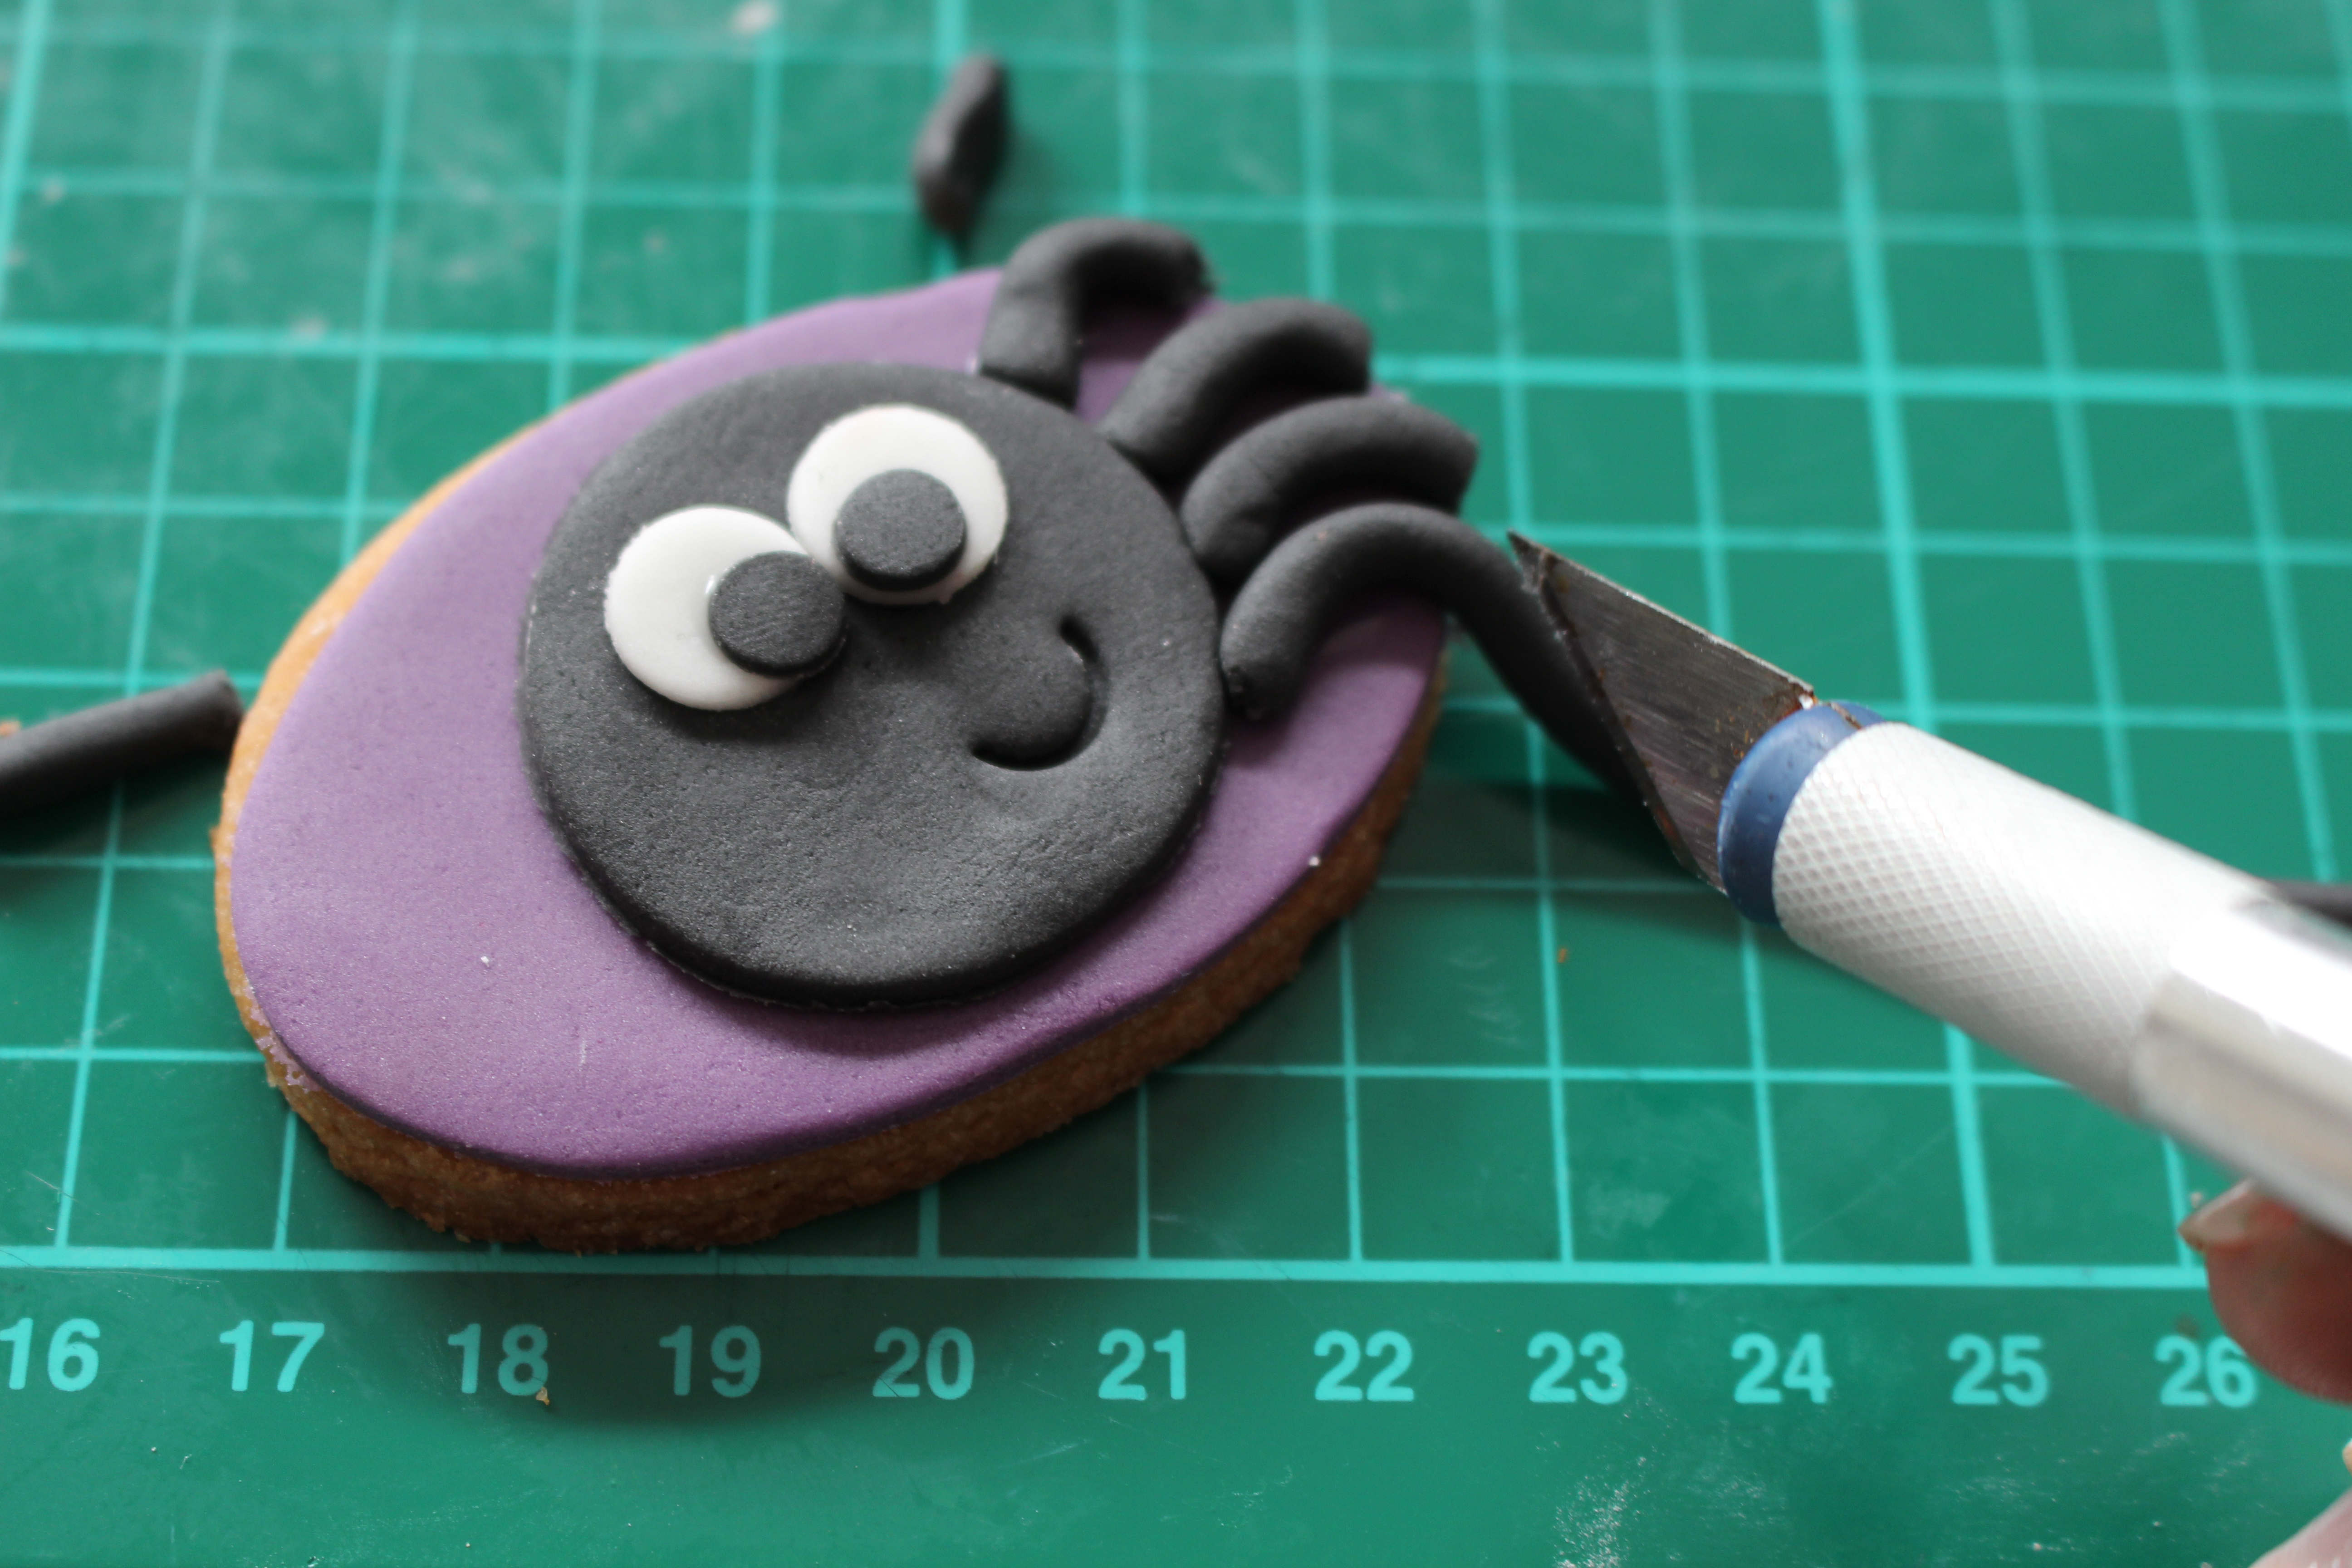
Put a drop of water on the top of your icing where you would like the legs of your spider to be. Place your black icing on the top of your cookie, using your sharp knife trim your spiders legs in-line with the edge of your cookie.
Repeat this 8 times on each cookie.
