


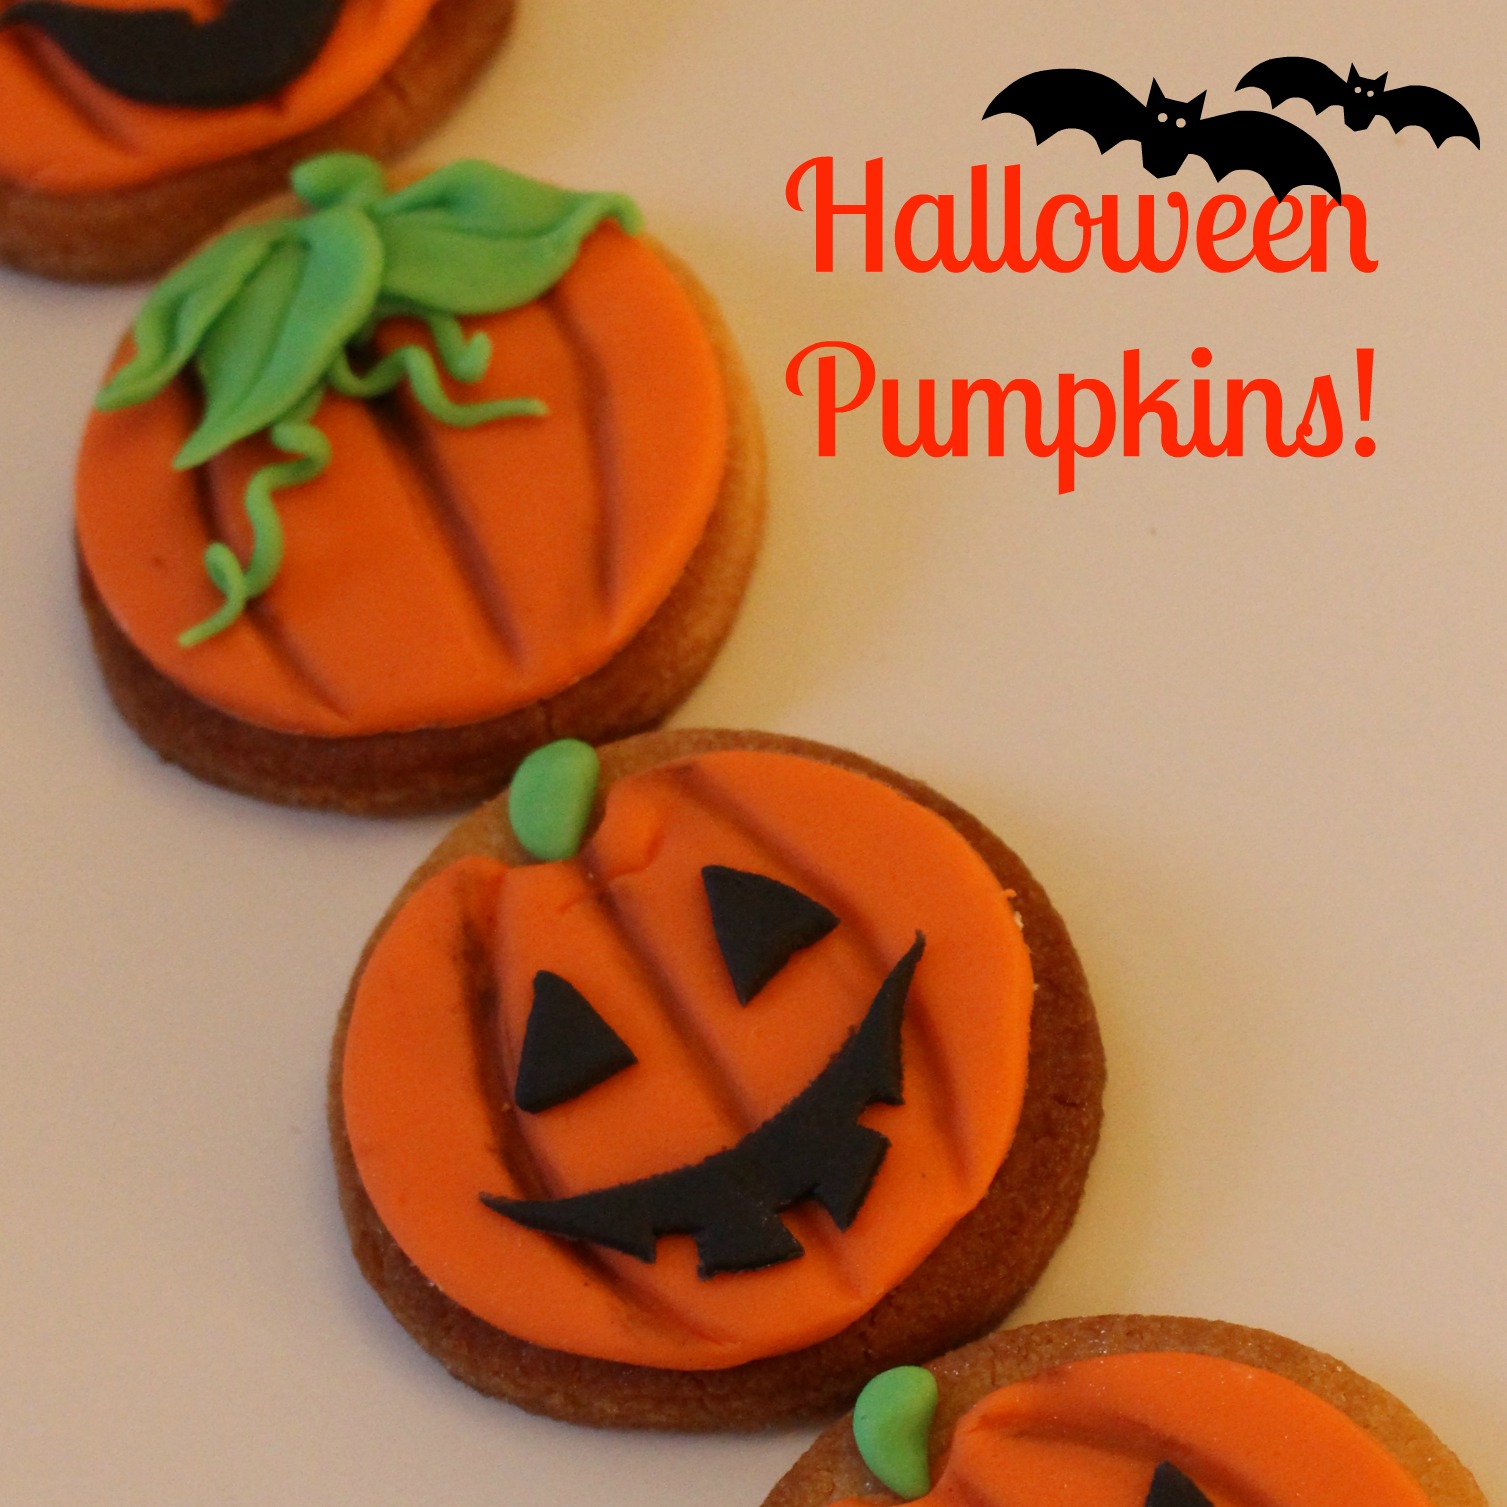
OK, now I am done for Halloween tutorials. I do have a few other Halloweeny ideas up my sleeve which I may share this year if I have time!
Much like the spider cookies this would be lovely to hand out to ‘trick-or-treaters’ or to make with your children at home!
What you need:
- Cooled pre-baked round cookies
- Round cutter the same size as your cookies
- Oval cutter
- Sugar paste – black, orange and green.
- Tools – bone tool, curved tool, sharp knife.
- Black petal dust and dry paint brush.

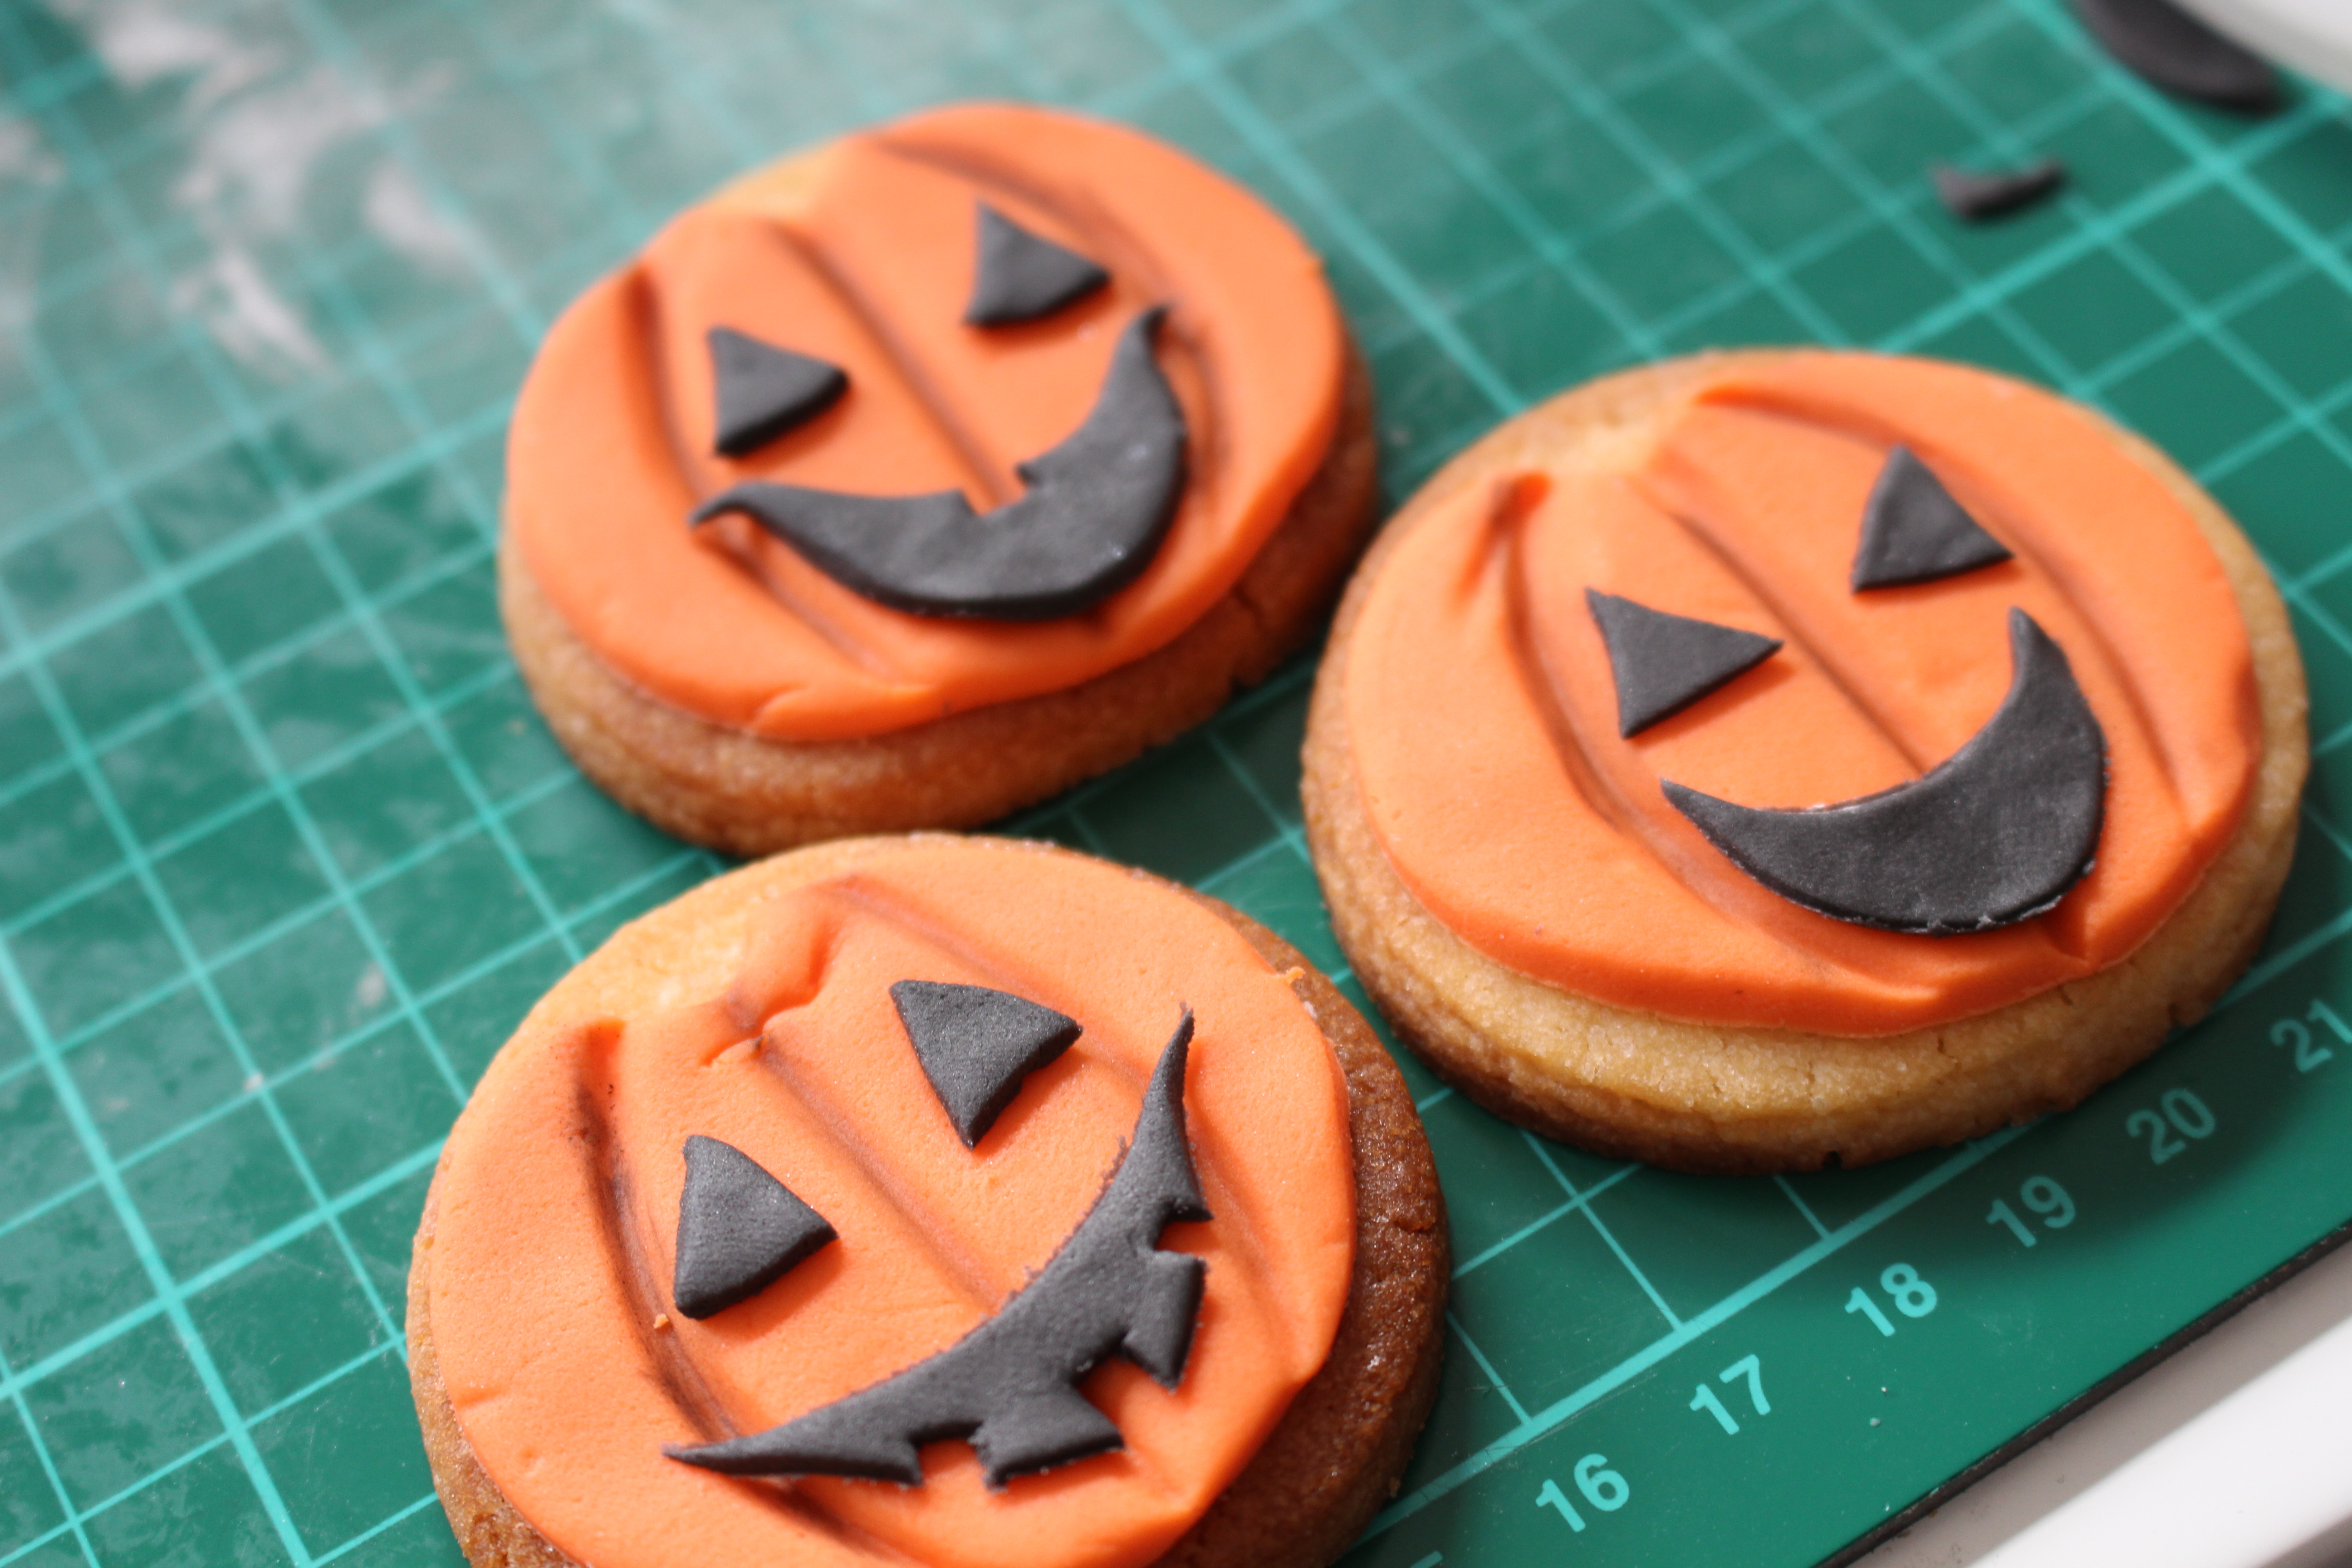
Start by rolling out your orange sugar paste and cut out round circles the same size as your cookies.

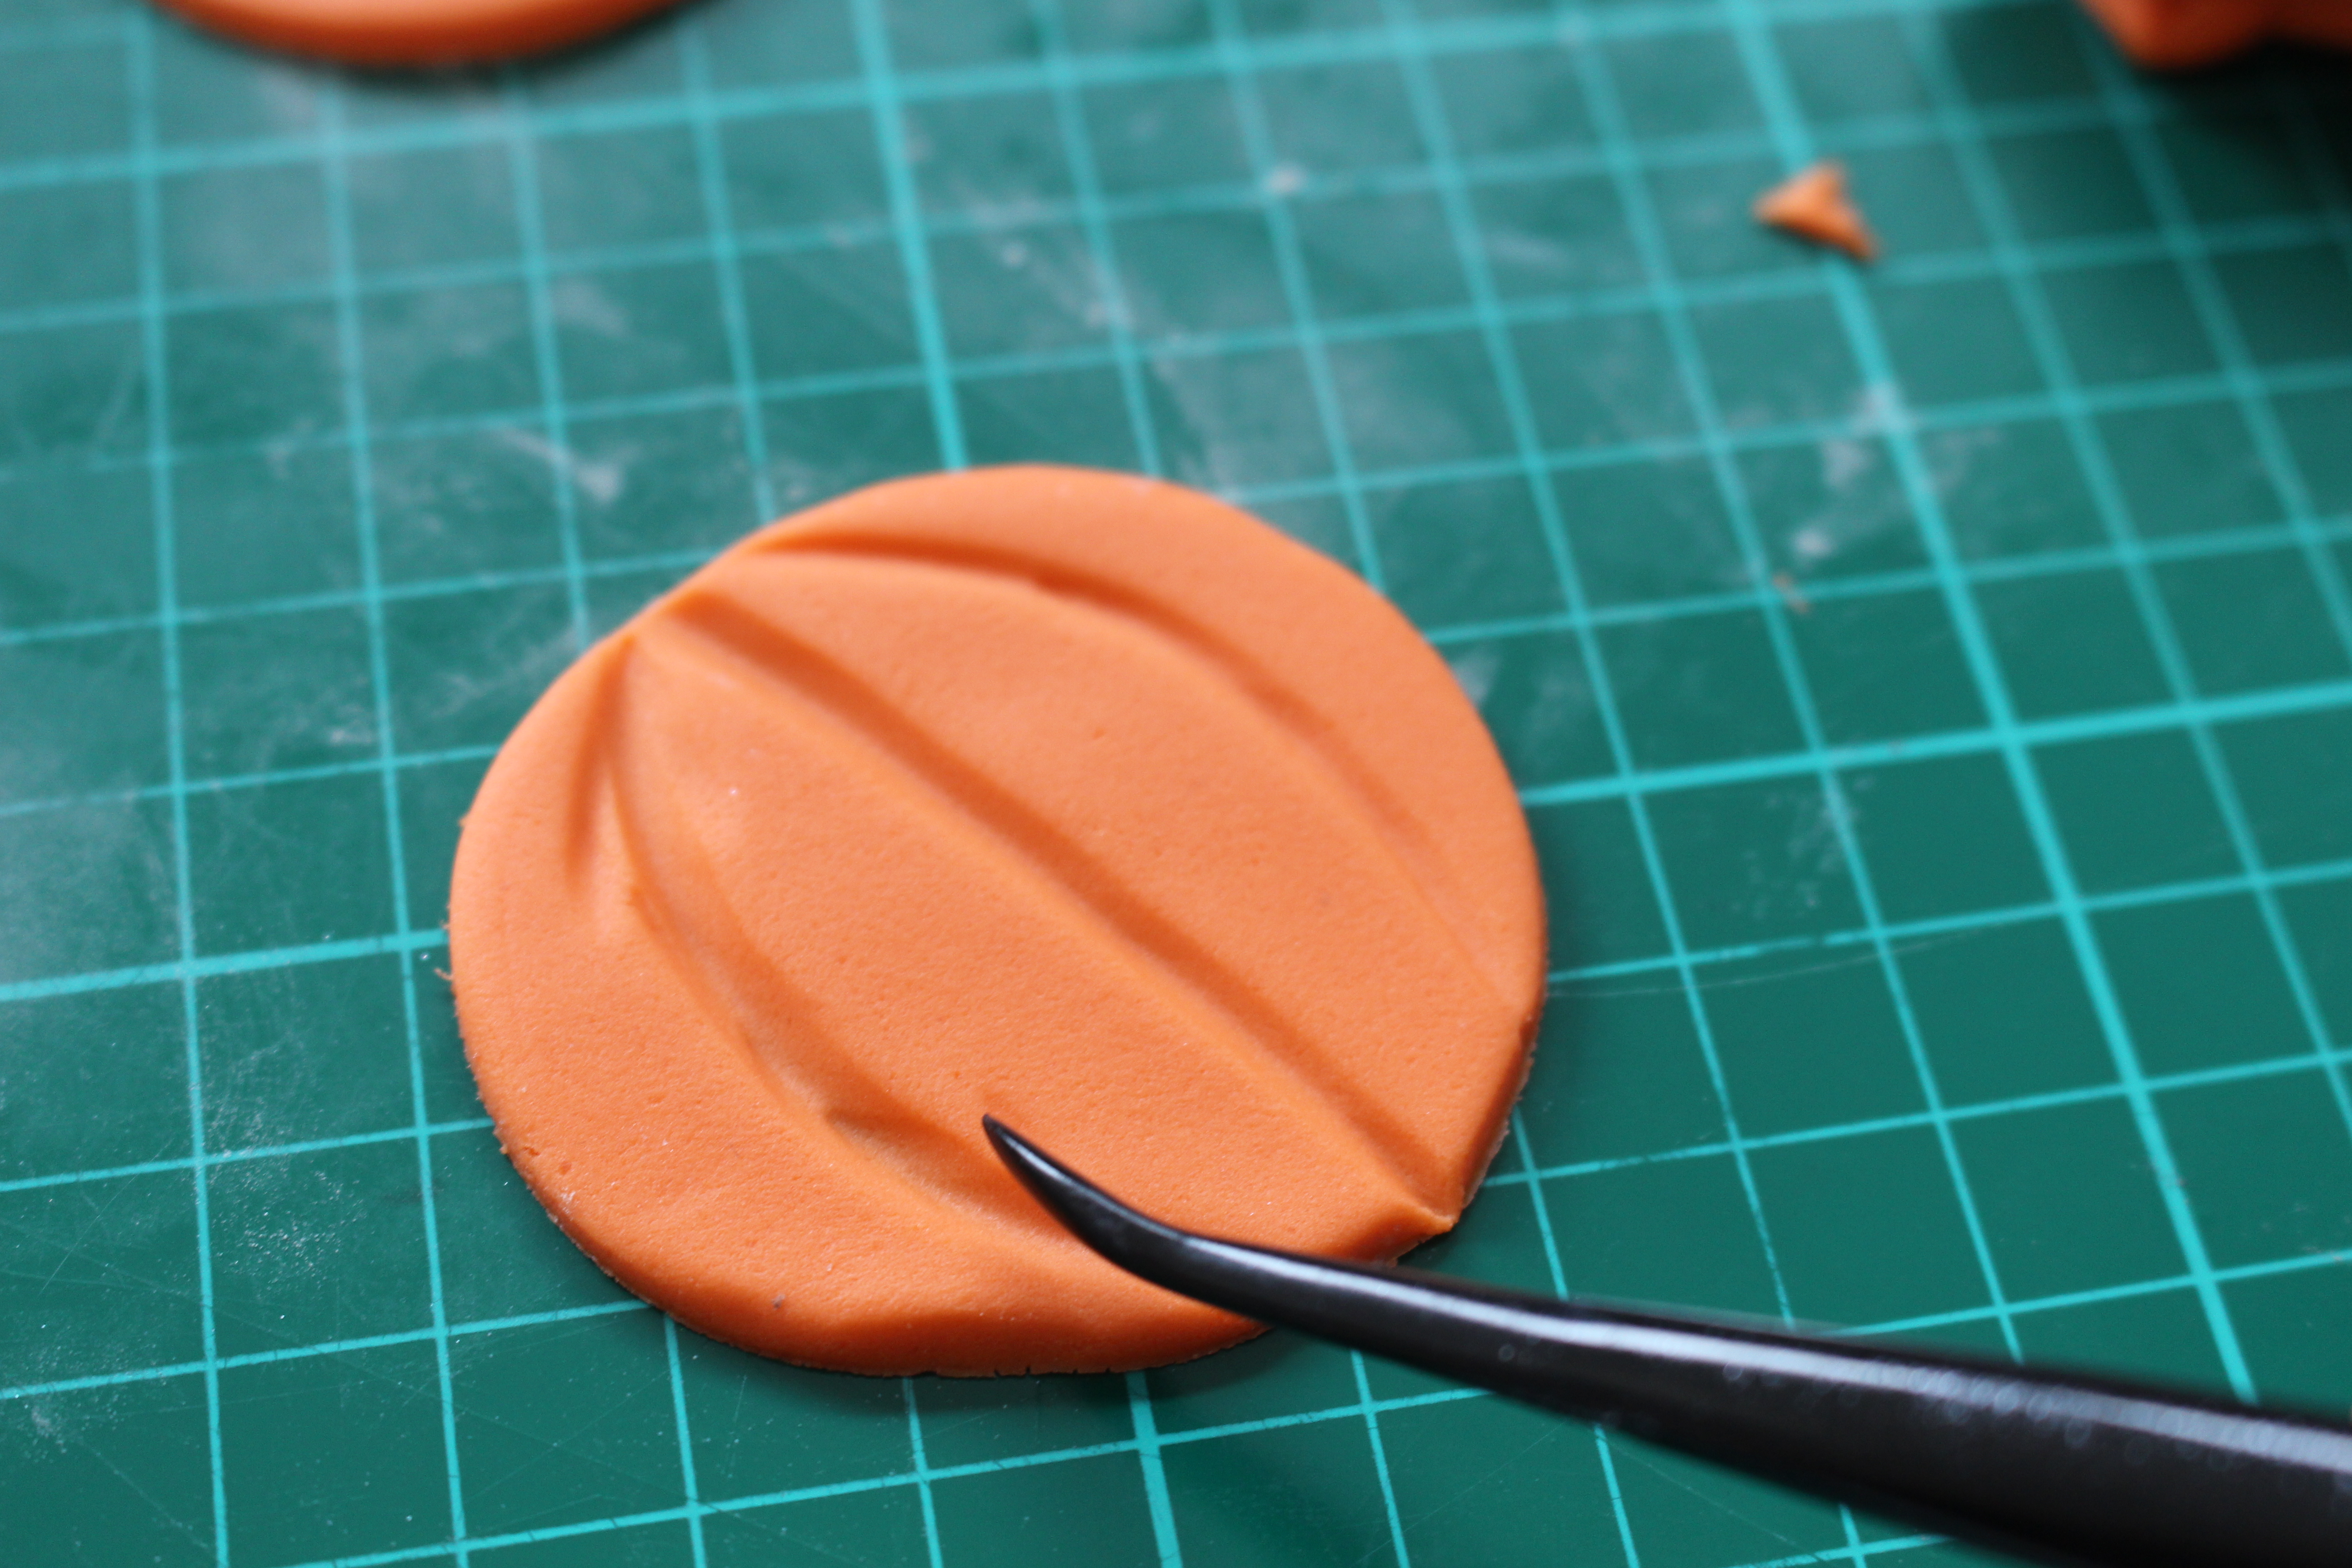
Using your bone tool make marks in the middle of your pumpkin. Then make curved lines at the 1/4 way line.
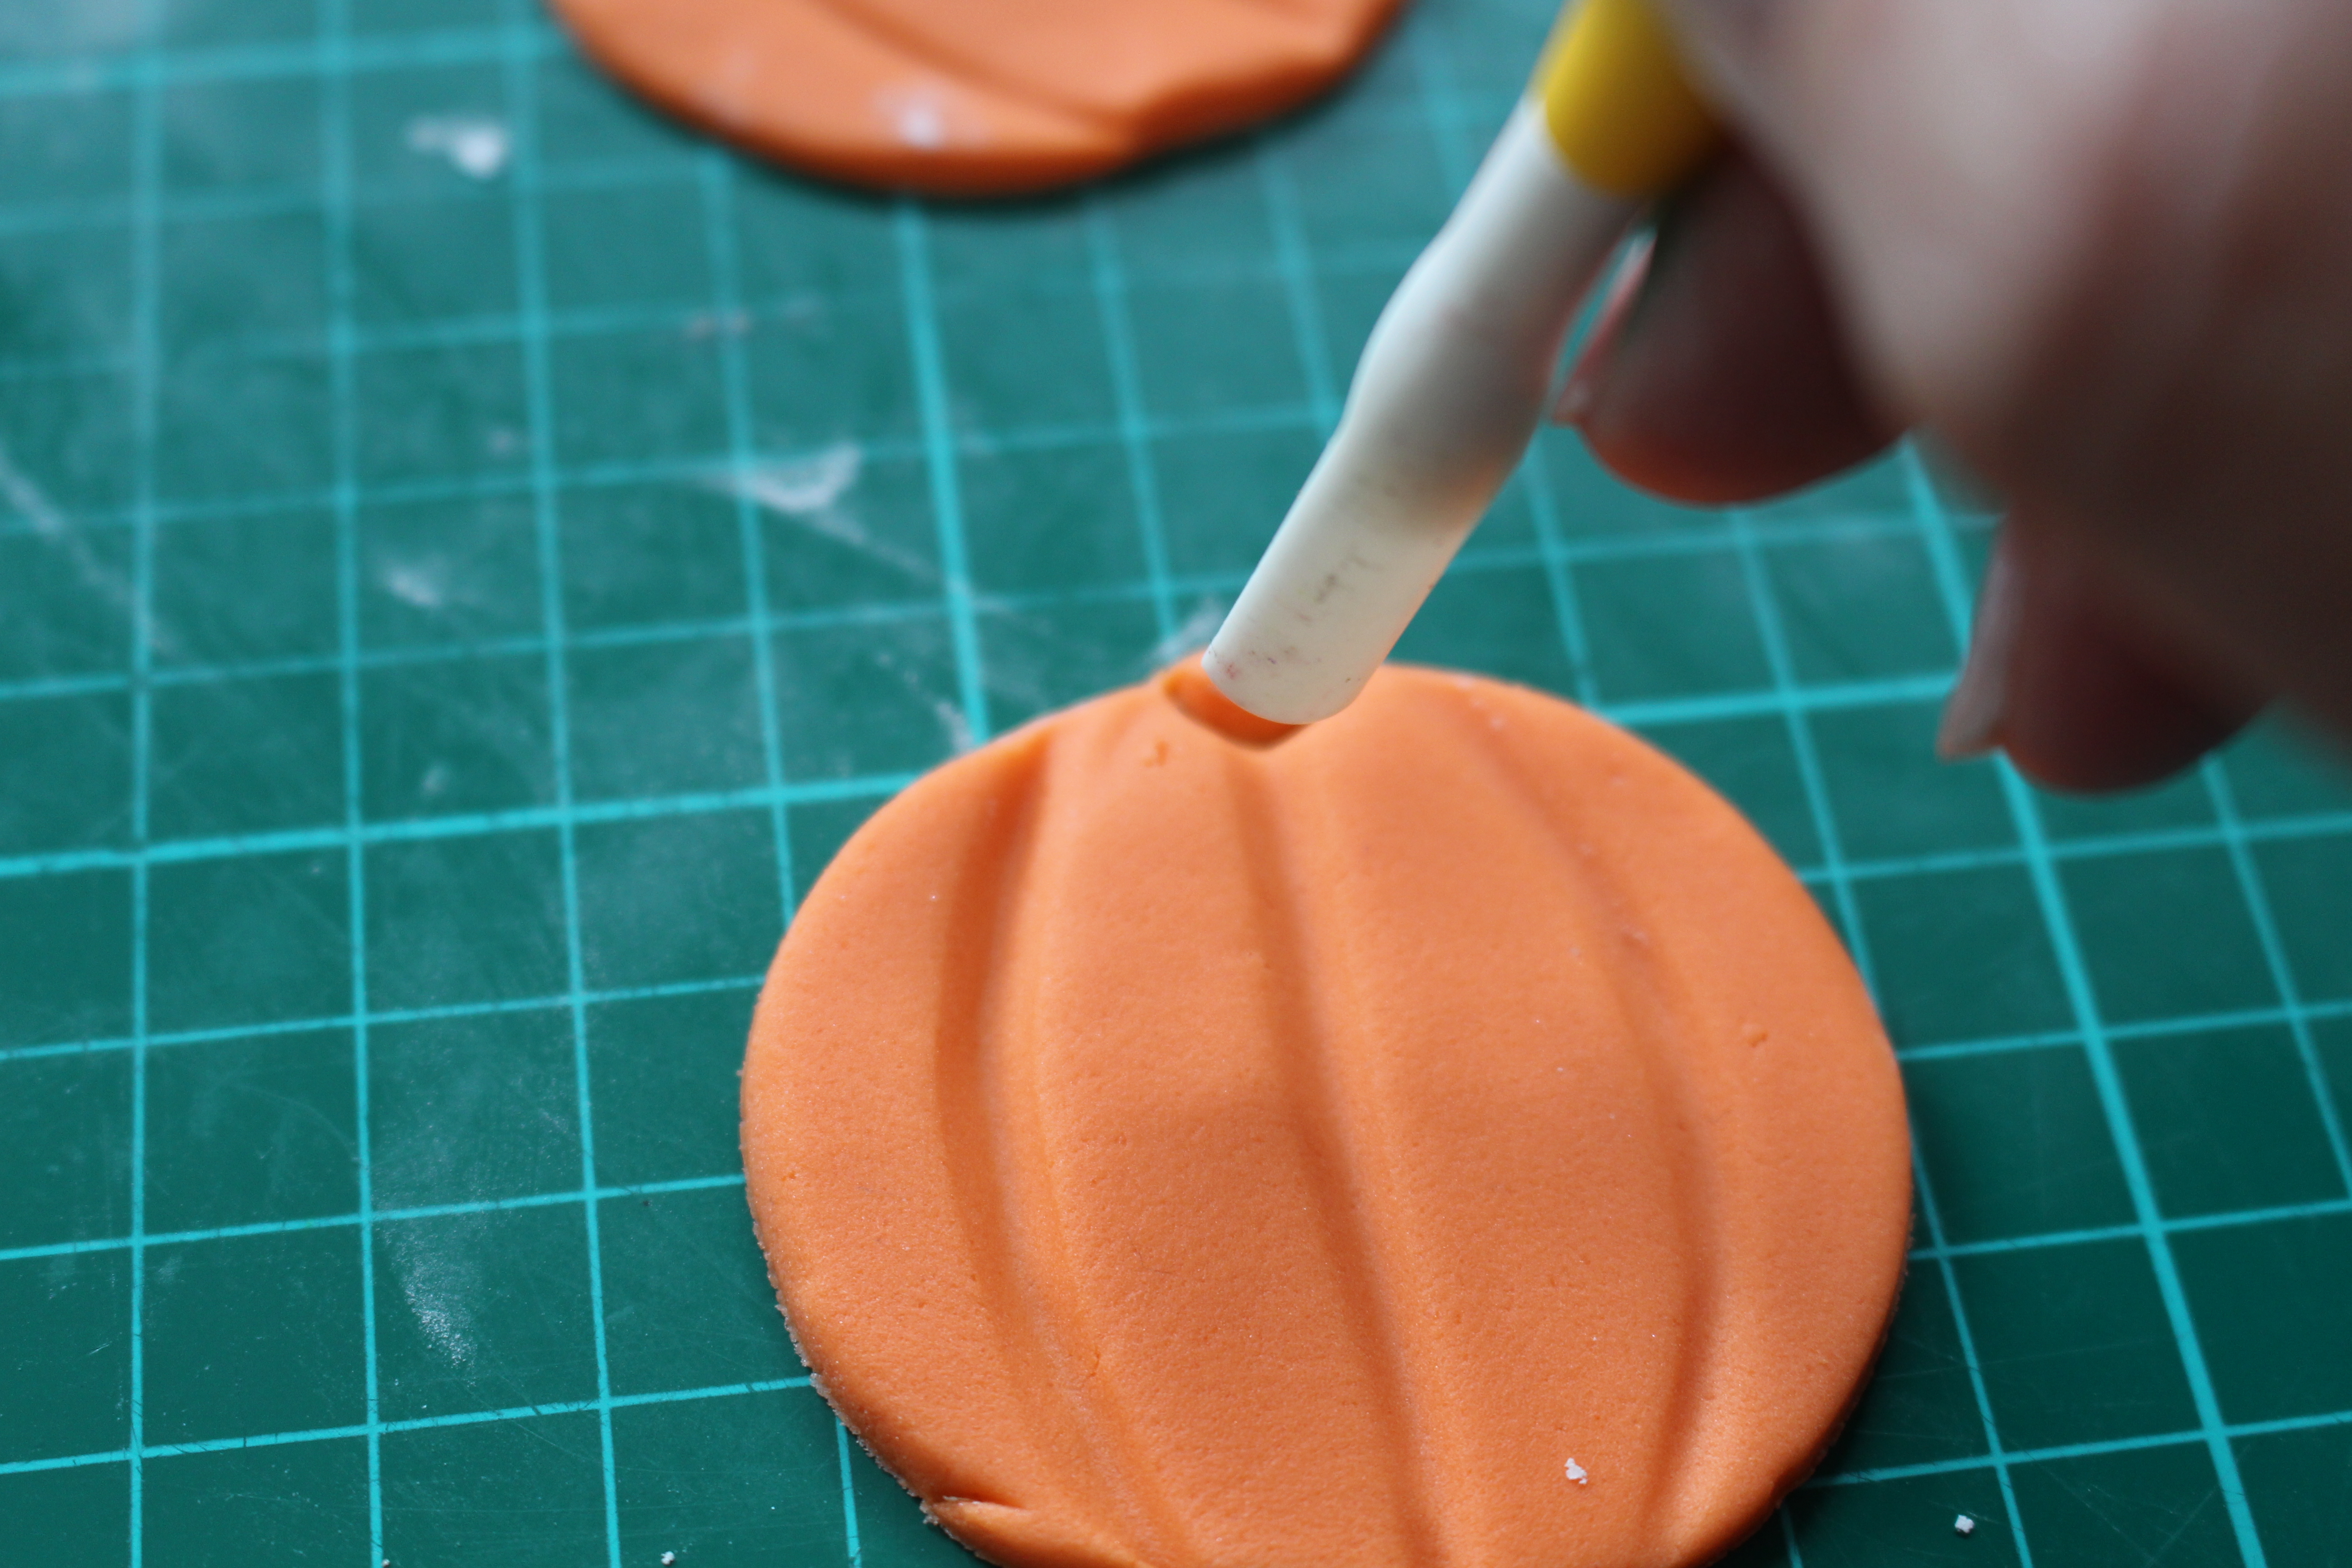
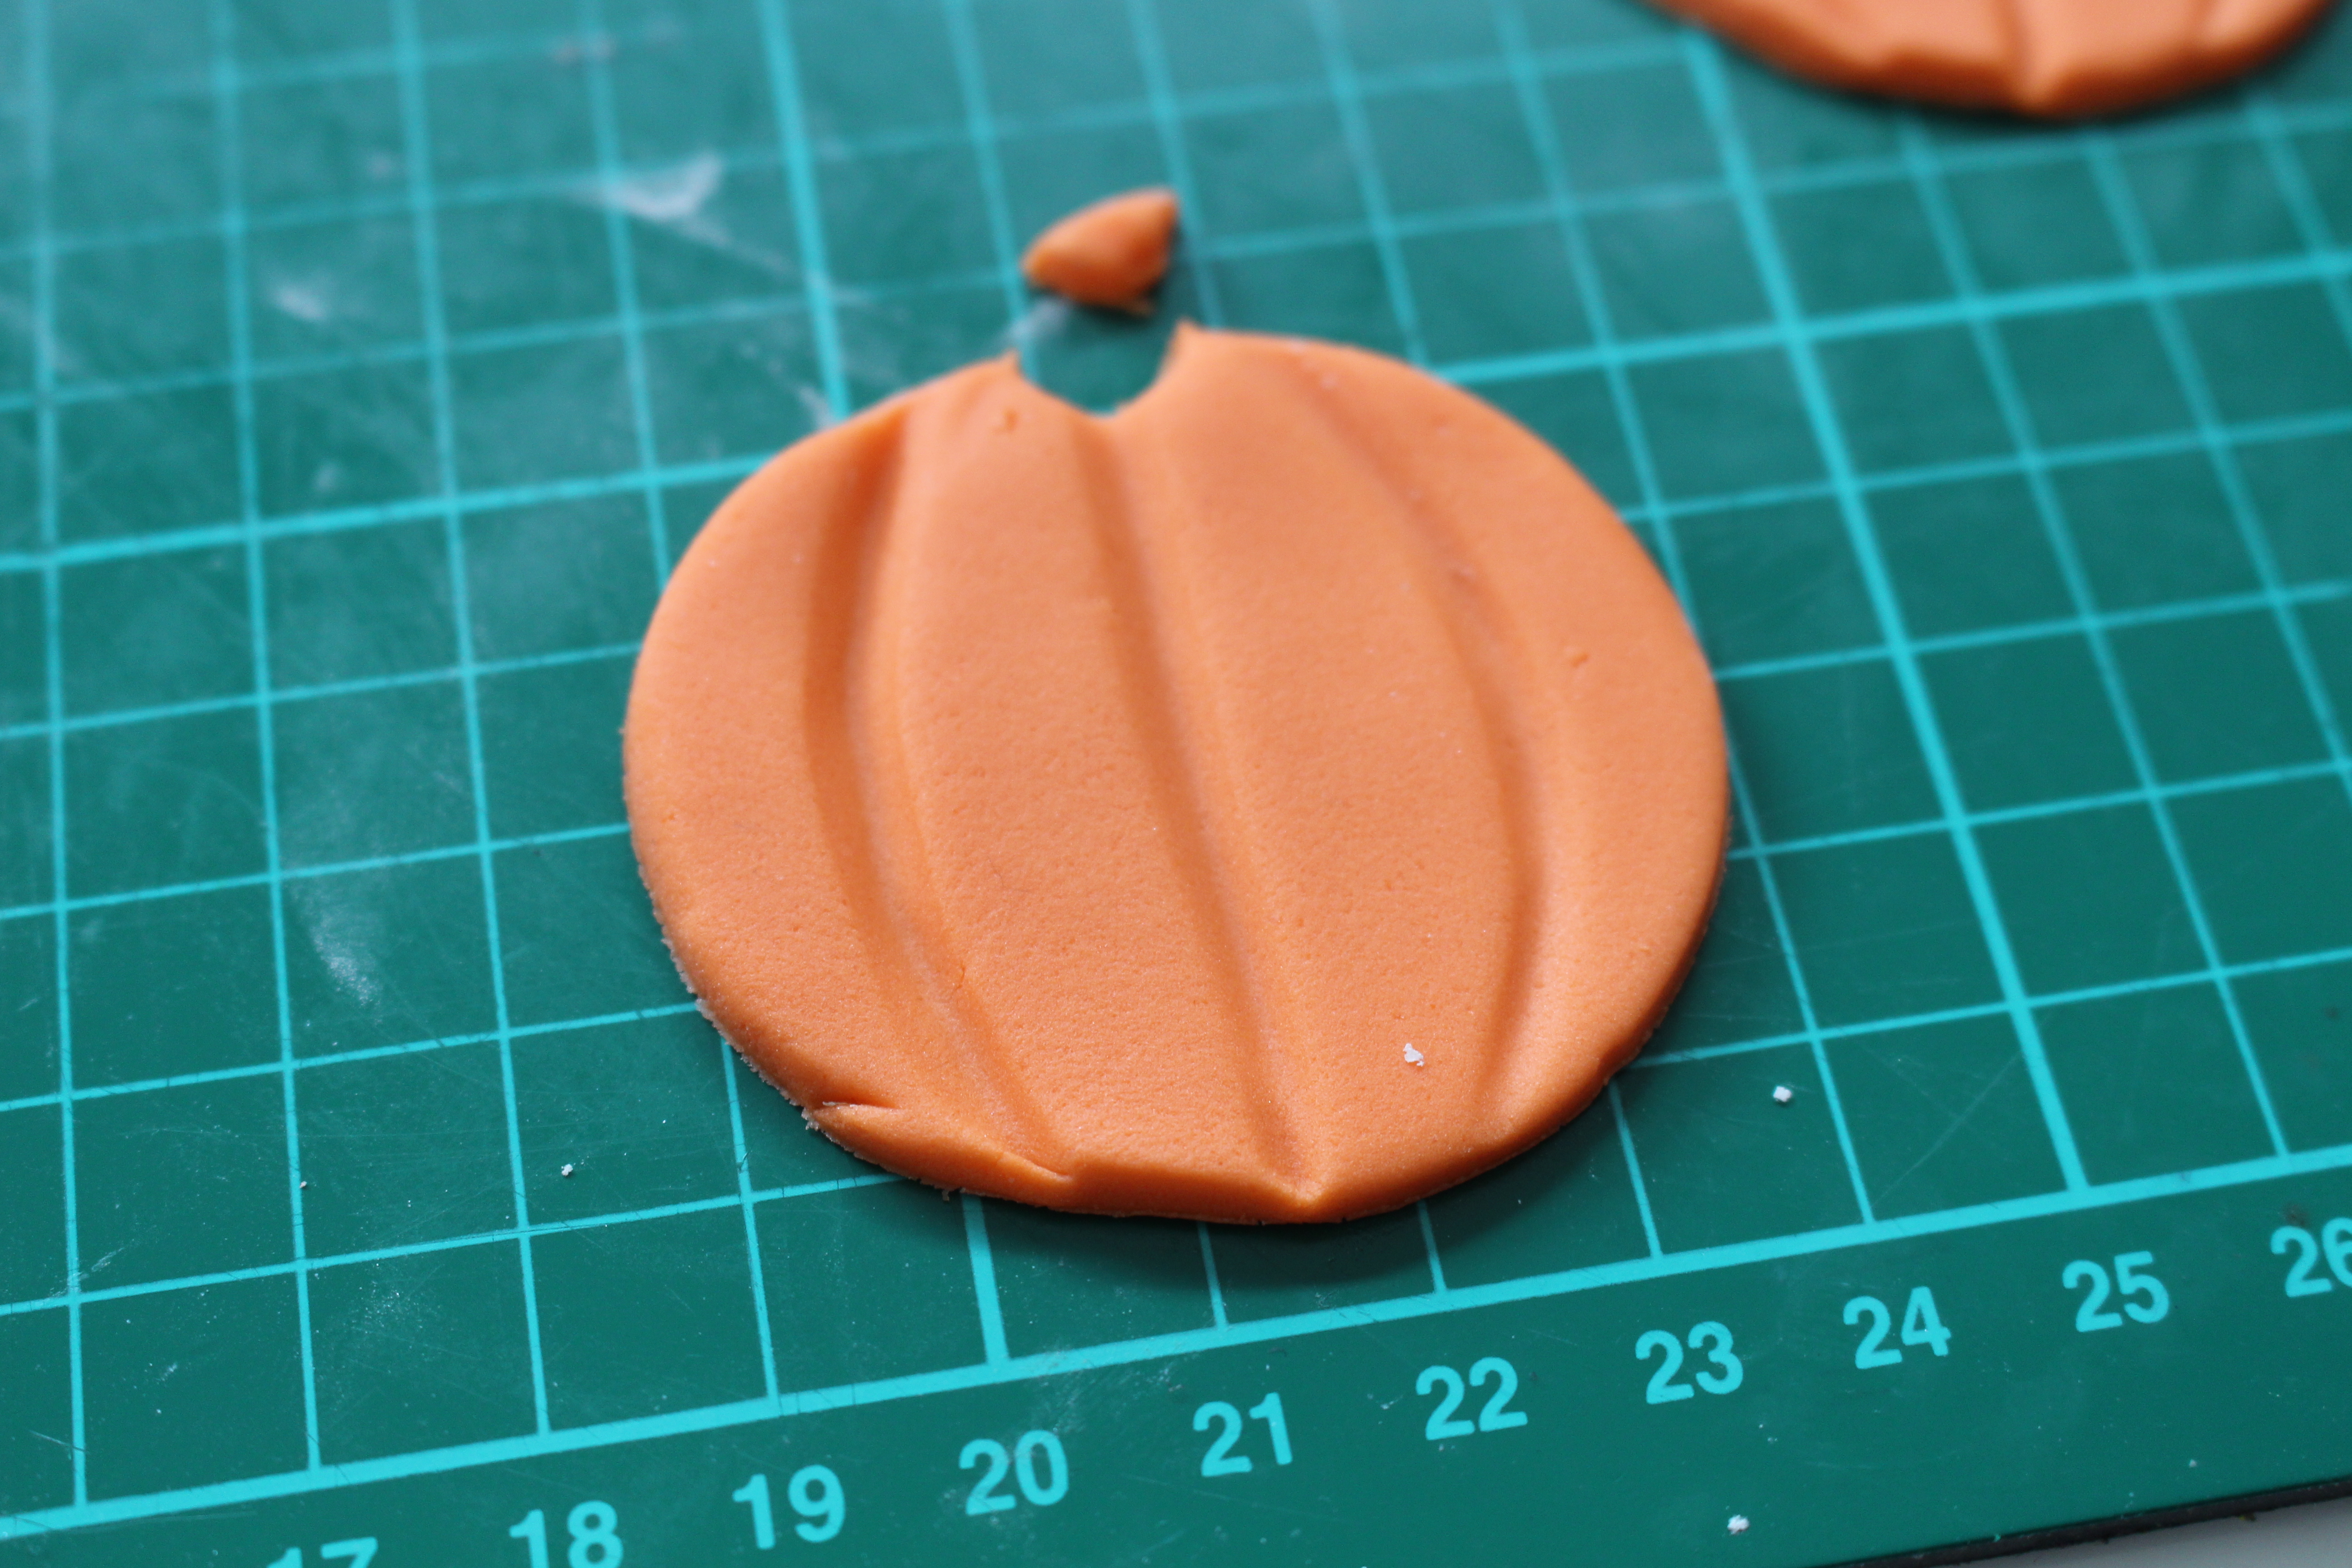
Using your curved tool, make a small imprint in the top of the pumpkin.
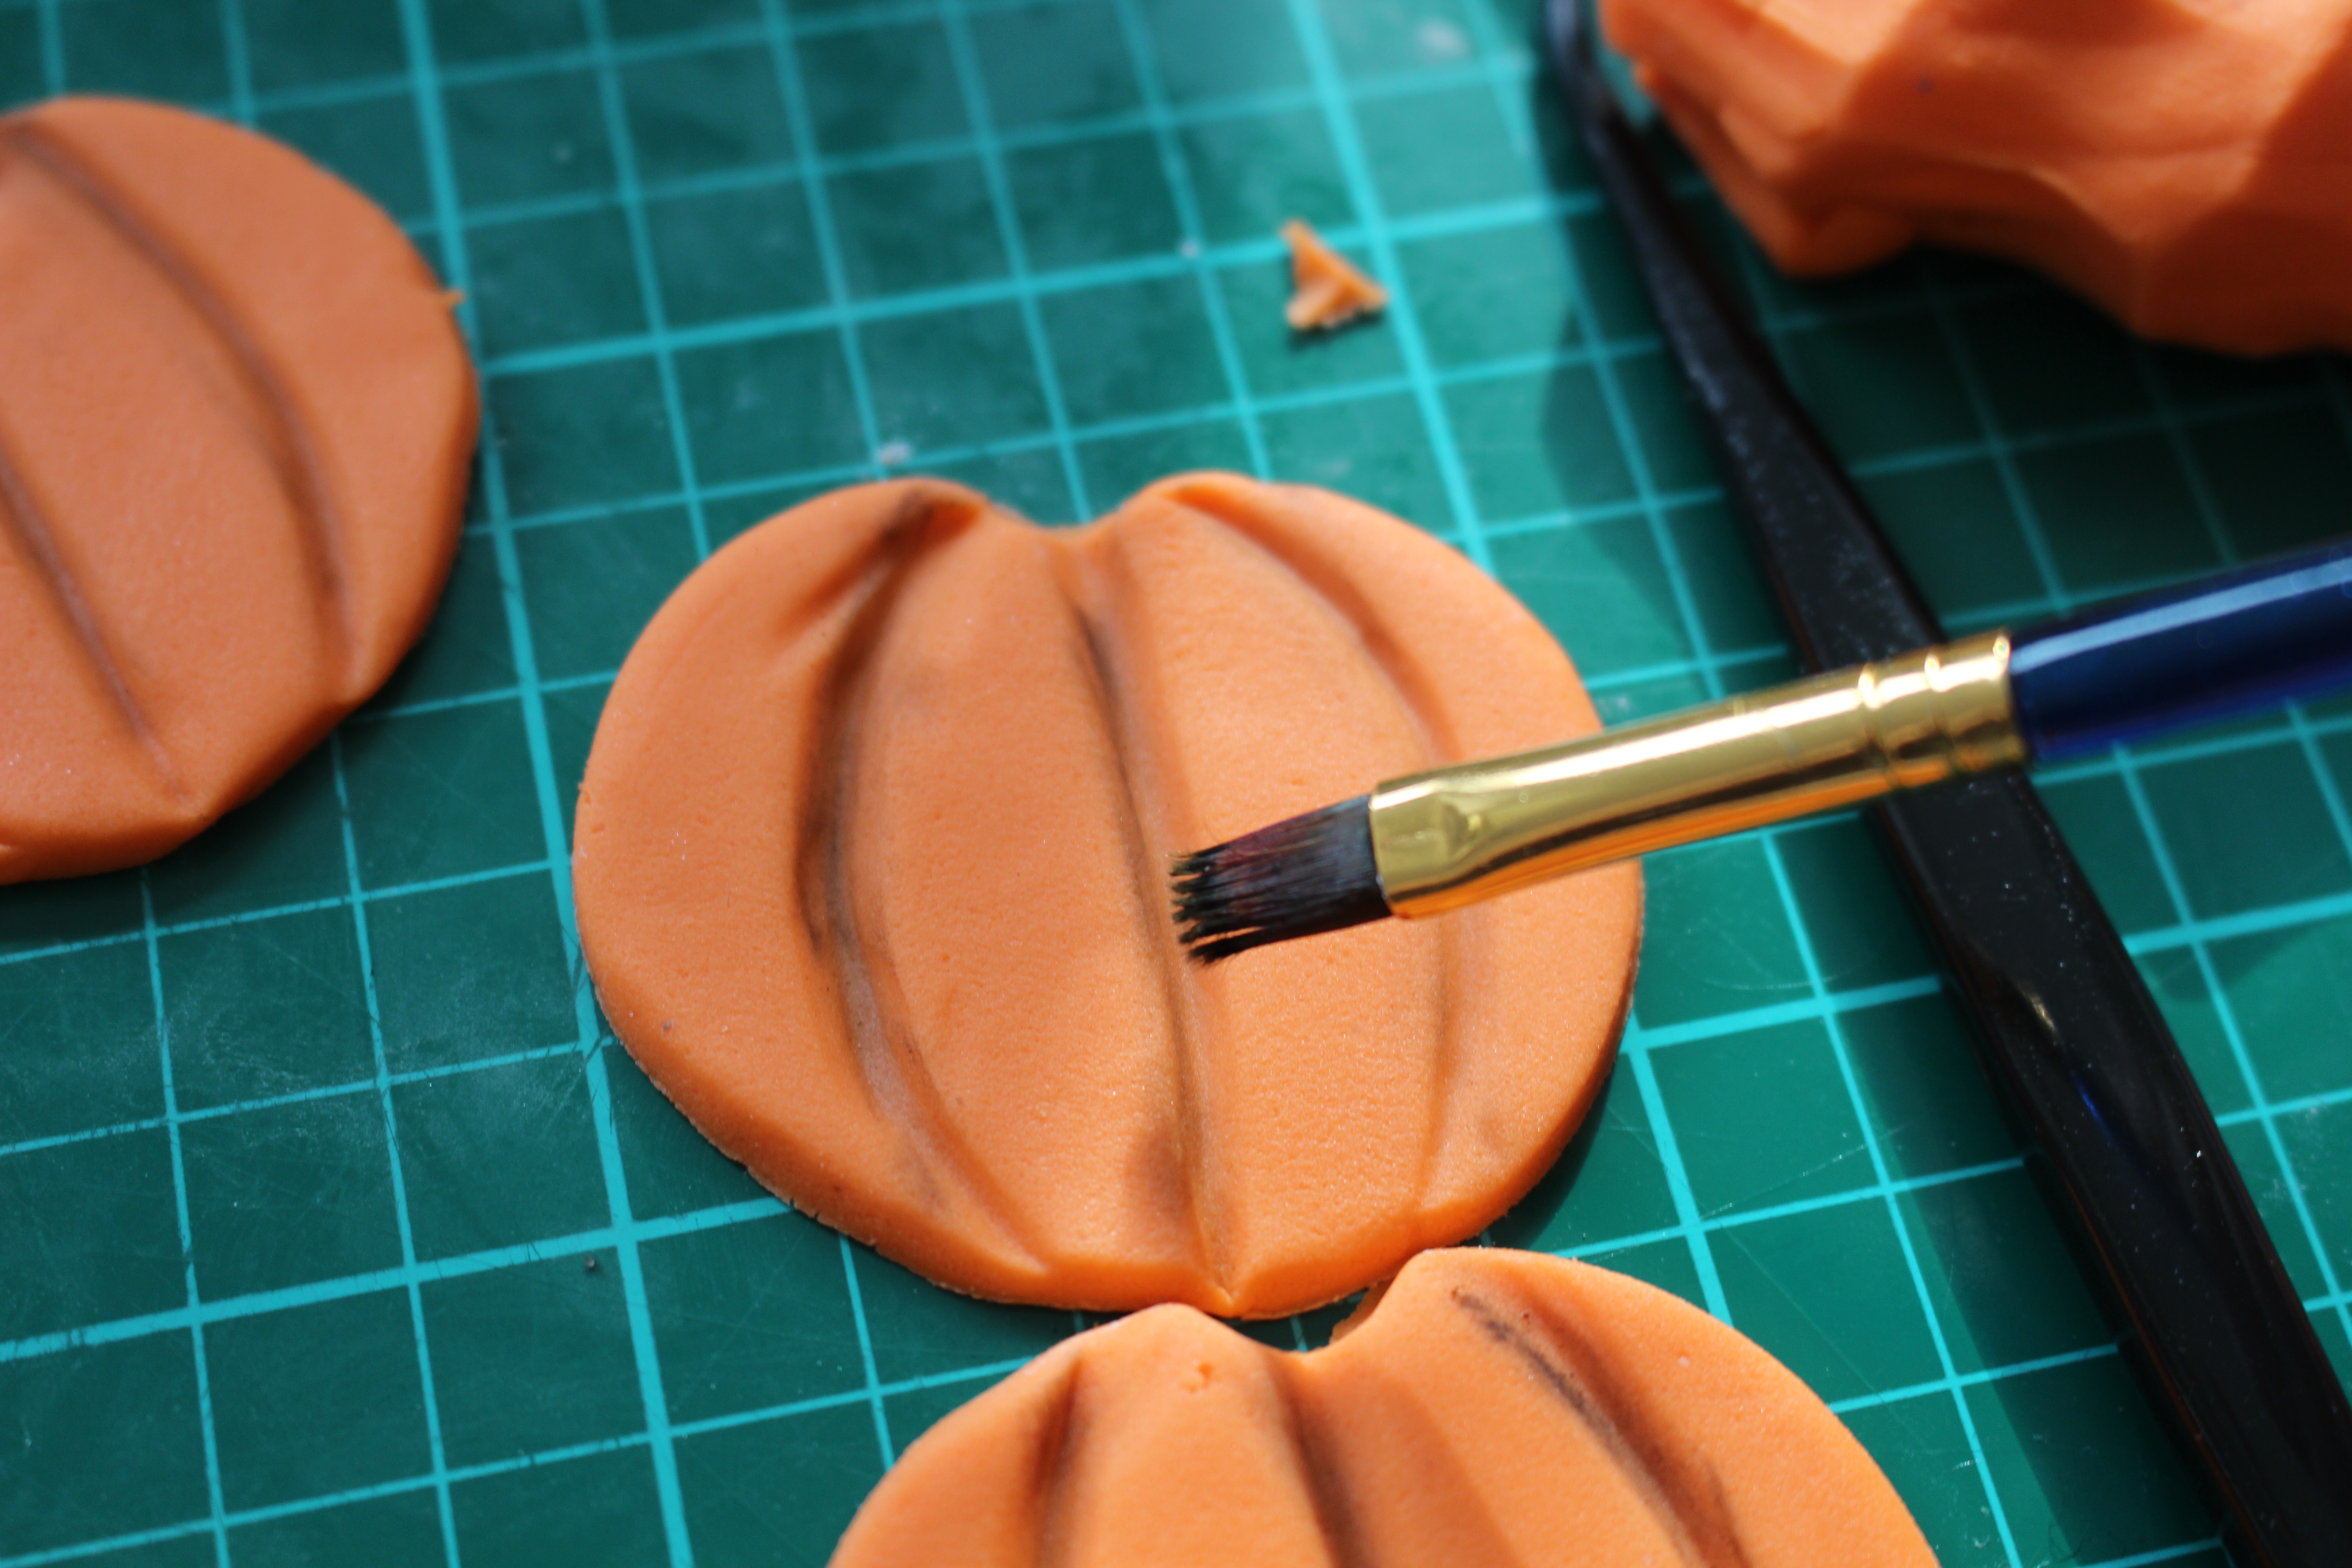
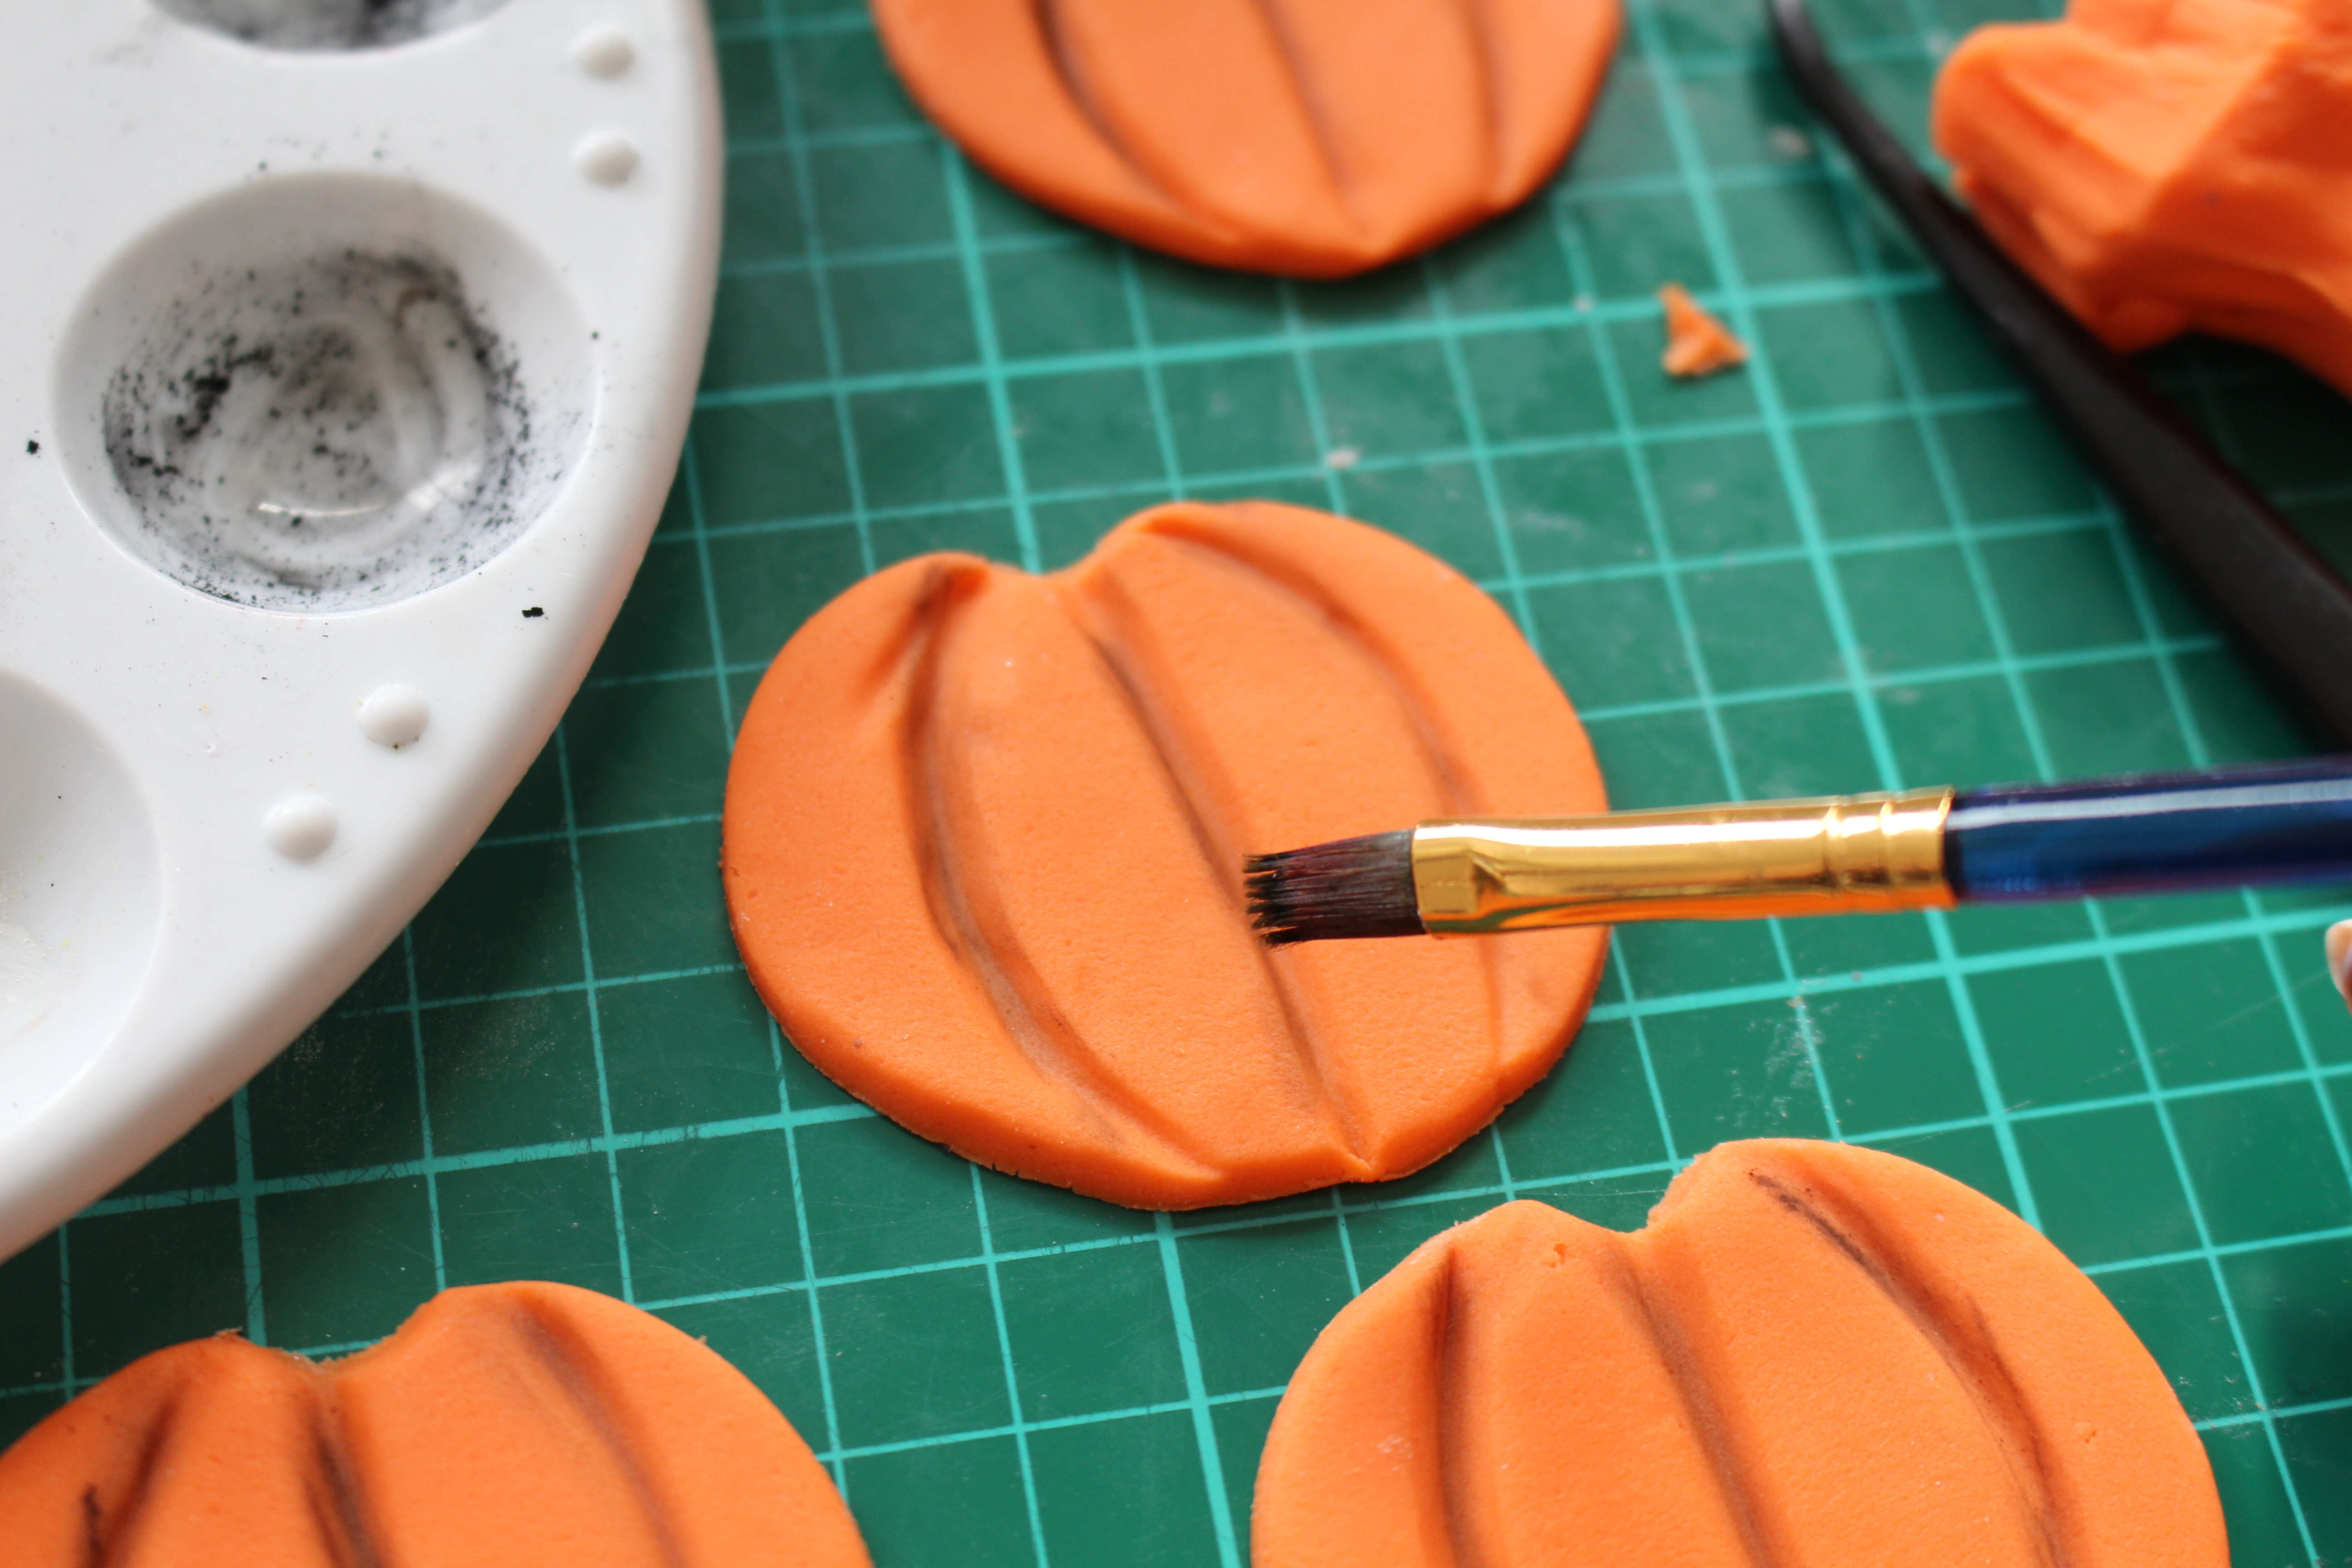
Using a dry paintbrush gently rub black dust into the groves. Once you have done this, attach your icing to the top of the cookie using royal icing, or a mixture of watered down royal icing.

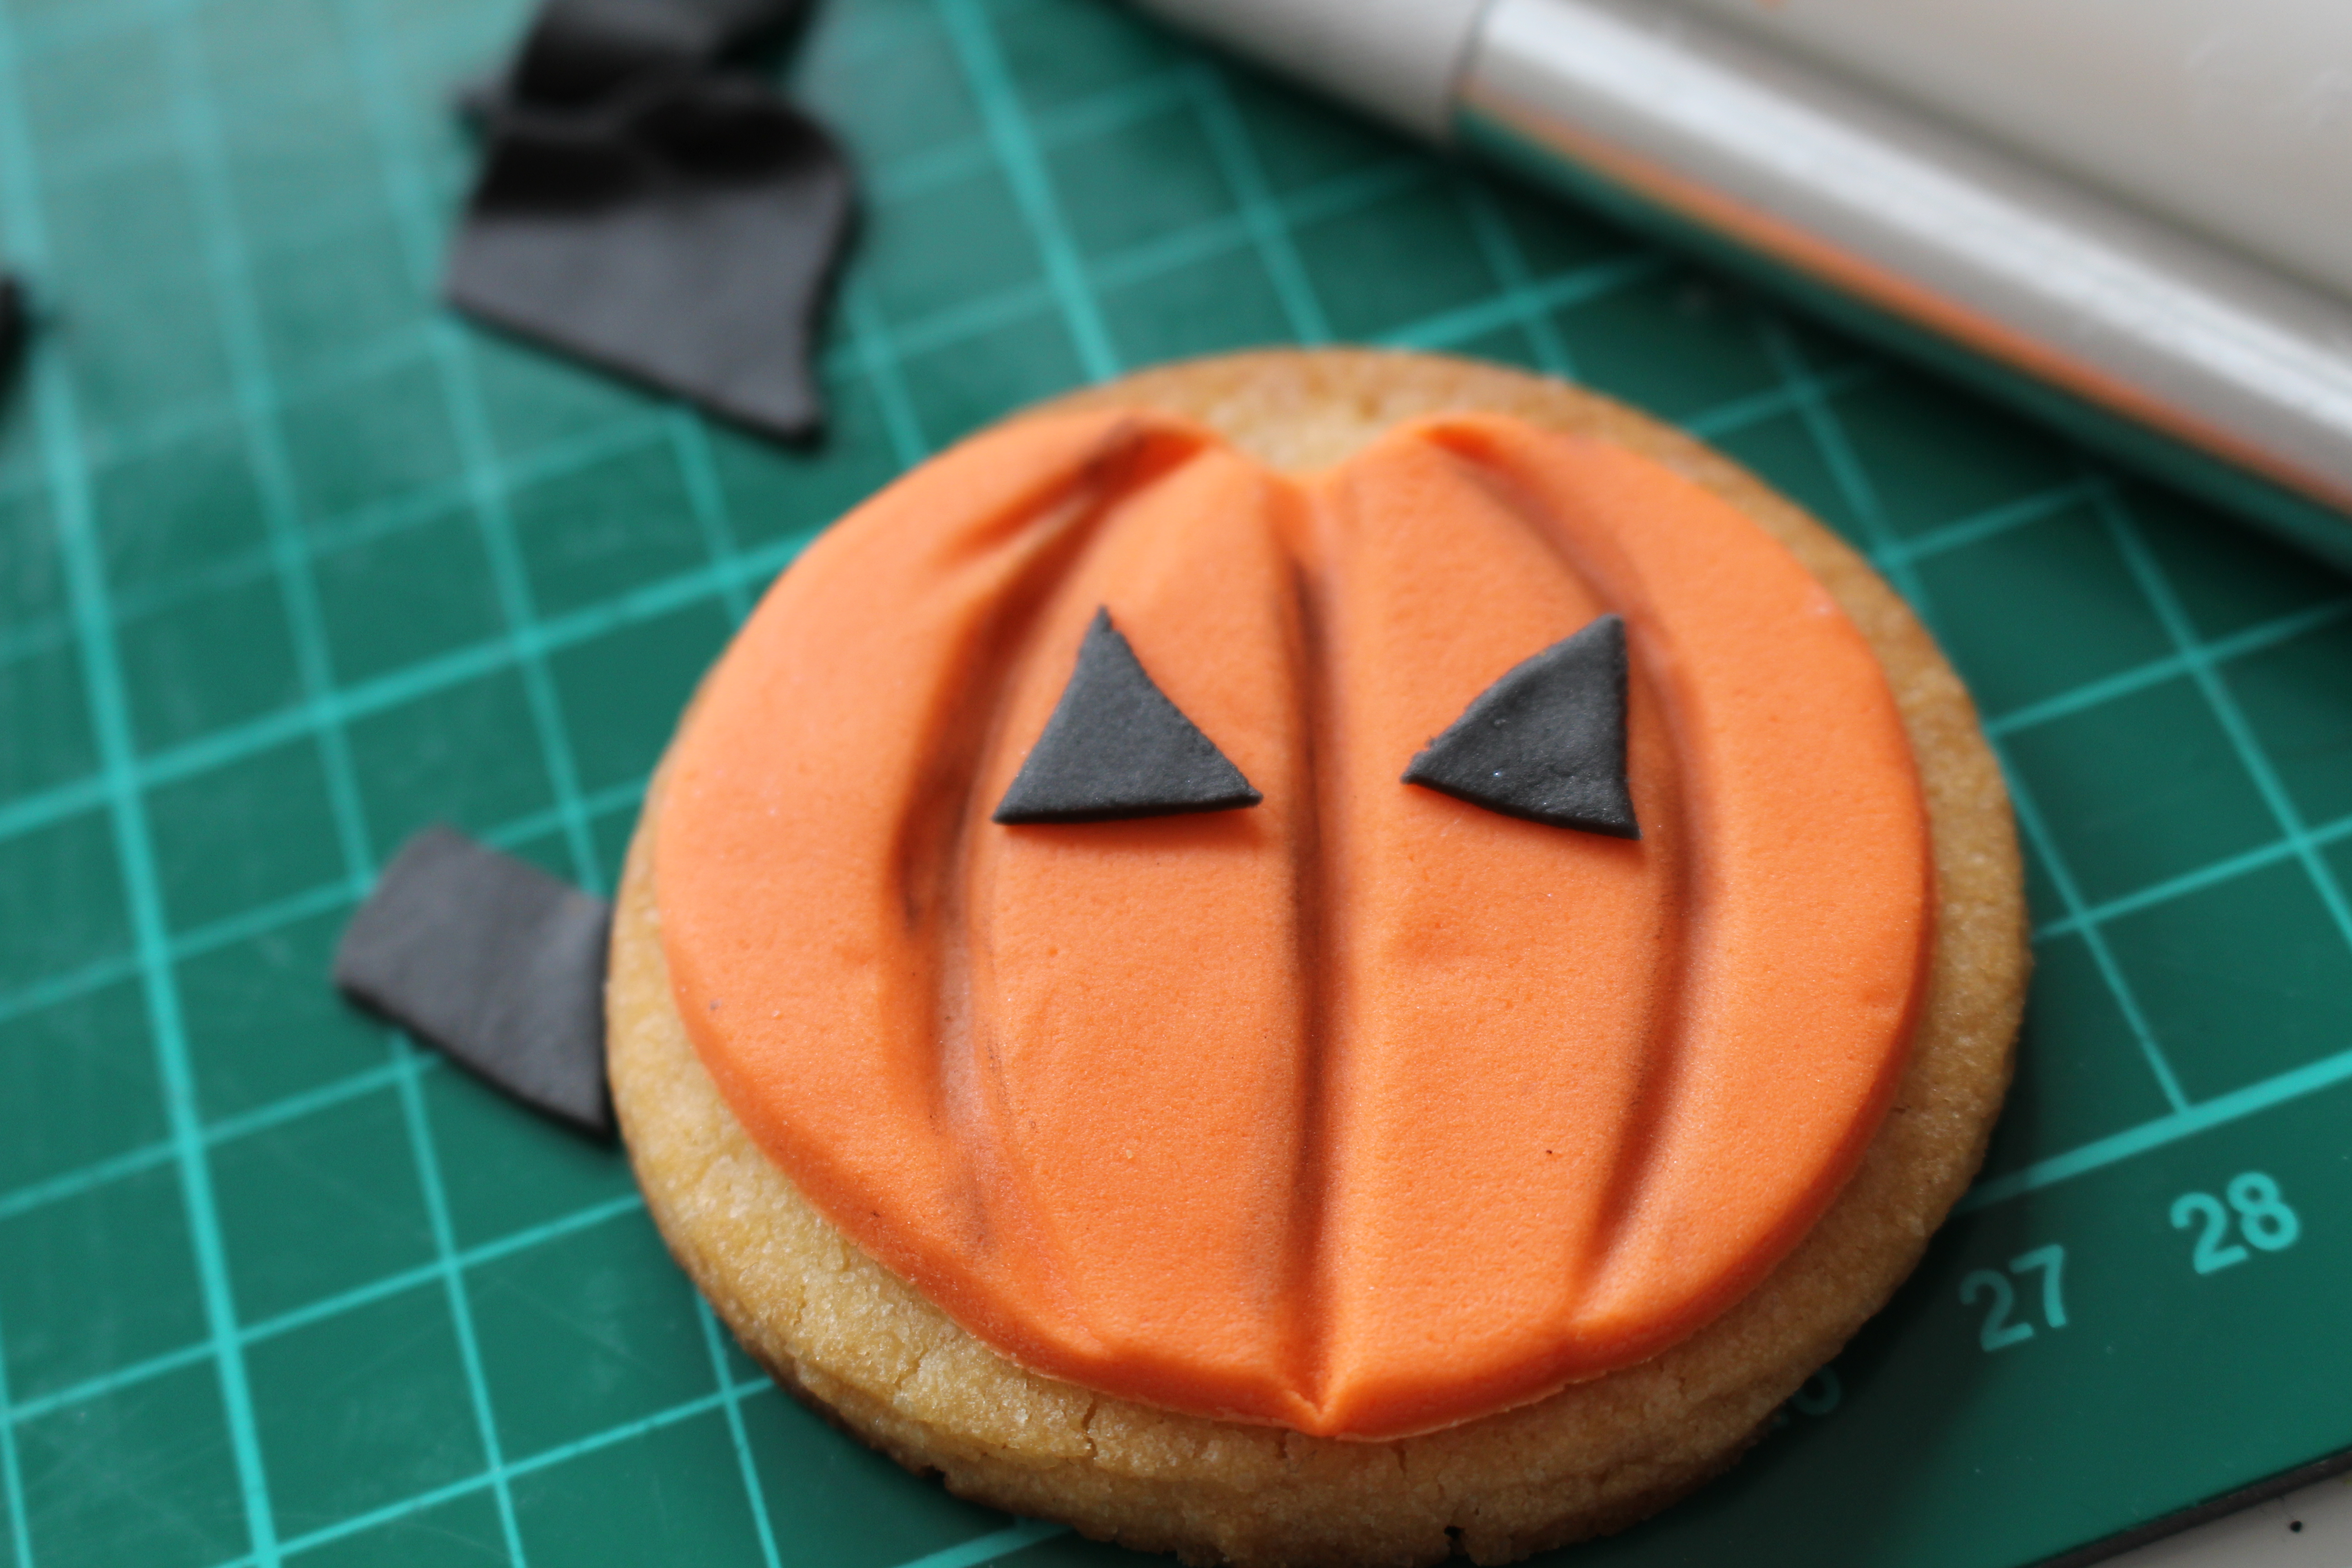
To make the eyes, roll out your black sugar paste. Cut a thin strip about 7 – 10 mm wide. using your knife cut a diagonal line across this strip to make a triangle. Repeat so that you have 2 eyes for each pumpkin.
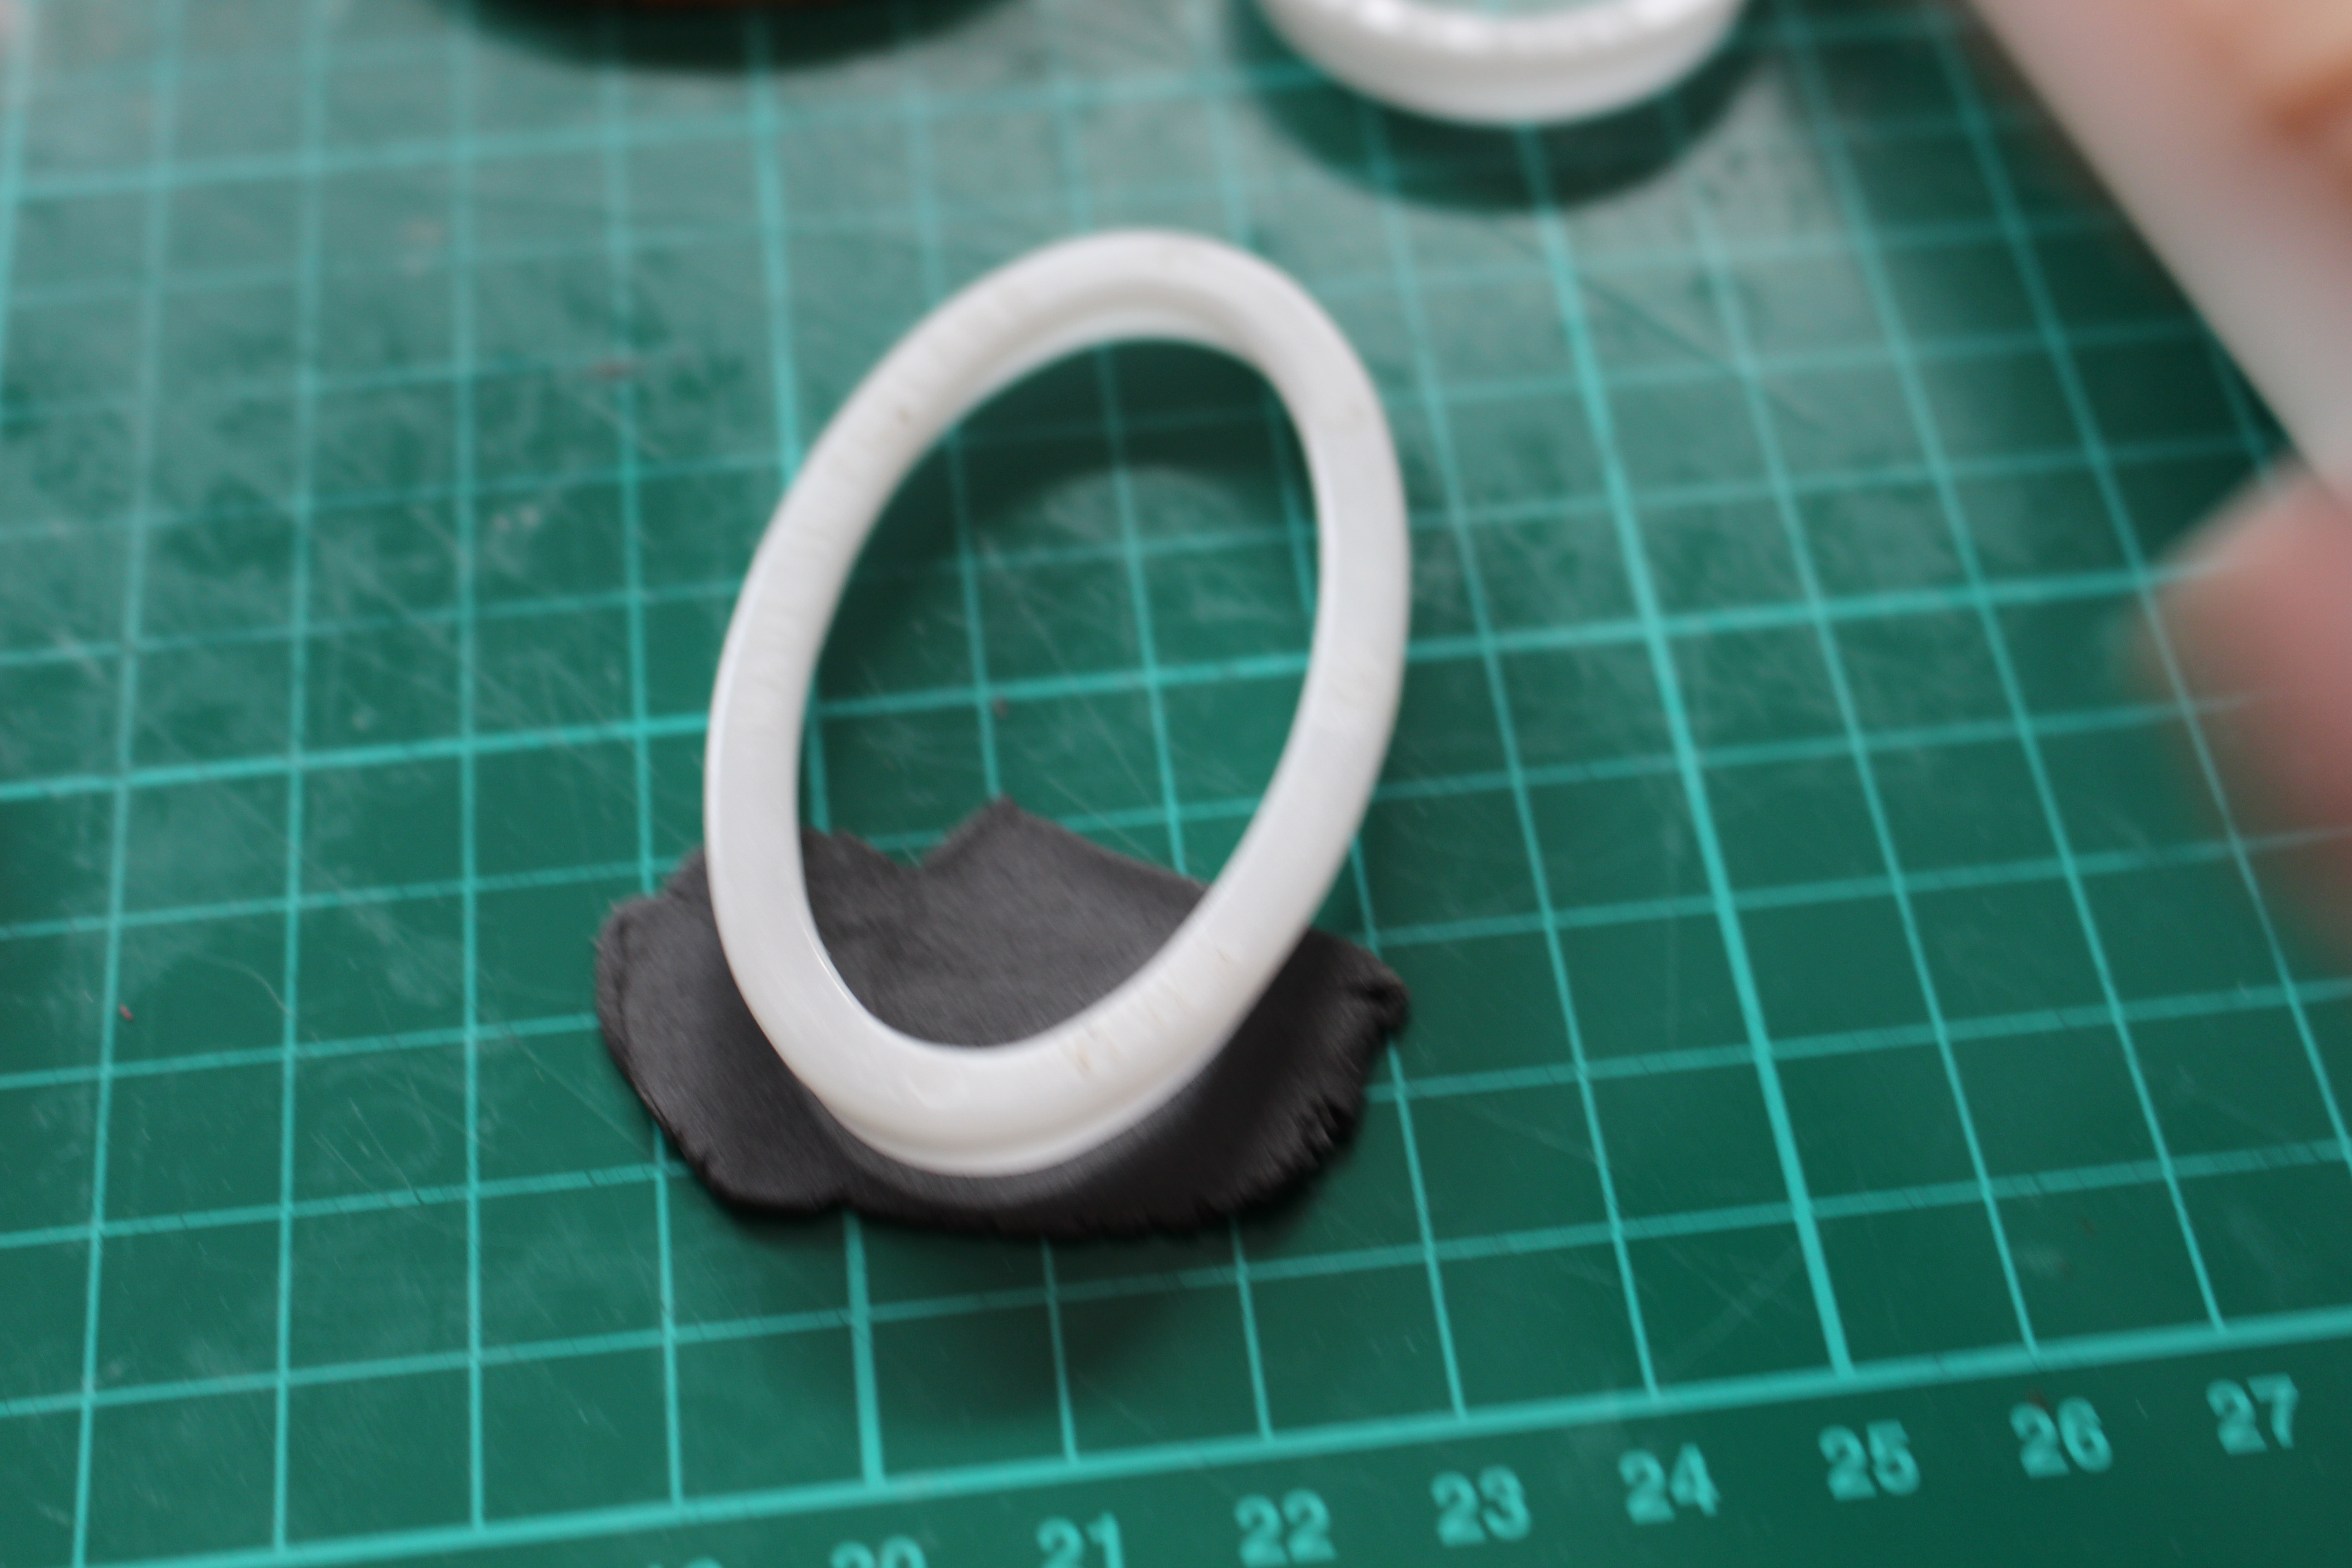

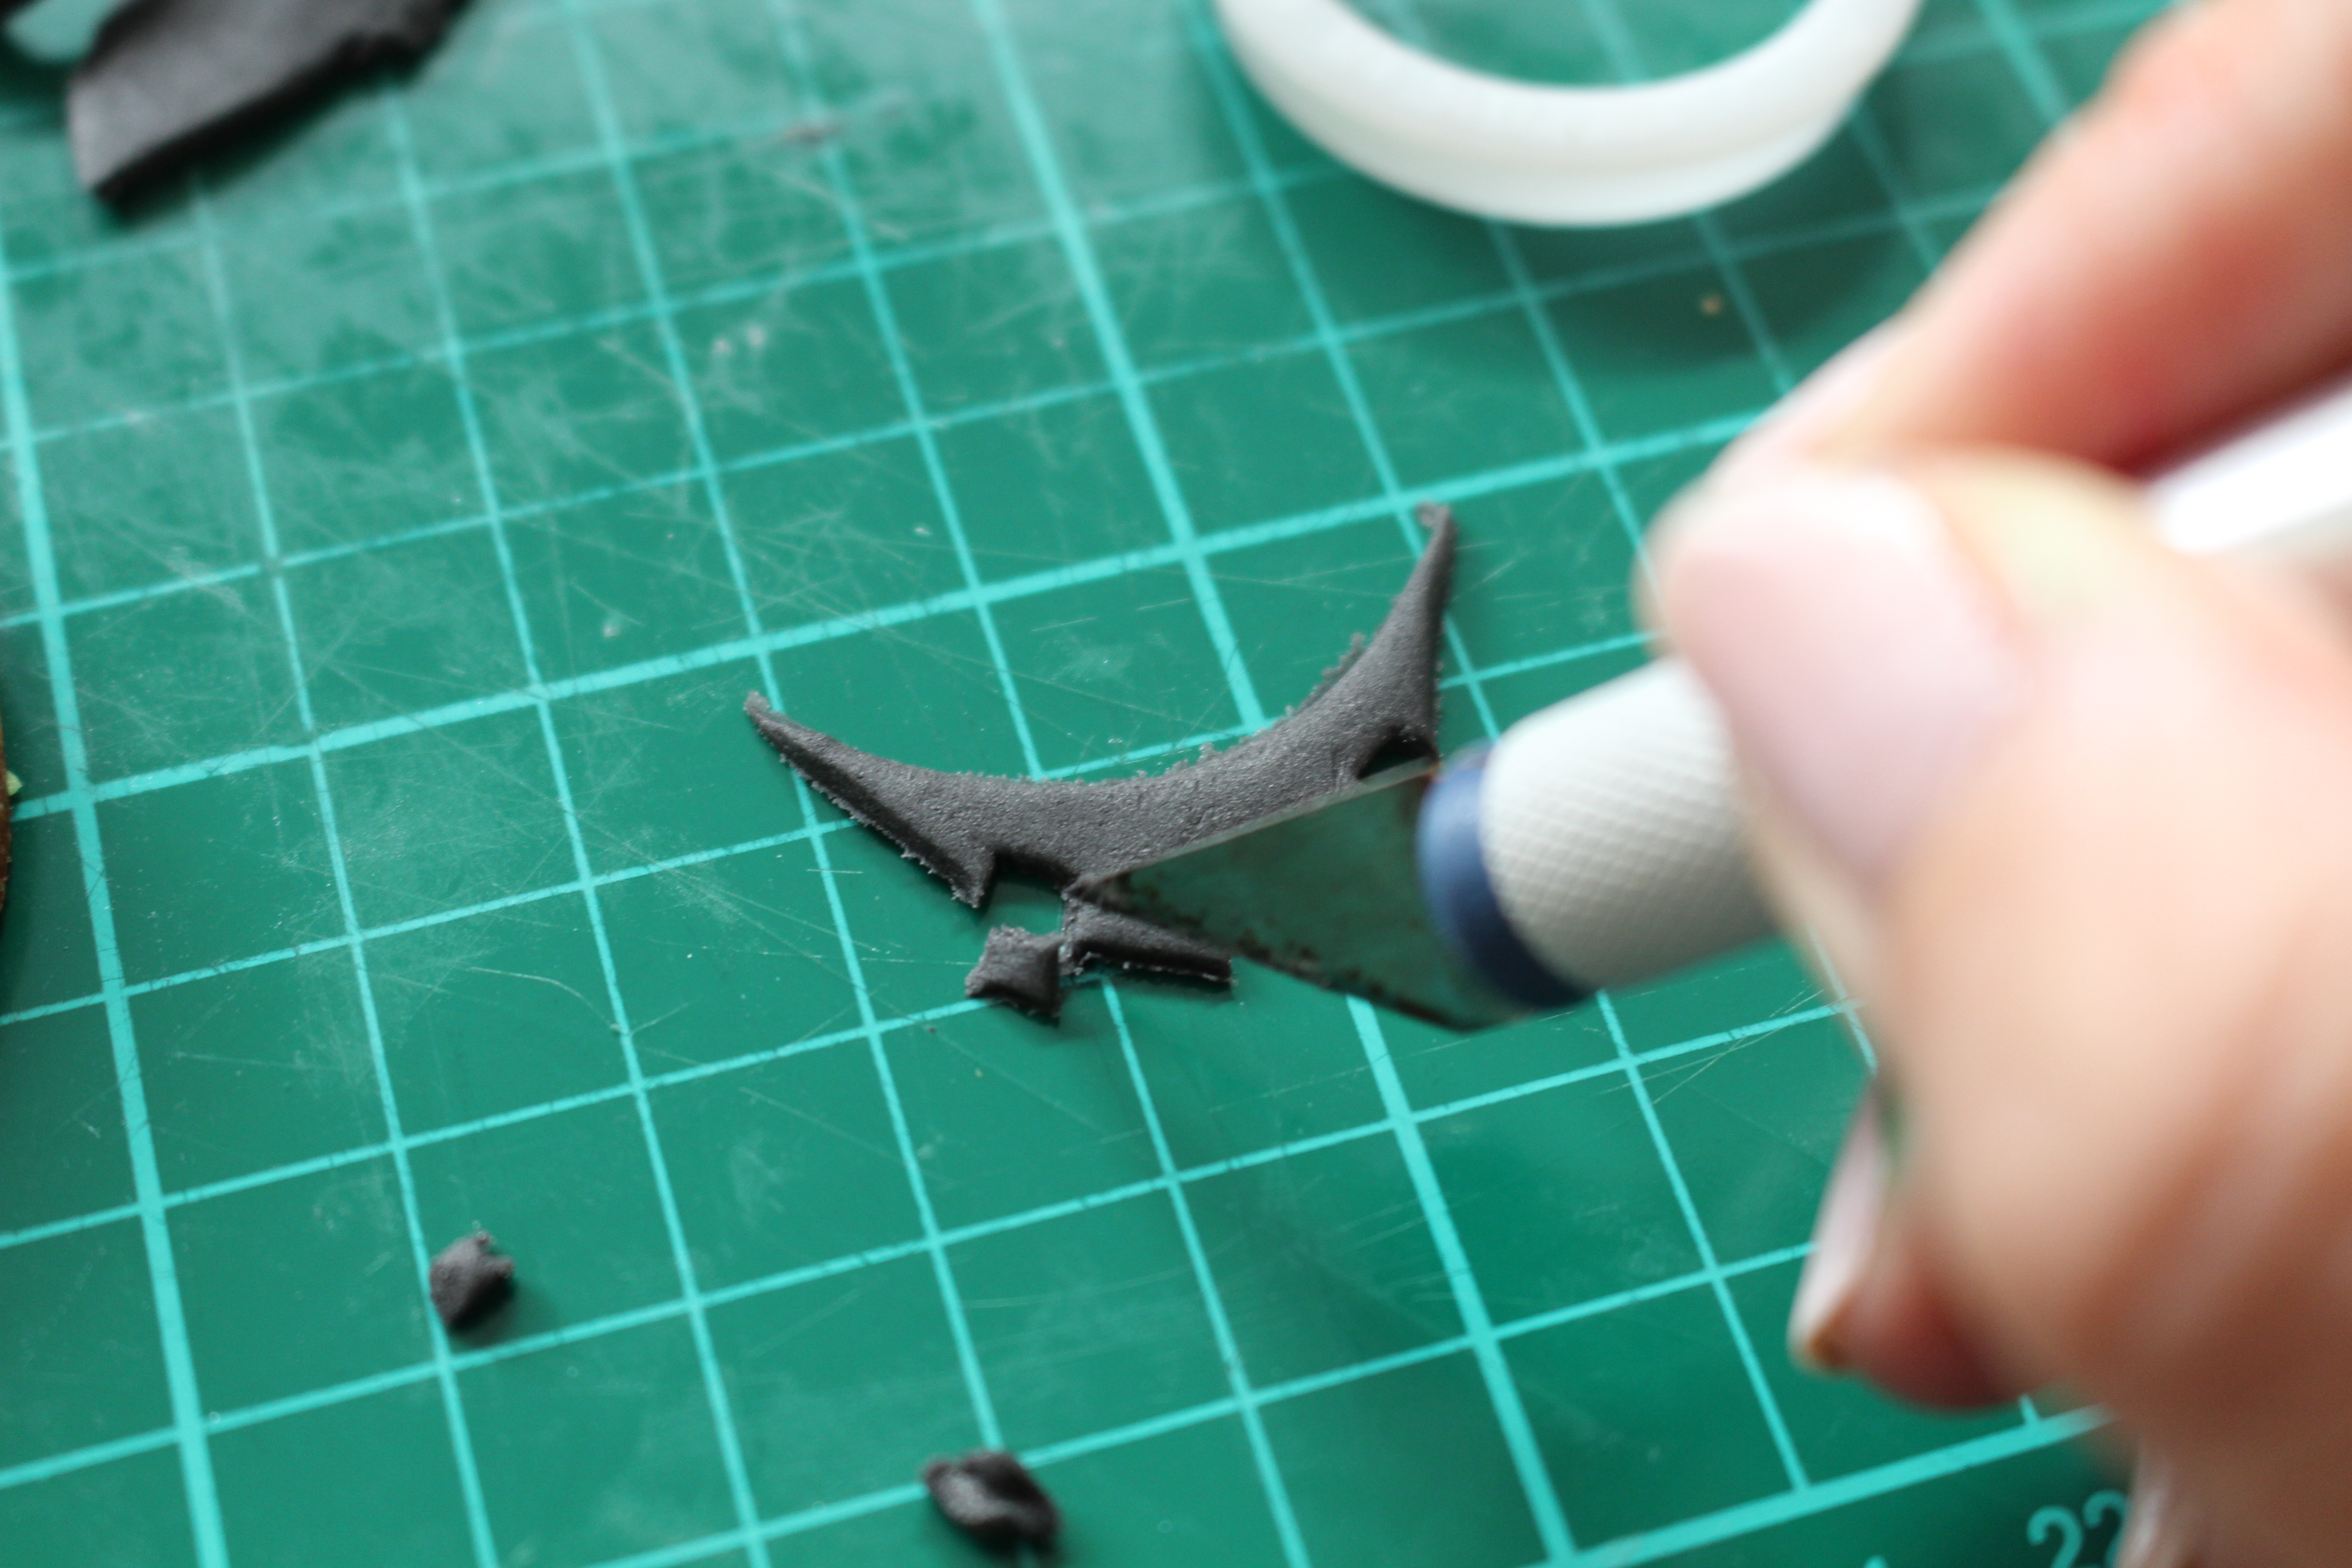
To make the mouth take a small piece of rolled out black sugar paste. Using your oval cutter make 2 cuts in your paste. Using your knife cut out a nice toothy grin, or alternatively leave the mouth as it is to make a happy little pumpkin.
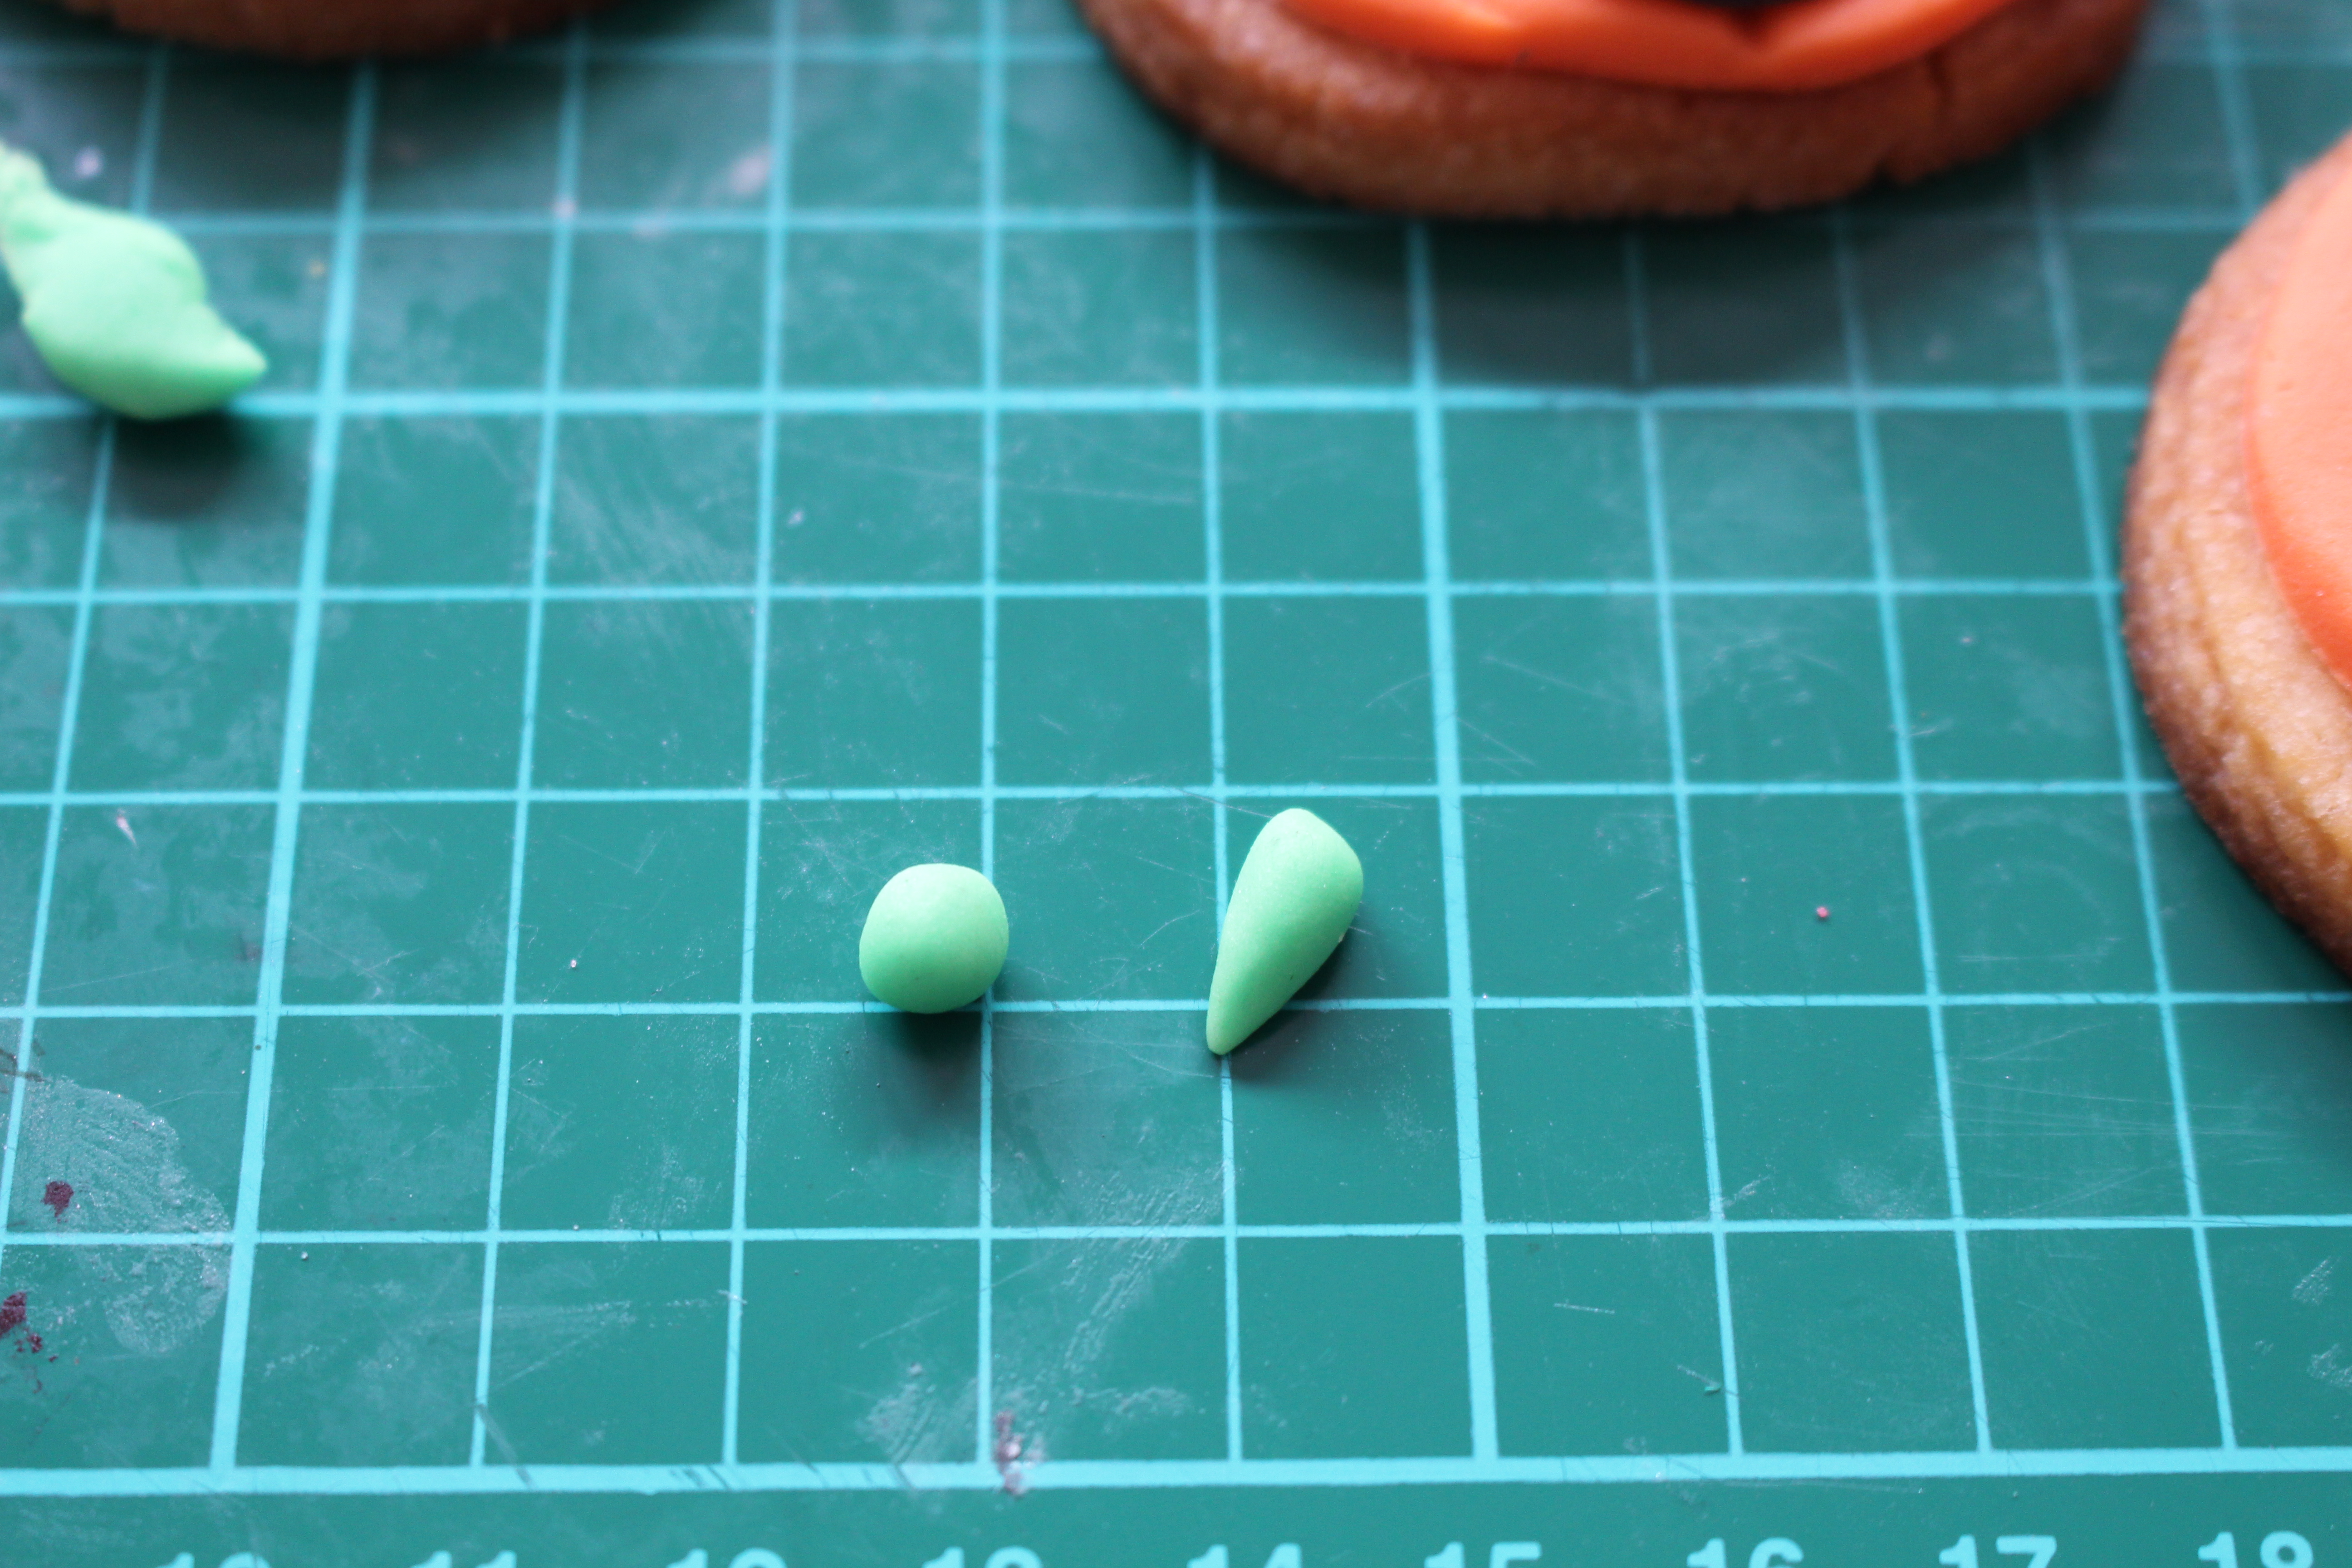
Next, using a small amount of green sugar paste make your stem for the top of your pumpkin – do this by rolling a ball and then rolling in your fingers to make it into a tear drop shape.

I couldn’t resist making one of my pumpkins in a Cinderella style – I made some little leaves using the green sugar paste, making a slightly larger teardrop and flattening in my fingers and some tenderals by rolling a thin piece of sugar paste on my board and wrapping around a cocktail stick.

Any questions or comments please write them below! Happy Baking!
