


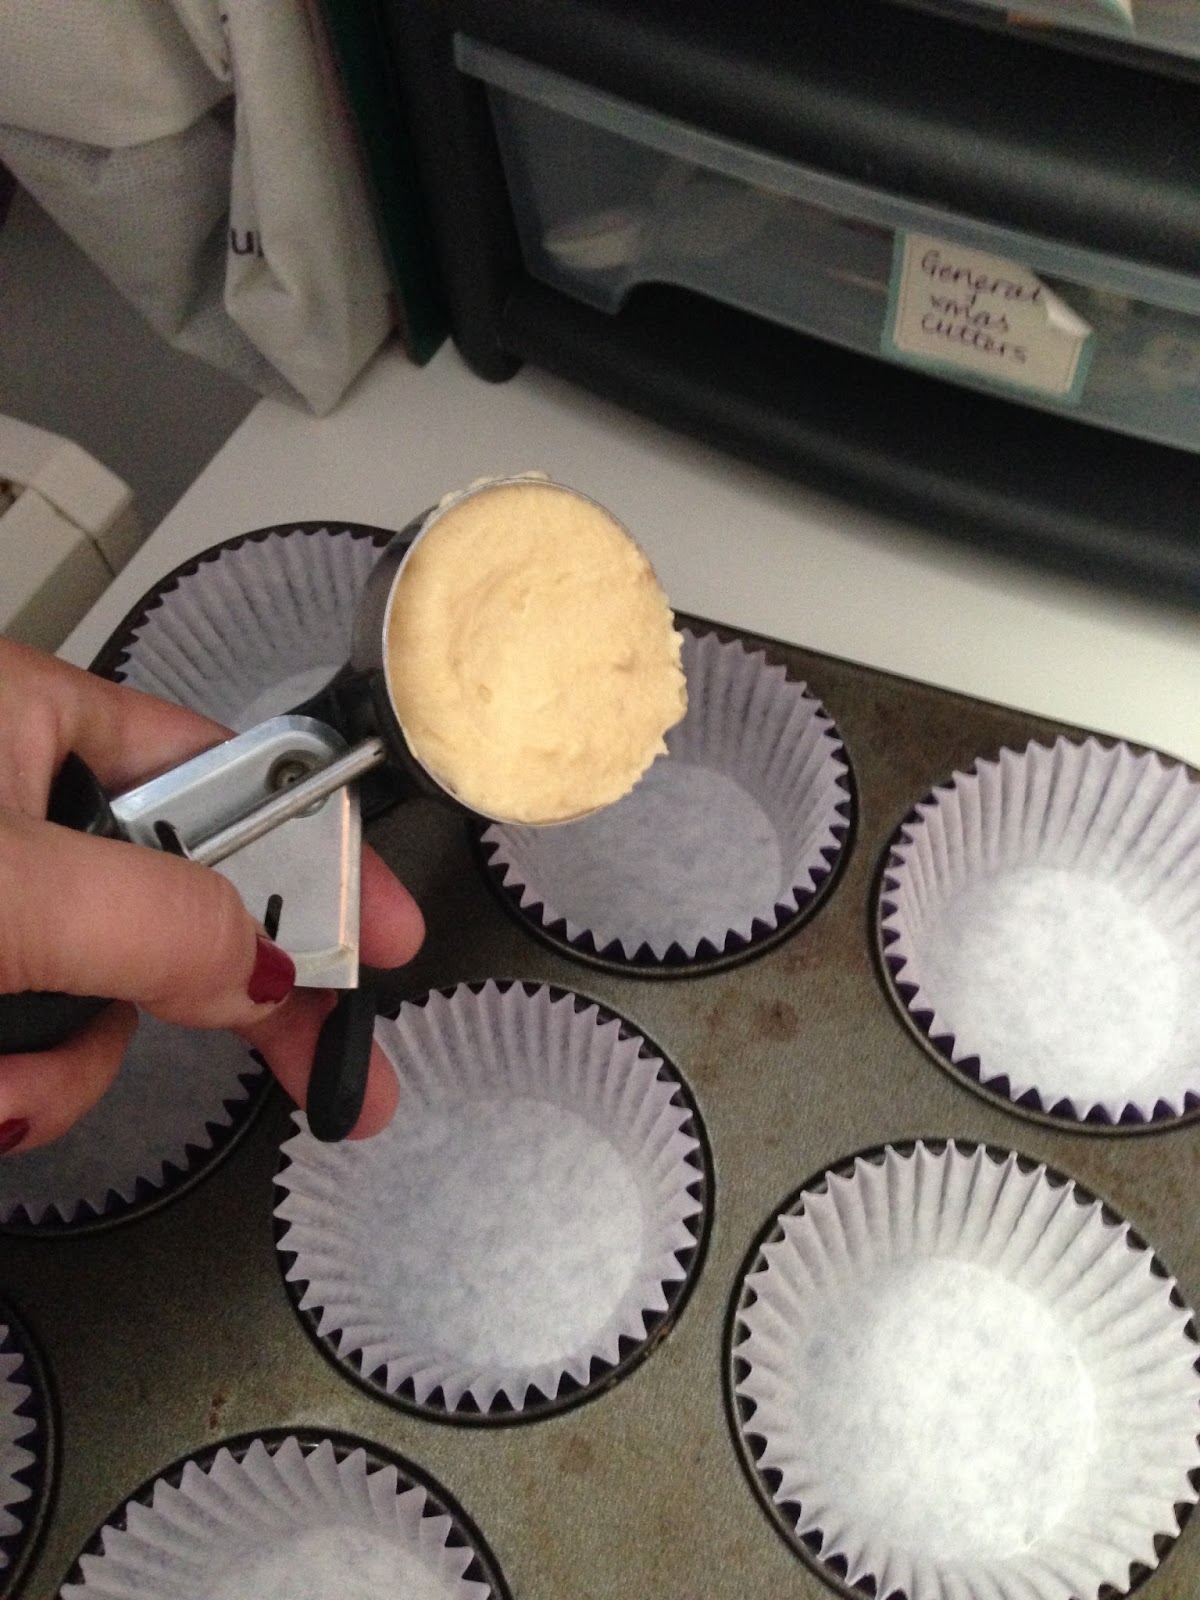
When making cupcakes you want to get just the right amount of mixture in each cup, otherwise you end up with a mixture of sizes- some over-filled, some under-filled. The best way to combat this I have found is using an ice-cream scoop!
Each dollop is the perfect amount of mixture for your lovely cakes- from the 3 eggs I ended up with 13 good sized cakes.

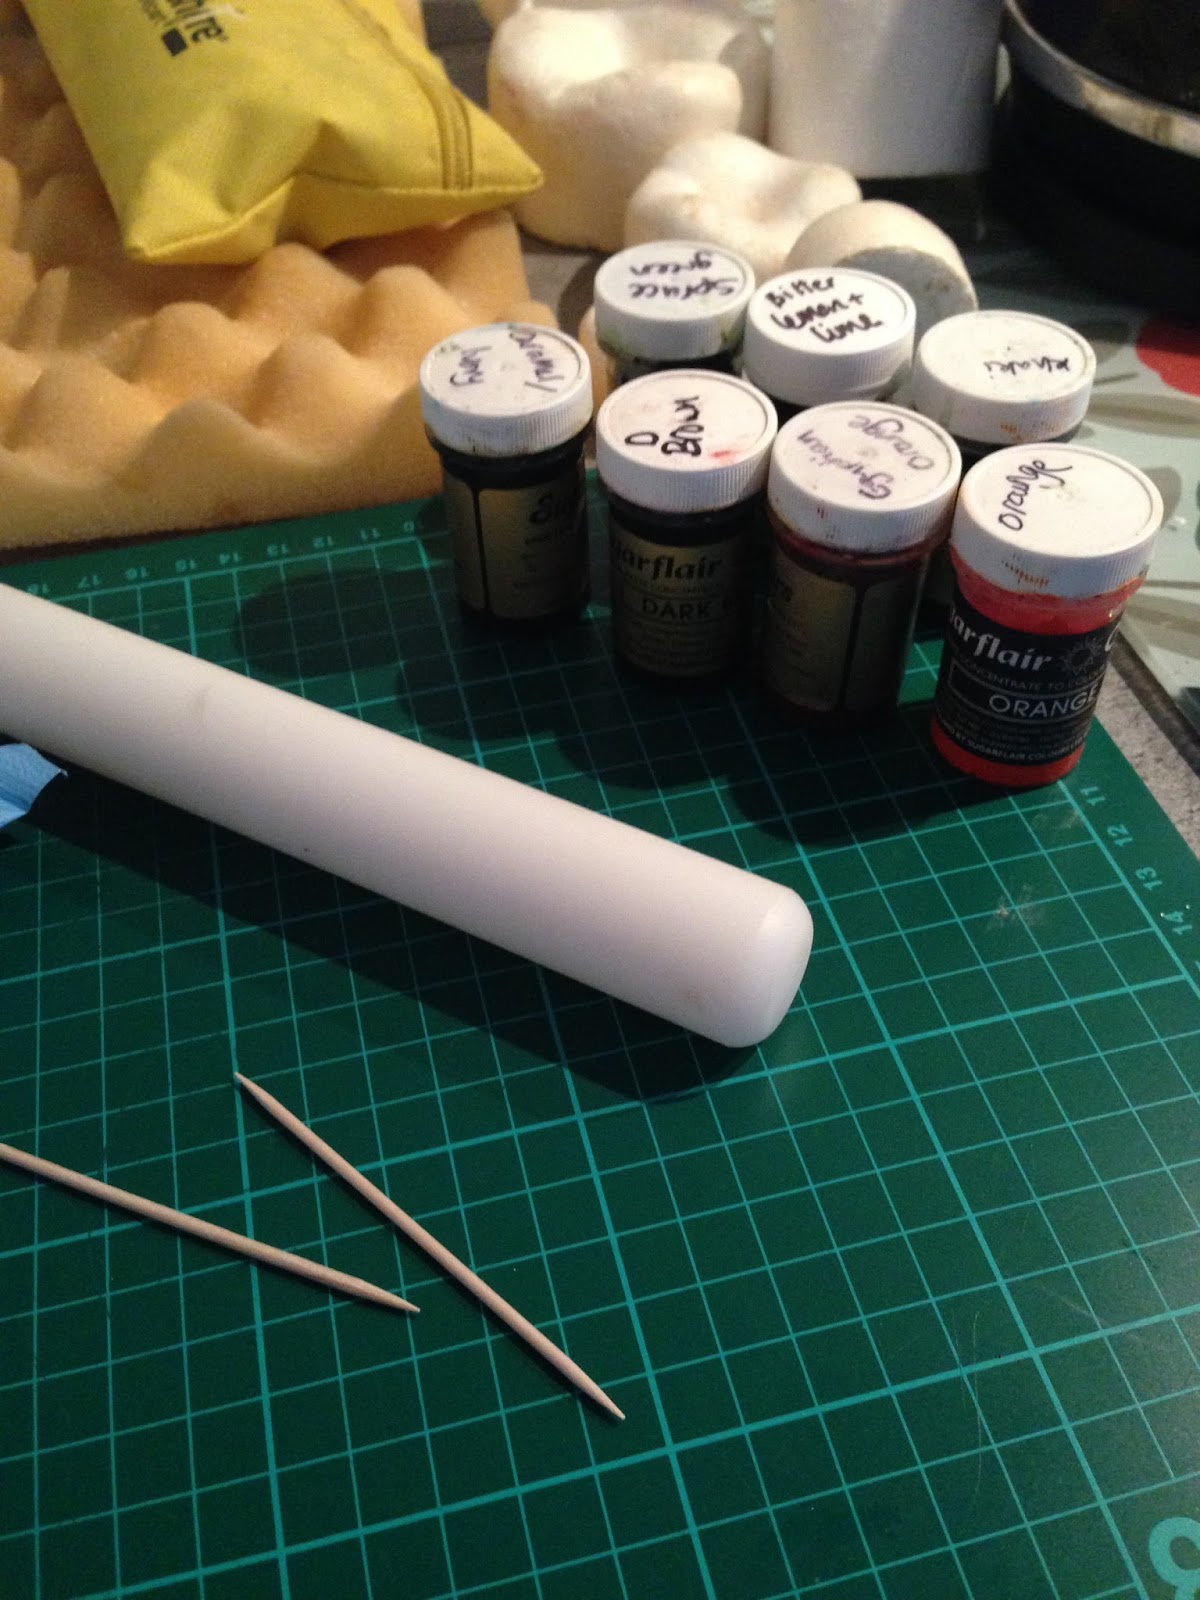
Now whilst they are in the oven you can start to make your decorations. For these you need a couple of basic tools to get you on your way.
– A small rolling pin
– A non-stick board
– Cornflour for dusting
– Cocktail sticks
– Fondant or Ready to roll icing (this was part of my stash from the UK!)
– A Range of autumnal colour pastes
– A range of leaf cutters – I used 3 rose plunger cutters and 2 caylix plunger cutters
– Petal dusts – I used burgundy and foliage green
– Paint brushes
– Glaze

Firstly you need to mix up your colours, choose the ones you want and using the cocktail sticks add the colour gradually- its better to do this slowly as the only way to undo once it is too dark is to add more icing!
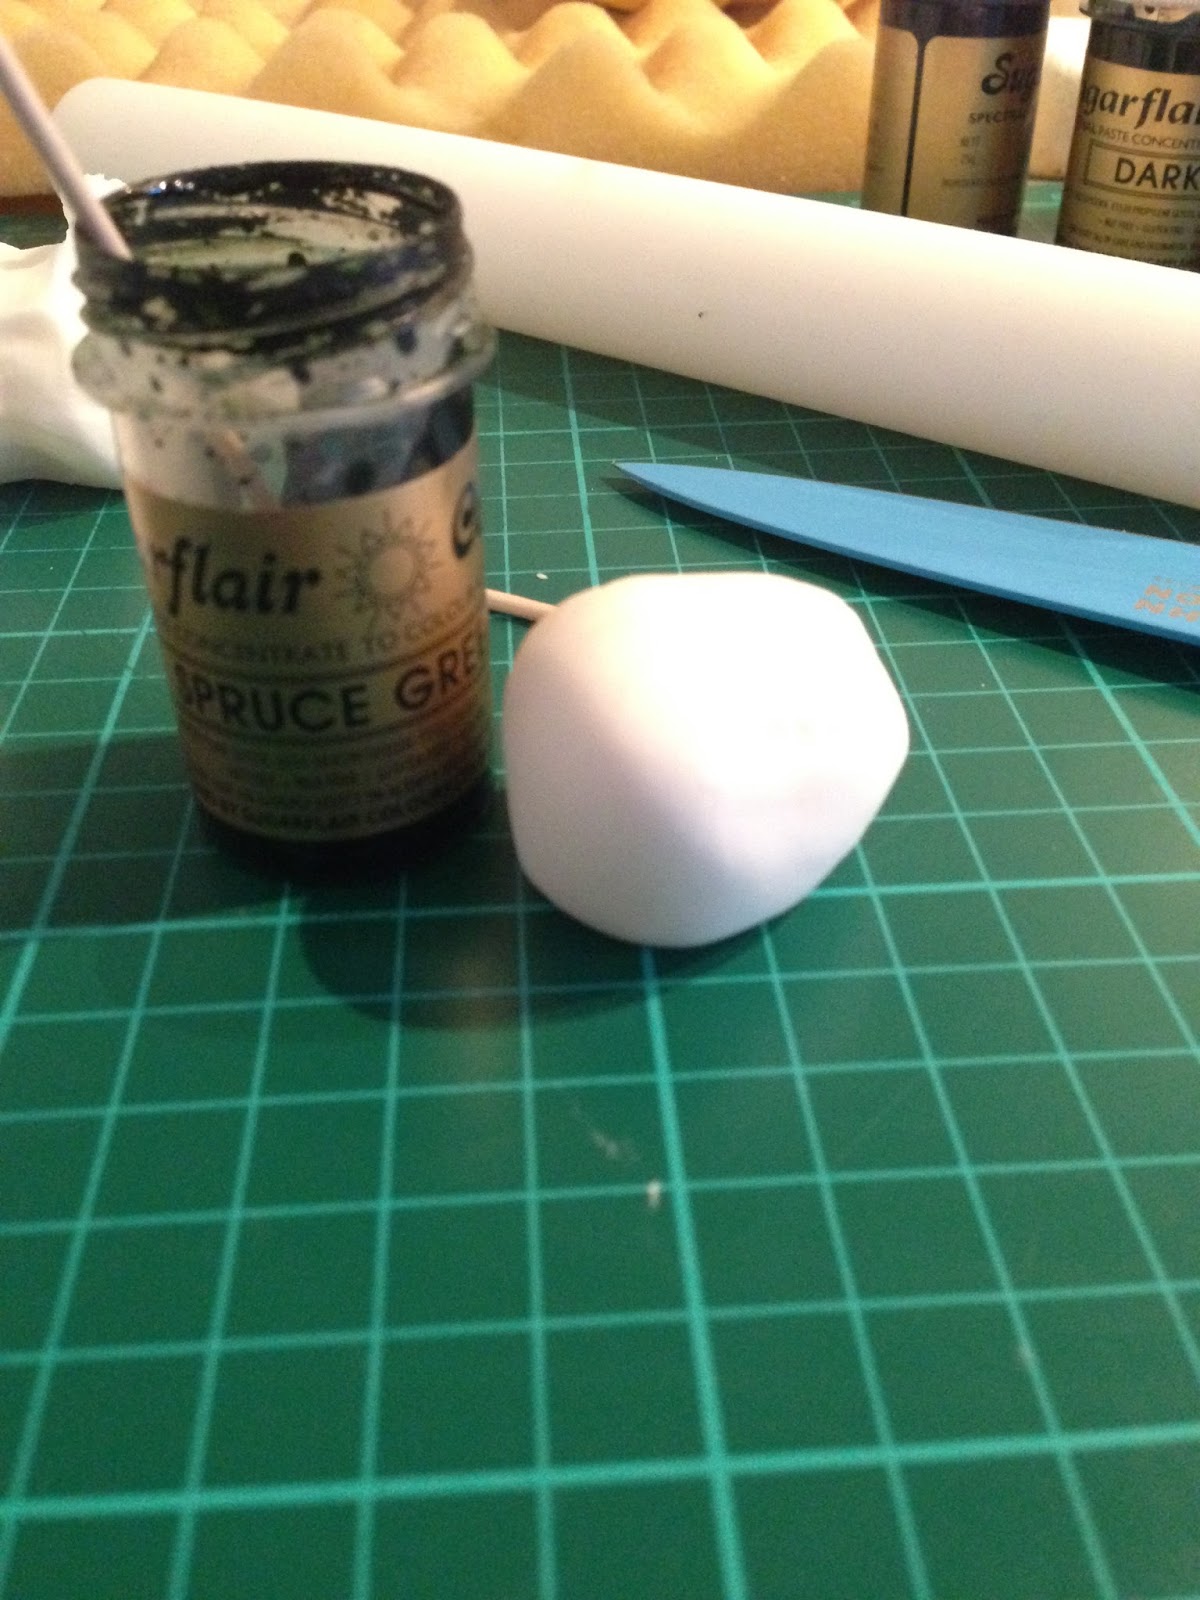

I always like to make all my colours first then it gives the icing time to rest making it easier and more stable to roll out. This is exactly the same when colouring icing to put onto a cake.
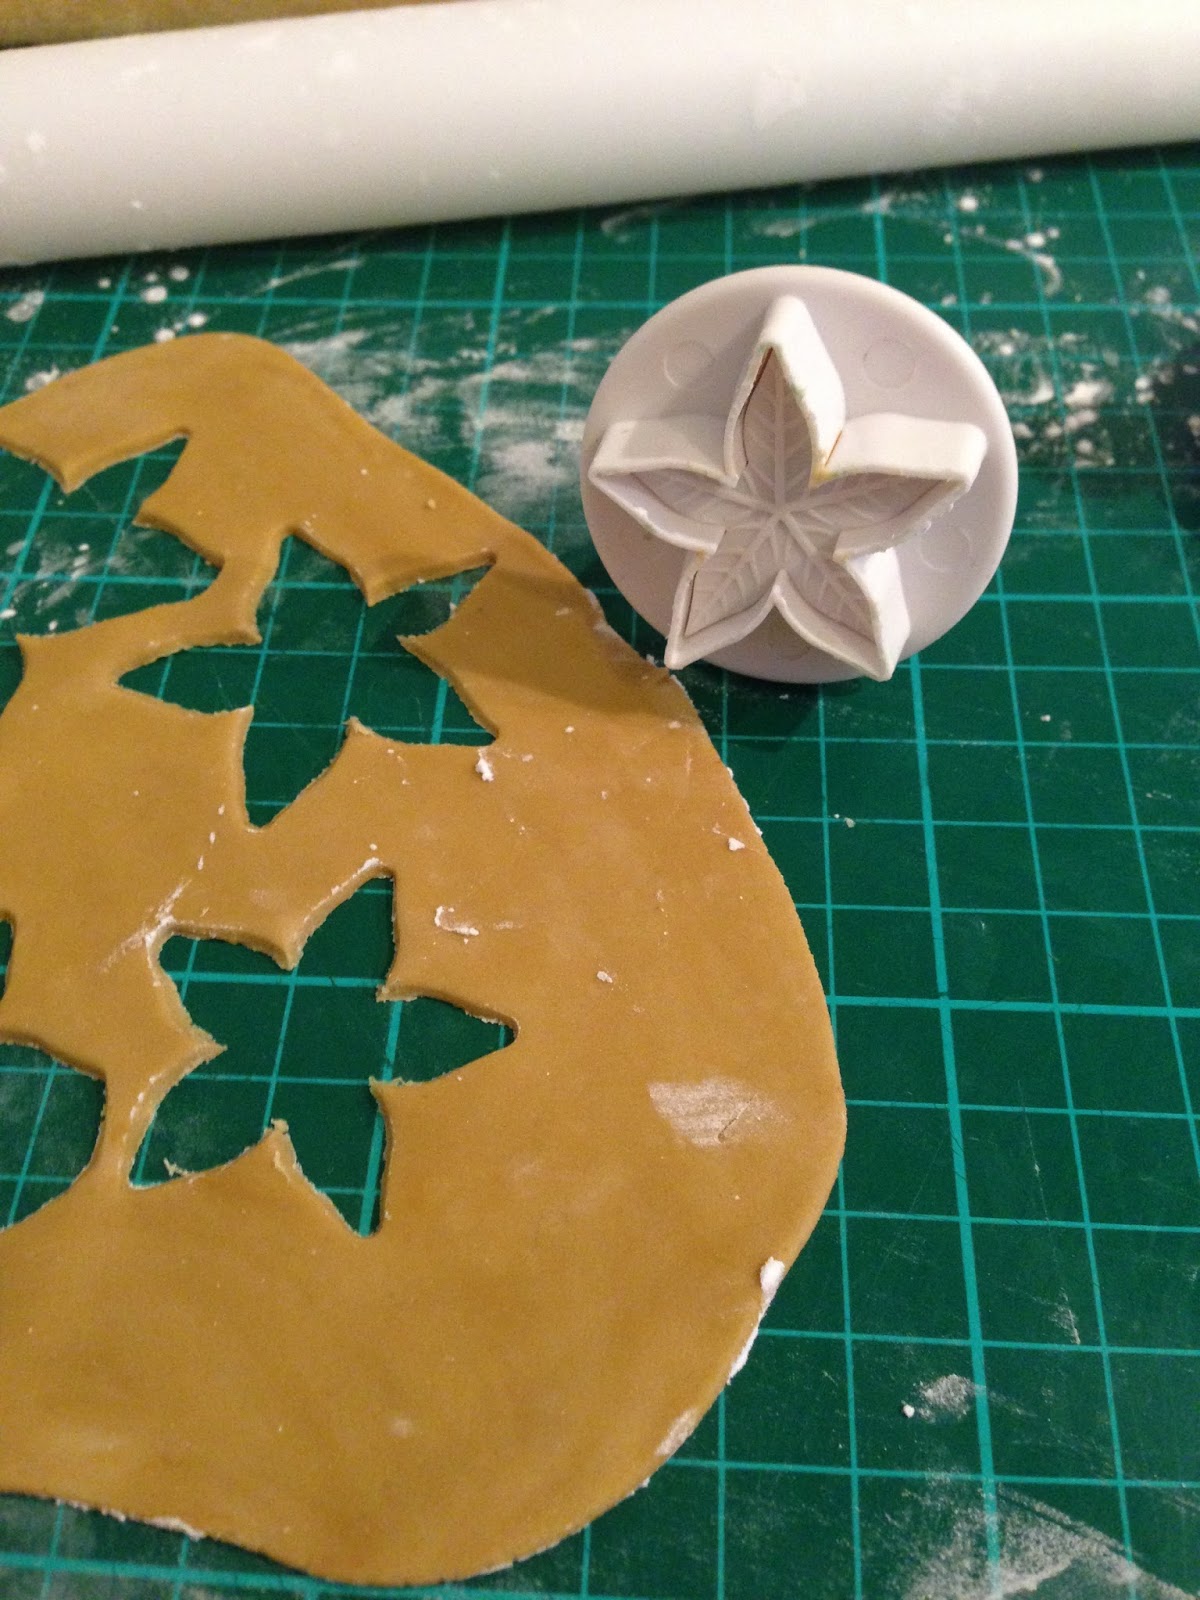
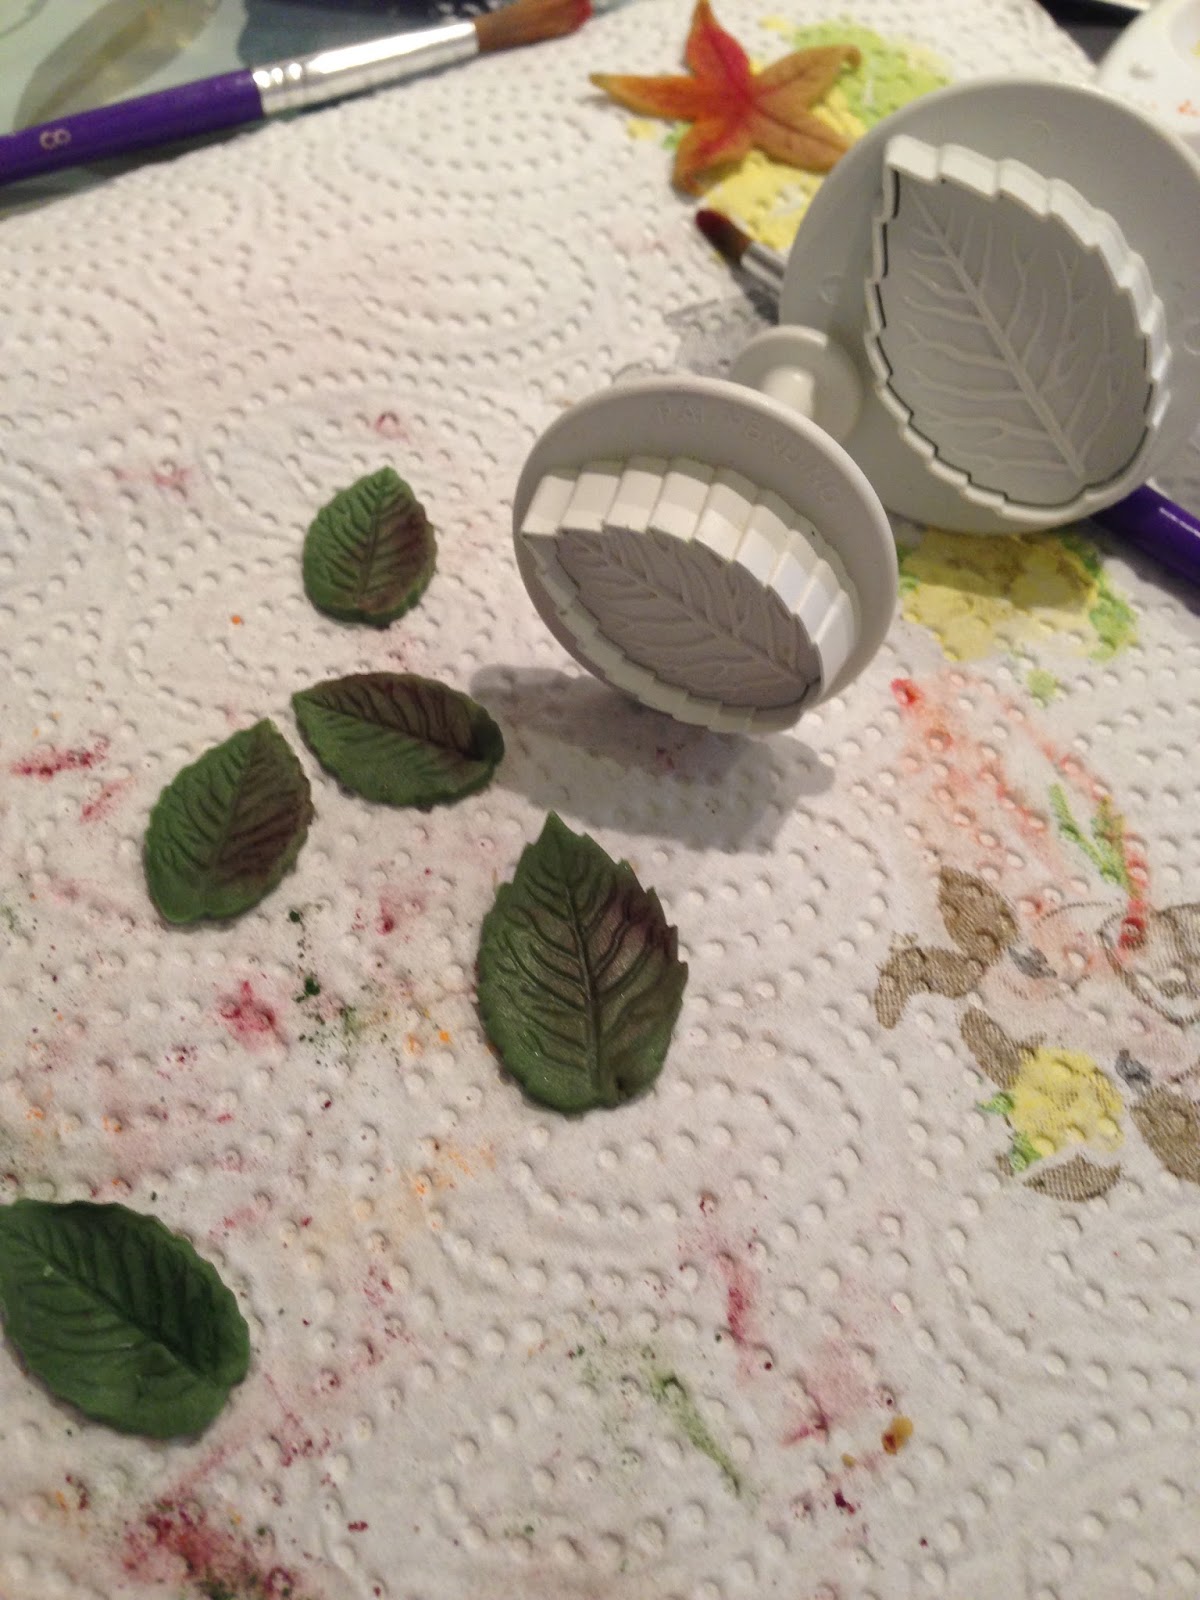
Next, choose a colour and a cutter and cut out a range of different styles of leaf- this was a small caylix, I know these are not real leaves but they looked great on the finished cakes!
Be sure to press down on the plunger to get the lovely lead detail on your cut out!


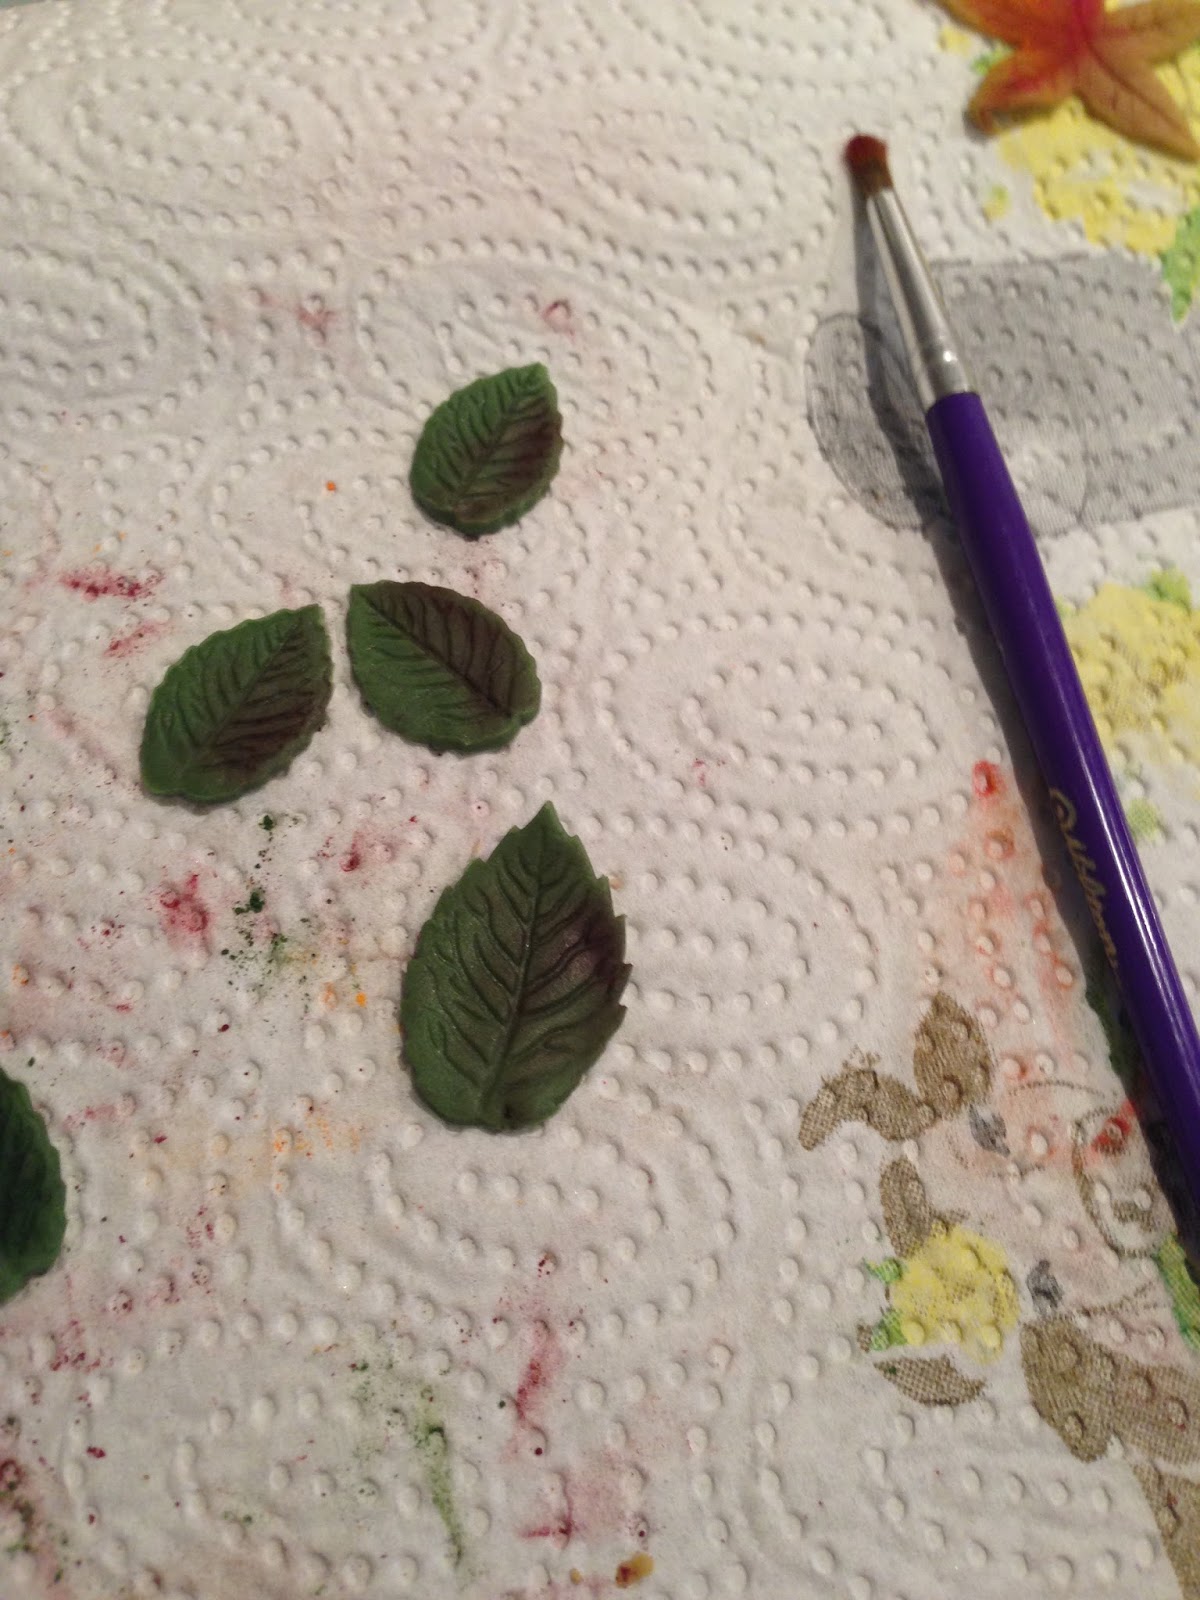
Now its time to dust your leaves to give them a little bit of life and stop them looking so flat.
Carefully add a little bit of colour into either a colour palette or small dish. Covers your brush in the dust and tap on the side to get rid of any excess- you will want to do this on kitchen roll to save your counter tops!
Start at the edges and move inwards using very little pressure as you do not want to remove the embossing on the leaves.
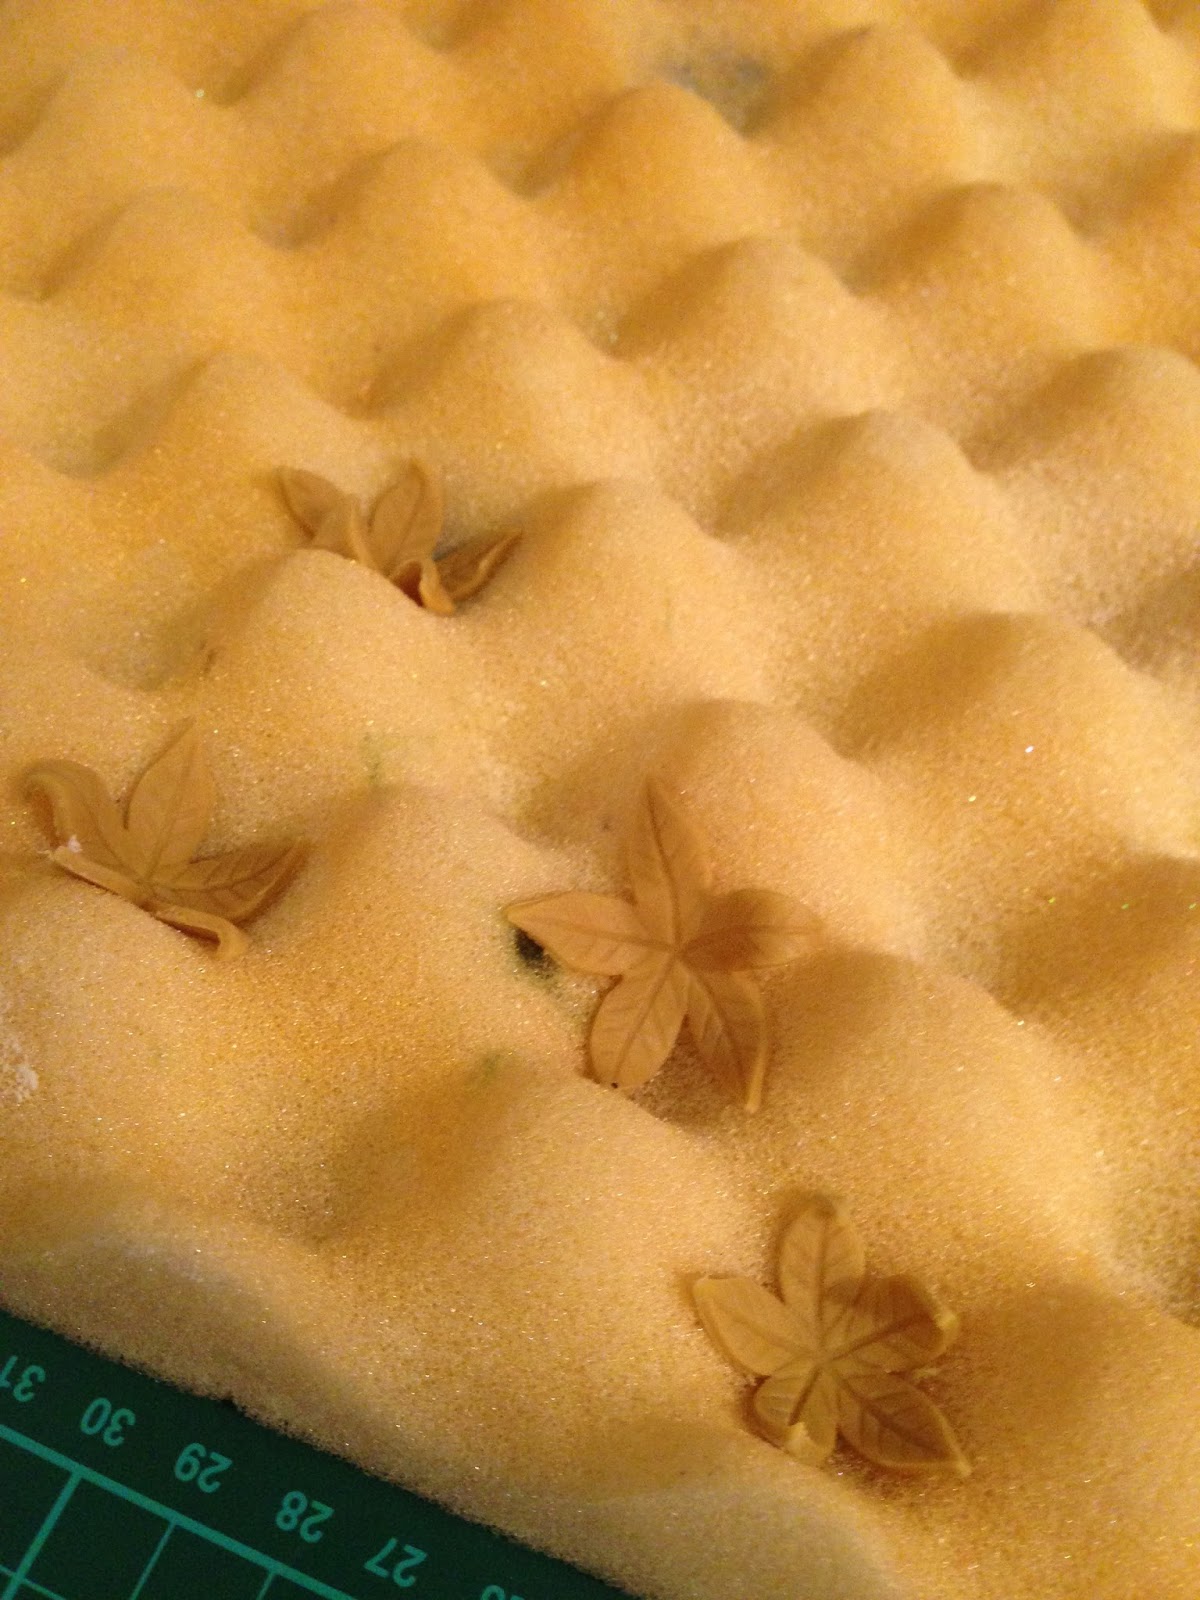
Once you have dusted up your leaves place them on a foam mat, these are great as they can give your flowers and leaves shape as they dry. I gave all my leaves a slight curl in various directions so that were all slightly different.


As I got a little carried away I forgot to take pictures of adding glaze and making the acorns… I will be sure to make these again and give a tutorial on them!
When adding the glaze, I did not cover the entire leaf, I only went over parts where I had added petal dust just to give a little more life to them.
Whilst your beautiful leaves are drying make up some butter cream (I use 2:1 icing and butter- so 250g icing to 125g butter, this is more than enough for 12 cakes)
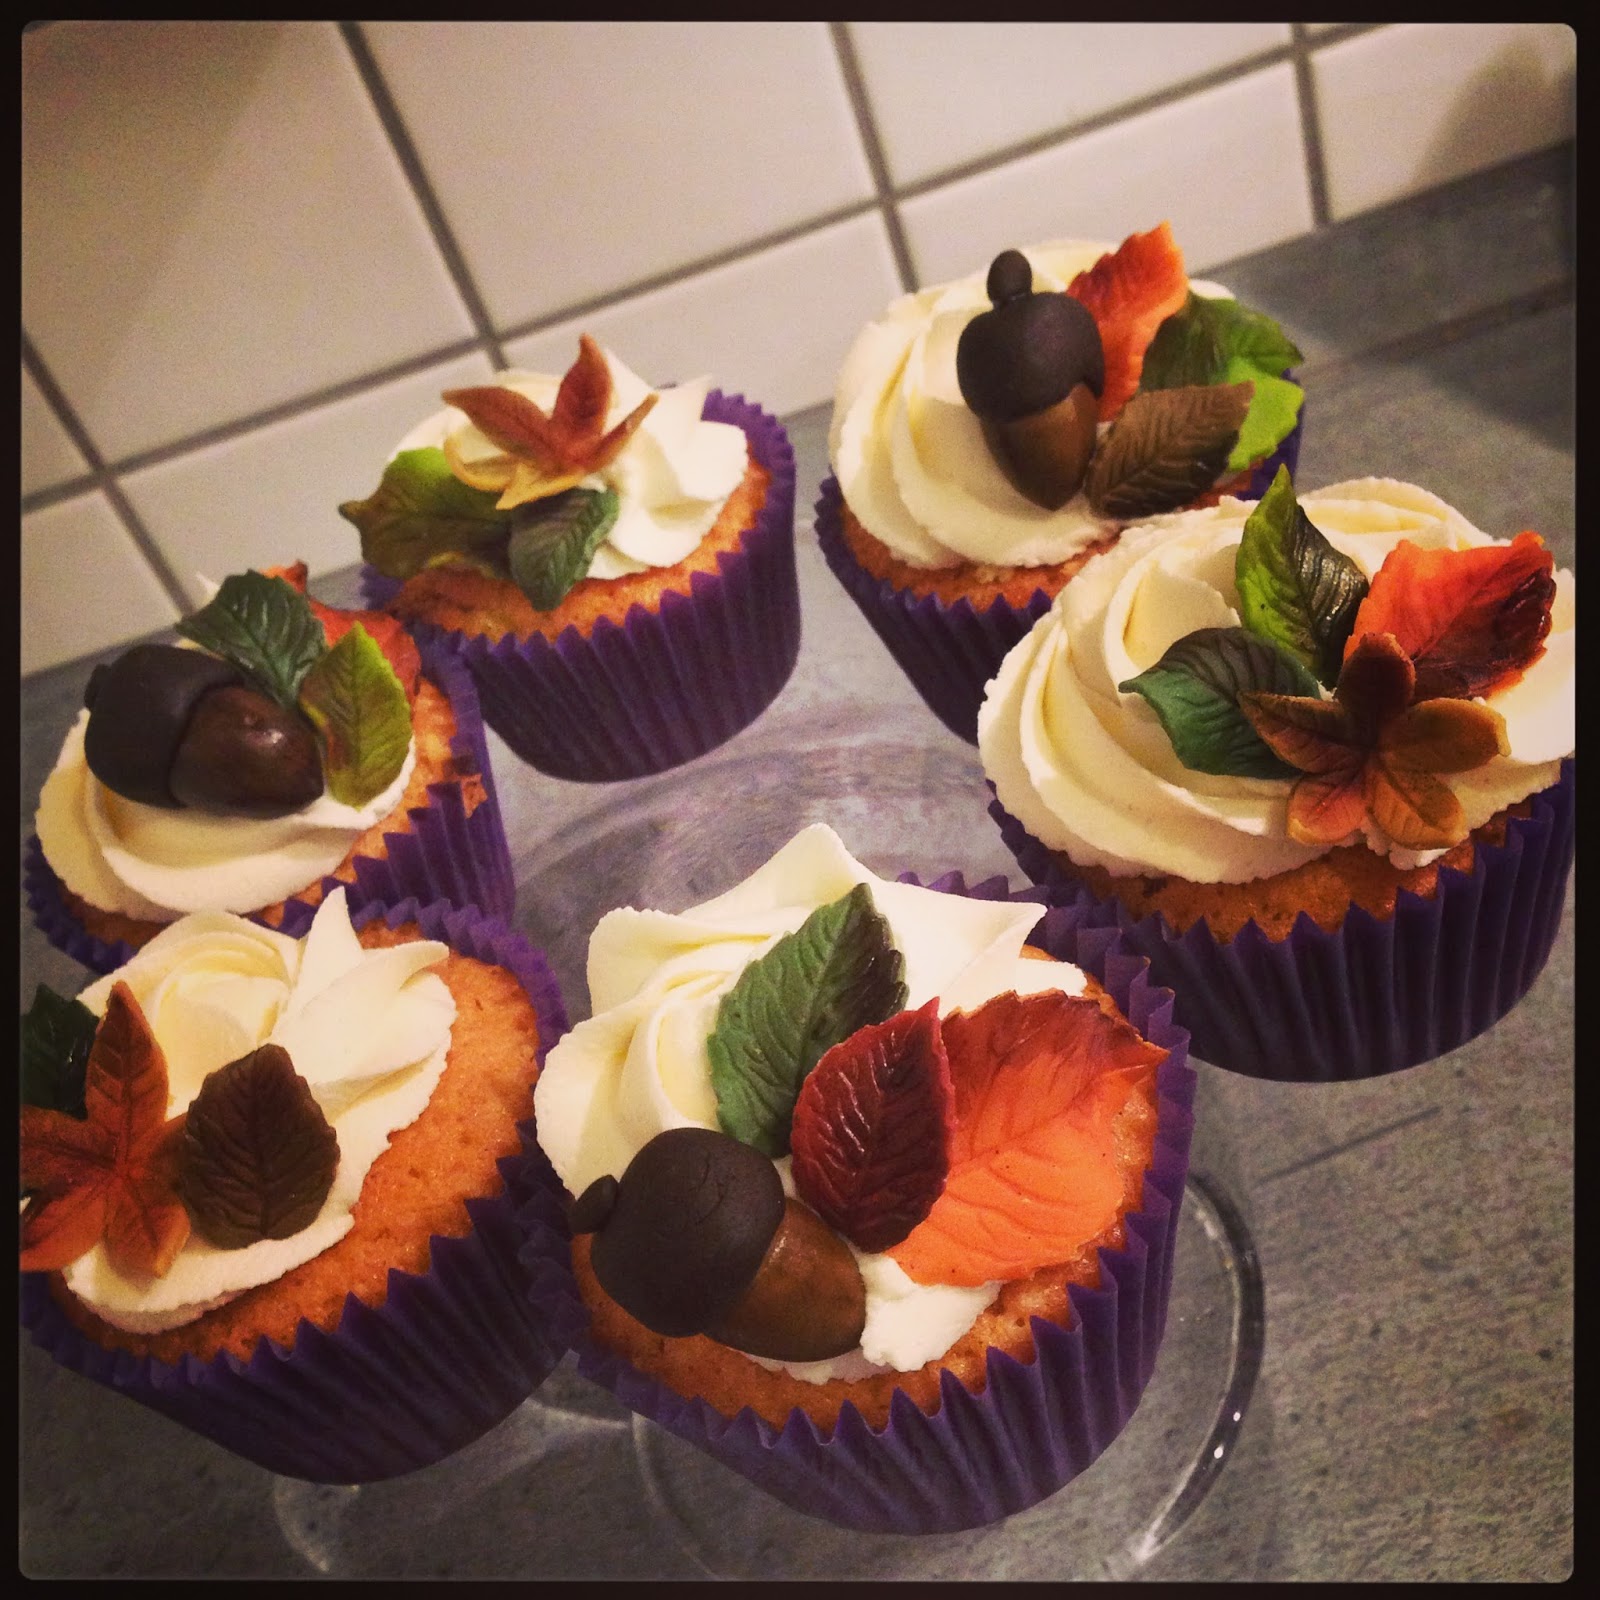
It is also at this point I like to add a little extra something to my cupcakes and add a tasty filling- cut a hole in the top, add a dollop of your favourite jam – I chose a tasty sour cherry jam – and pipe a swirl using a 1M nozzle.
Add your leaves and ta-da, you have yourself some lovely Autumn cupcakes!
Any questions be sure to leave a comment, hopefully next time I will remember to take more pictures!

