


With Halloween just around the corner I felt it was about time to post a new tutorial. I first made these creepy fingers a couple of years ago, when I had been baking a little while and thought they would be cool to give out to the trick-or-treaters who came to call as we this was our first Halloween in our own home I wanted to impress…unfortunately for me, we discovered that where our house was absolutely ZERO trick-or-treaters arrived at our door last week. The cakes were then promptly distributed to our neighbours to stop us eating them all.
A couple of years on, and after a move to Deutschland I felt it was time to revive these monstrosities and give them a revamp with 2 other types of finger too.
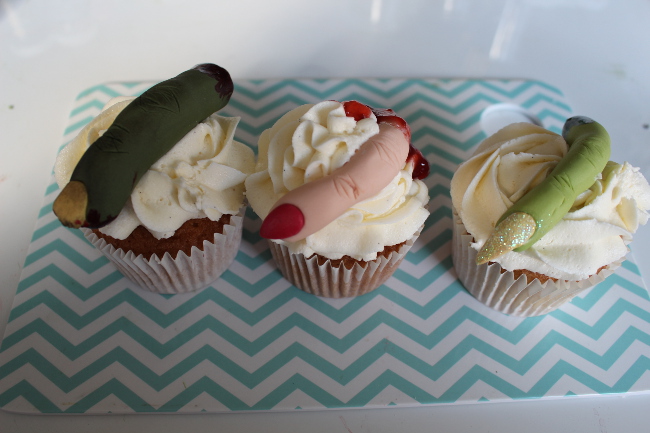
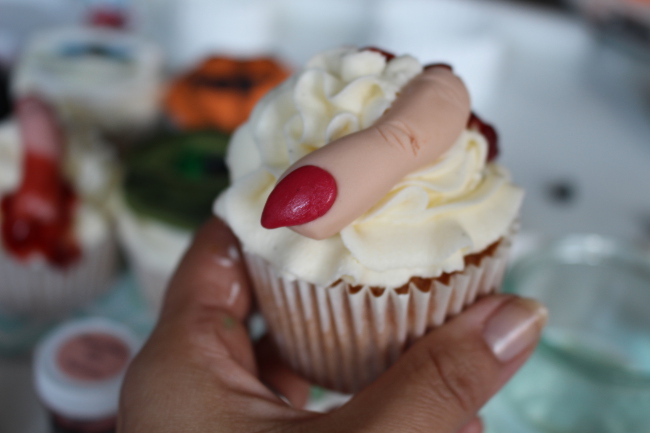
First off we will start with human finger, which has a wonderful addition of “jammy blood”…
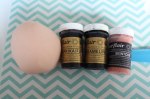
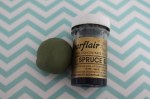
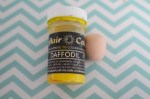
I started off by mixing my skin tone colour for this I use a mixture of “skintone” “Pakrika/flesh” and “caramel/ivory”. I am not a big fan of the straight “skintone” colouring as it is very pink…my advice, look at your hand and see how it compares to your skin.
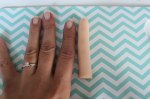
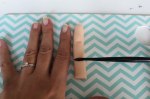
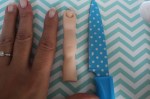
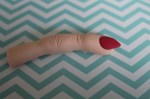
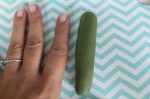
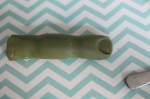
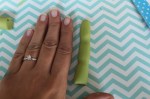
Roll out a thin sausage shape around the thickness of your own finger and trim it to size.
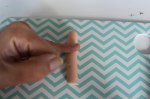
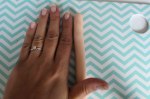
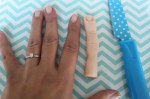
Make some small marks on your “finger” underneath the joints of your own finger. Using your little finger lightly roll your icing finger so that it is left with small indentations.
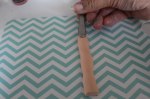
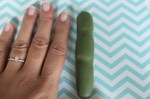
Using the end of a small teaspoon, make some indentations for the fingernail, we will place a fingernail on here later.
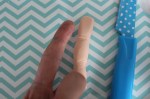
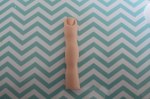
Again, using your own finger for reference, add in the creases along your knuckles. Do this on both the front and the back of the finger.
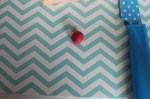
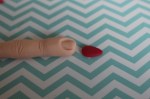
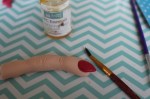
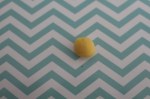
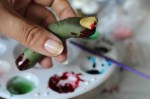
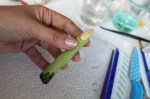
Now to make the fingernail. Take a small ball of fondant in the colour of your choice, I chose “Ruby”, roll and flatten in a tear drop shape, test this fits in the groove you created before adding any water to fix in place. To give your nail a painted look, add a layer of confectioners glaze, this will leave it with a nice shiny finish.
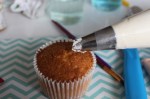
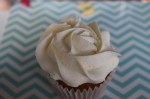
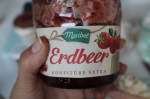
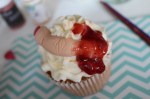
Using a 1M tip, ice your cupcake and place your finger on the top. Finally add a spoon of jam to the end of your finger and allow it to dribble down the buttercream. (Need a buttercream recipe? Click here!)
Enjoy!
Zombie Fingers
It is worth noting at this point, the method for these is exactly the same as above so I am not going to explain it again, I am instead going to show you the process and add it notes where they are necessary!
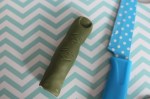
The fingernail grove on the zombie fingers needs to be a little wider than those on the ladies fingers.

With your fingernail colour, I chose to add in a little yellow with some of my existing skintone which I had already mixed this gave a really good colour. Shape your fingernail and using a sharp knife make some indentations in the top so that it looks well worn.

Using some petal dust in a brown/green add this to the top of the finger and around the fingernail. I then used a mixture of red paste and water to make a thick blood coloured paint which I then added to both the bottom of the finger and more around the fingernail.
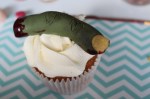
Witch fingers
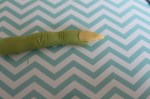
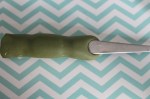
Again the process is exactly the same as before. This time I made the finger nail a little longer and thinner.

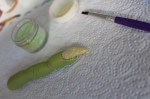
Add some edible glue to the top of the nail and with a wide brush add some glitter to the top of the nail. Finish with some green paint on the bottom and sides of the finger.
